
Link existing transactions
Sometimes both sides of a transfer are already in MoneyMatter as separate transactions: an expense on one account and an income on another. This usually happens when both accounts are imported or connected to a bank. Linking the two turns them into one transfer, without deleting or changing either of them.
Why link them
Section titled “Why link them”Until they’re linked, MoneyMatter sees an ordinary expense and an ordinary income. Moving 800 from Checking to Savings then shows up as 800 spent and 800 earned, which inflates both totals.
Once linked, the pair is a transfer, and transfers are left out of income and expense totals. See How transfers work.
You can link a pair from the transaction itself, or let Transfer matching find likely pairs for you.
Link a pair from the transaction
Section titled “Link a pair from the transaction”- Click the expense or the income in the transaction list to open Edit Transaction.
- Select the Transfer tab.
- In the Where the money goes panel, below the or divider, click Link the other side.
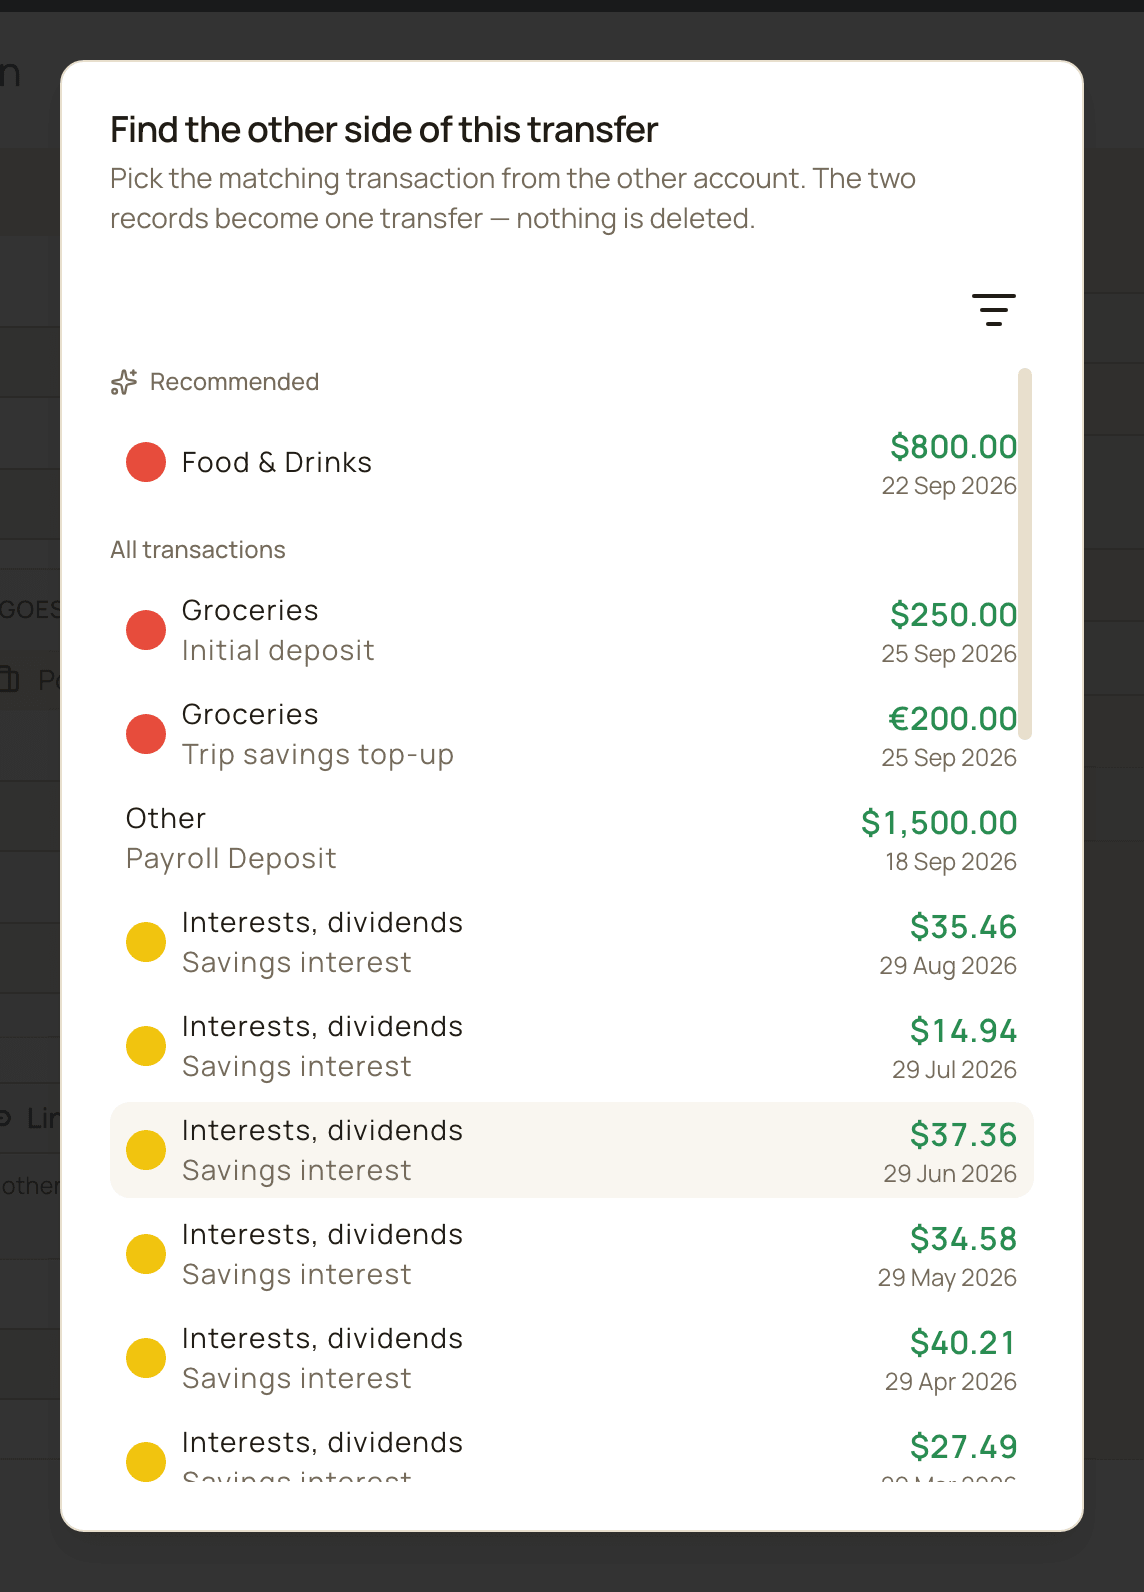
- In Find the other side of this transfer, pick the matching transaction from the other account.
- A Linked transaction row now shows your pick. Check it’s the right one, then click Edit (the save button at the bottom of the dialog).
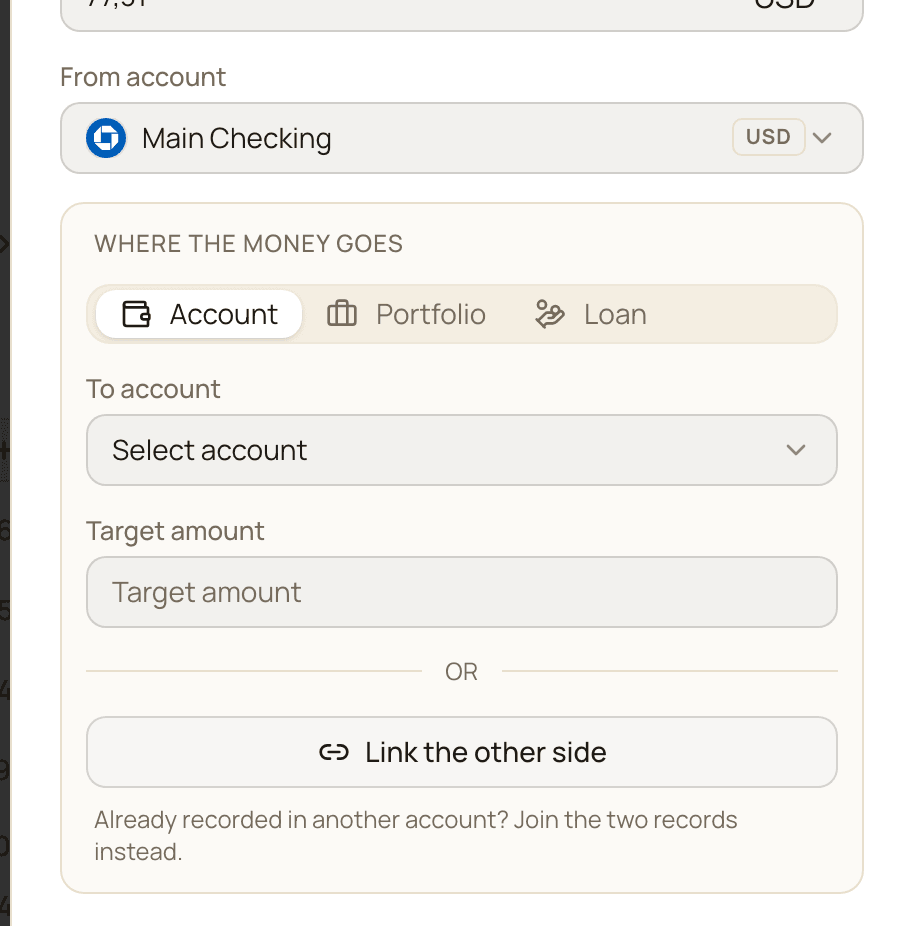
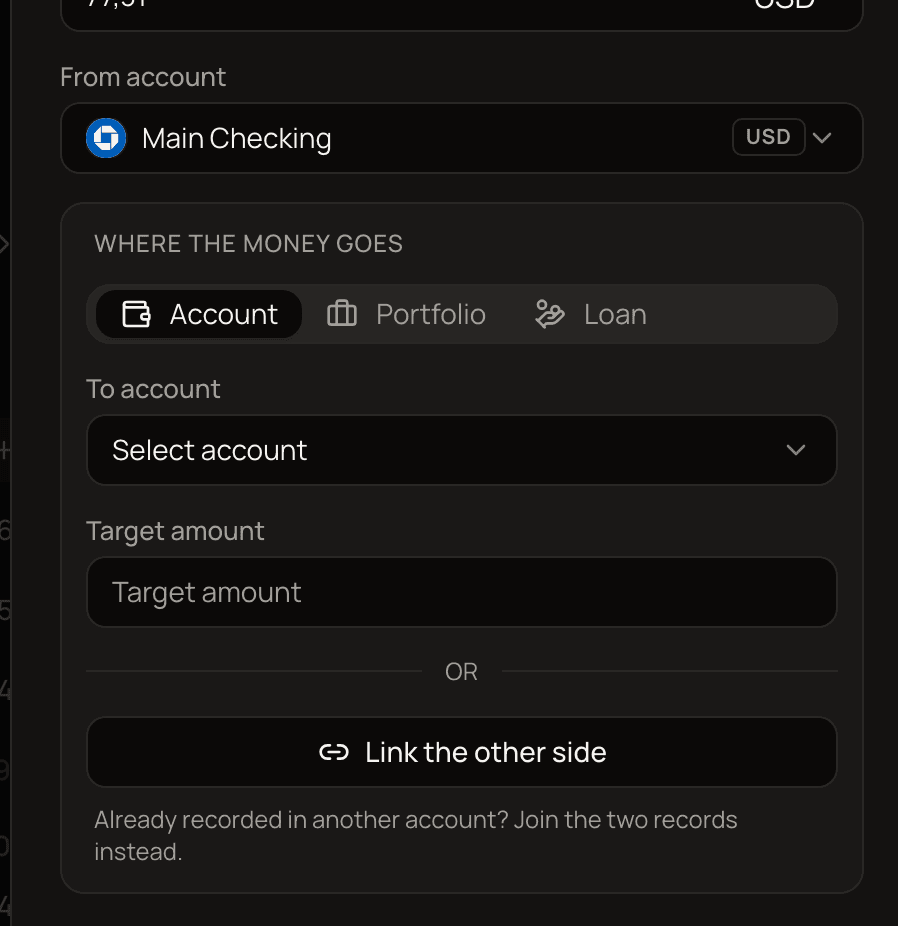
Link the other side only appears on a saved transaction that has no other side yet: an ordinary expense or income, or an Out of Wallet transfer. It isn’t there while you’re adding a new transaction.
After you pick a transaction, the account and amount fields are locked, because both sides already have their own. To choose a different transaction, click the ✕ on the Linked transaction row and pick again.
What the list shows
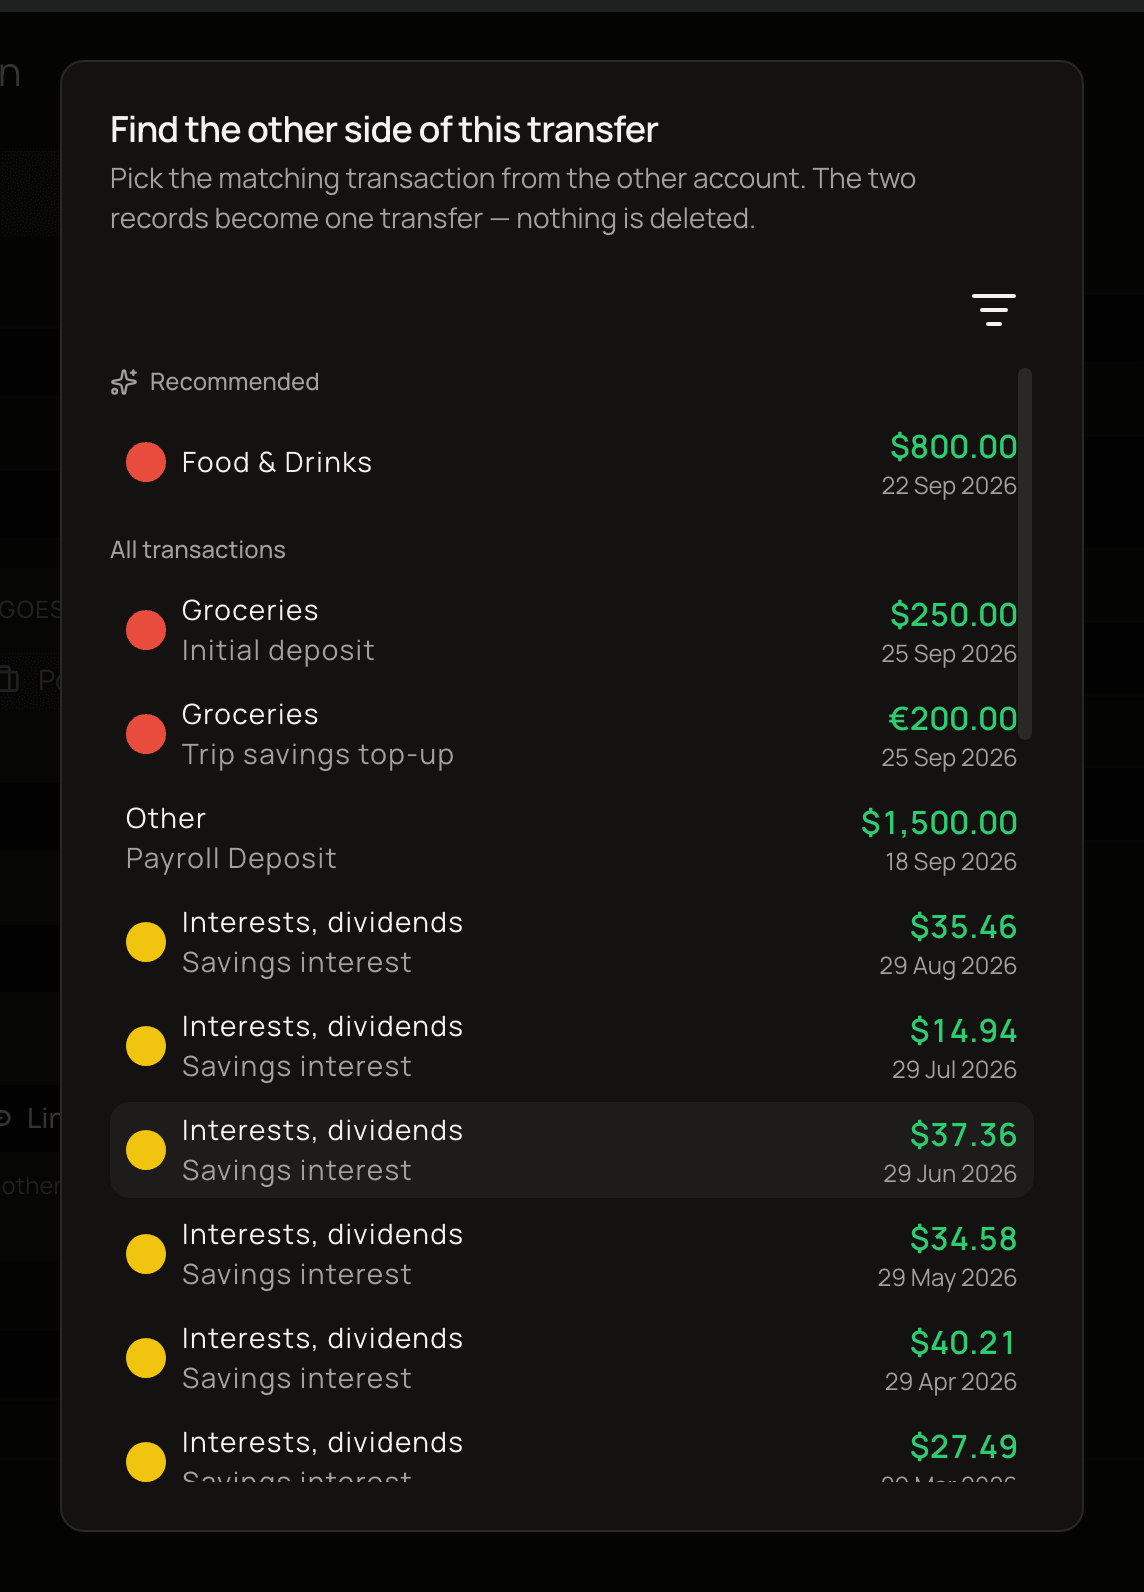
Section titled “What the list shows”Find the other side of this transfer has two sections.
- Recommended shows up to 7 likely matches: transactions on your other accounts whose amount, converted to your base currency, is within 10% of this one, dated within 14 days either side. Transactions in the same currency come first, then the closest amounts, then the closest dates.
- All transactions lists the rest. To narrow it down, click the filter icon at the top of the dialog. It opens Filters, where you can set From date, To date, Amount from and Amount to.
Both sections only list transactions of the opposite type: incomes when you started from an expense, and the other way round. Recommended only lists transactions from your other accounts. When you start from an income, All transactions can also show expenses from the same account. Don’t pick those, because linking them fails: the two sides must be on different accounts. All transactions can also include split and planned transactions, which can’t be linked either. Picking one fails with “A transaction with splits can’t be linked as a transfer.” or “A planned transaction can’t be linked as a transfer.” Transfers, including Out of Wallet ones, and transactions linked as a refund aren’t listed. Bank-connected accounts are included.
Find pairs with Transfer matching
Section titled “Find pairs with Transfer matching”Transfer matching scans a date range for expense and income pairs that look like transfers between your accounts, and lets you link them one by one. It’s handy after importing several months of history.
- In the sidebar, open Transactions, then Optimizations.
- Click the Transfer matching card.
- Click the button with the calendar icon (it shows the current date range) and pick a range. Presets include Last 3 months, Last 6 months, Last year, This year and Previous year. The page starts on the last three months.
- Optionally tick Include out-of-wallet transfers. See Out of Wallet transactions.
- Click Scan.
When the scan finishes, you’ll see how many potential transfers were found.
- The left column lists the expenses that have at least one possible match, newest first, each with its number of matches.
- The right column, Suggestions for, shows up to 4 incomes that could be the other side of the selected expense. Each has a confidence score and two buttons, Skip and Link. On a narrow screen, the suggestions open in a dialog instead.
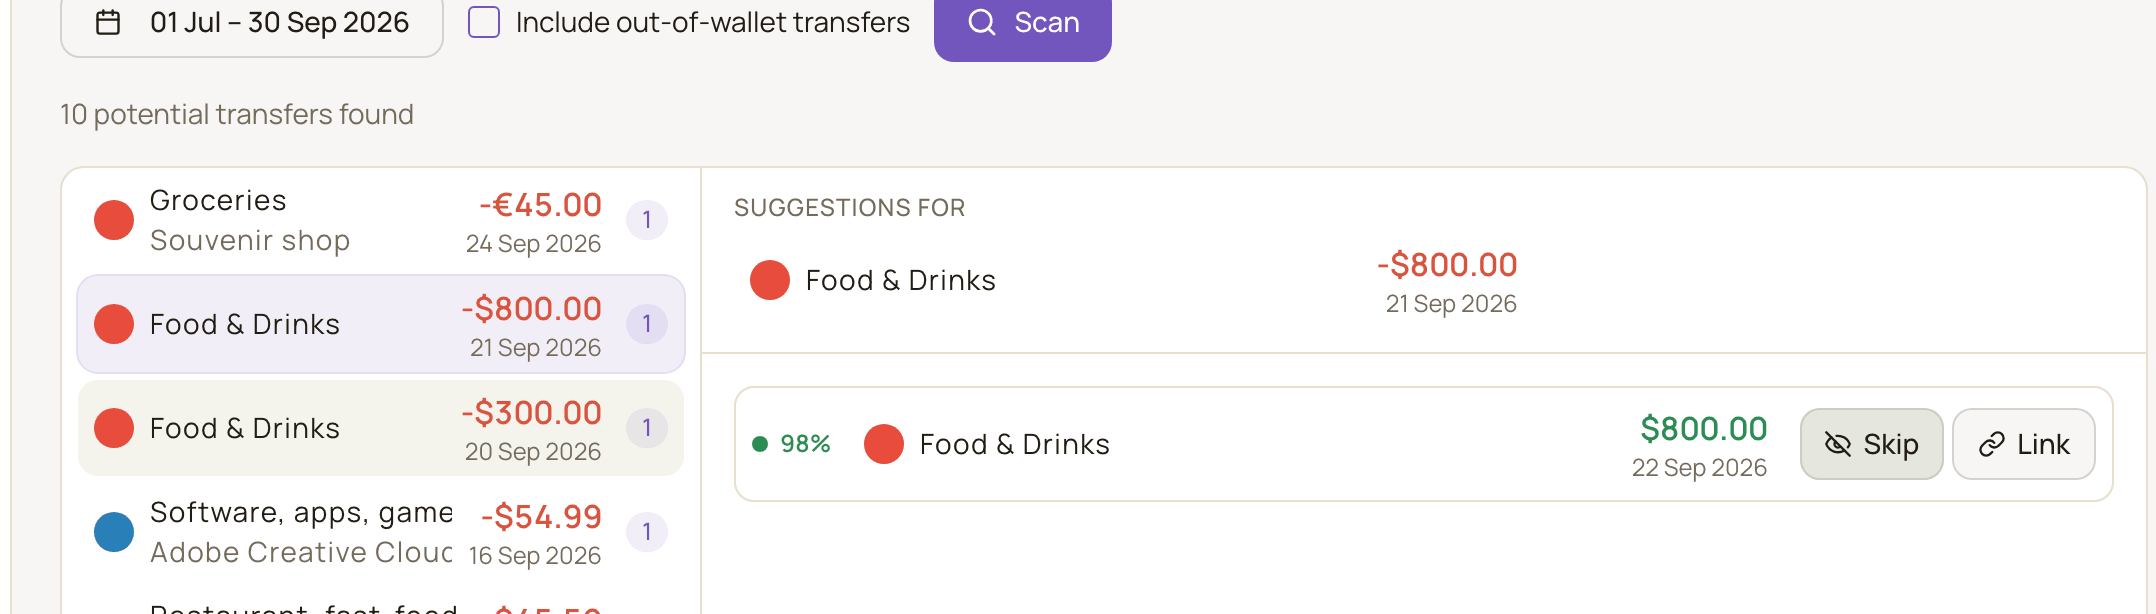
Click the expense under Suggestions for, or any suggested income, to open it in Edit Transaction. Clicking an expense in the left column only selects it. When you close the dialog, the page scans again so the results stay up to date.
How pairs are found
Section titled “How pairs are found”For each expense in the date range, MoneyMatter looks for incomes that:
- are on a different account;
- are within 10% of the expense’s amount, after converting both to your base currency;
- are dated within 14 days of the expense. Incomes up to 14 days outside the chosen range count too, so a transfer that straddles the edge of the range is still found.
Transactions that are already transfers, are linked as a refund, or are split across categories are left out on both sides.
The confidence score
Section titled “The confidence score”The score is out of 100 and is shown as a percentage. It adds up three things:
- up to 50 points for how close the two amounts are;
- up to 30 points for how close the two dates are;
- 20 points if both transactions are in the same currency.
The dot next to the score is green at 75% or more, amber from 50%, and red below 50%.
Link a suggestion
Section titled “Link a suggestion”Click Link next to the income you want. The Link as transfer? dialog shows which account the money went from and to, and both amounts. Click Link to confirm. You’ll see “Transactions linked as transfer”.
Skip a suggestion
Section titled “Skip a suggestion”Click Skip if a suggestion isn’t a transfer, for example a purchase and a salary that happen to be the same amount. Confirm in Skip this suggestion?. You can tick Don’t show this confirmation again to skip without asking next time, in this browser.
Out of Wallet transactions
Section titled “Out of Wallet transactions”By default, the scan leaves out transactions recorded as Out of Wallet. Tick Include out-of-wallet transfers to include them. This is useful when you recorded one side as going to an account you didn’t track, and you’ve since added that account. Linking turns the Out of Wallet transaction into a regular transfer between your two accounts.
Rules for linking
Section titled “Rules for linking”Whichever way you link, the two transactions must be:
- one expense and one income;
- on different accounts;
- not already a transfer. An Out of Wallet transaction is the exception: linking turns it into a transfer between your accounts;
- not split across categories. Linking a split transaction fails with “A transaction with splits can’t be linked as a transfer.” Remove the splits first;
- not planned.
The amounts, currencies and dates don’t have to match. That’s on purpose: a transfer between currencies has two different amounts, and a bank transfer can take a few days to arrive.
What linking changes
Section titled “What linking changes”Only the pairing. Both transactions keep their amounts, dates, notes and categories, and account balances don’t move, because each side was already counted on its own account. What changes is that the pair now counts as a transfer, so it drops out of your income and expense totals.
A linked transfer then behaves like any other transfer. You can edit it, and deleting one side deletes both.
Unlink a pair
Section titled “Unlink a pair”To turn a linked pair back into an ordinary expense and income, open it and click Unlink transactions in the Where the money goes panel. Both transactions go back to being ordinary ones and keep their current amounts, dates and categories. See Unlink a transfer.