
Manage accounts
Once an account exists, you can rename it, fix its balance, keep it out of your reports, or put it away when you stop using it. This page walks through each of those and explains how each one affects your balances and reports.
The Accounts page
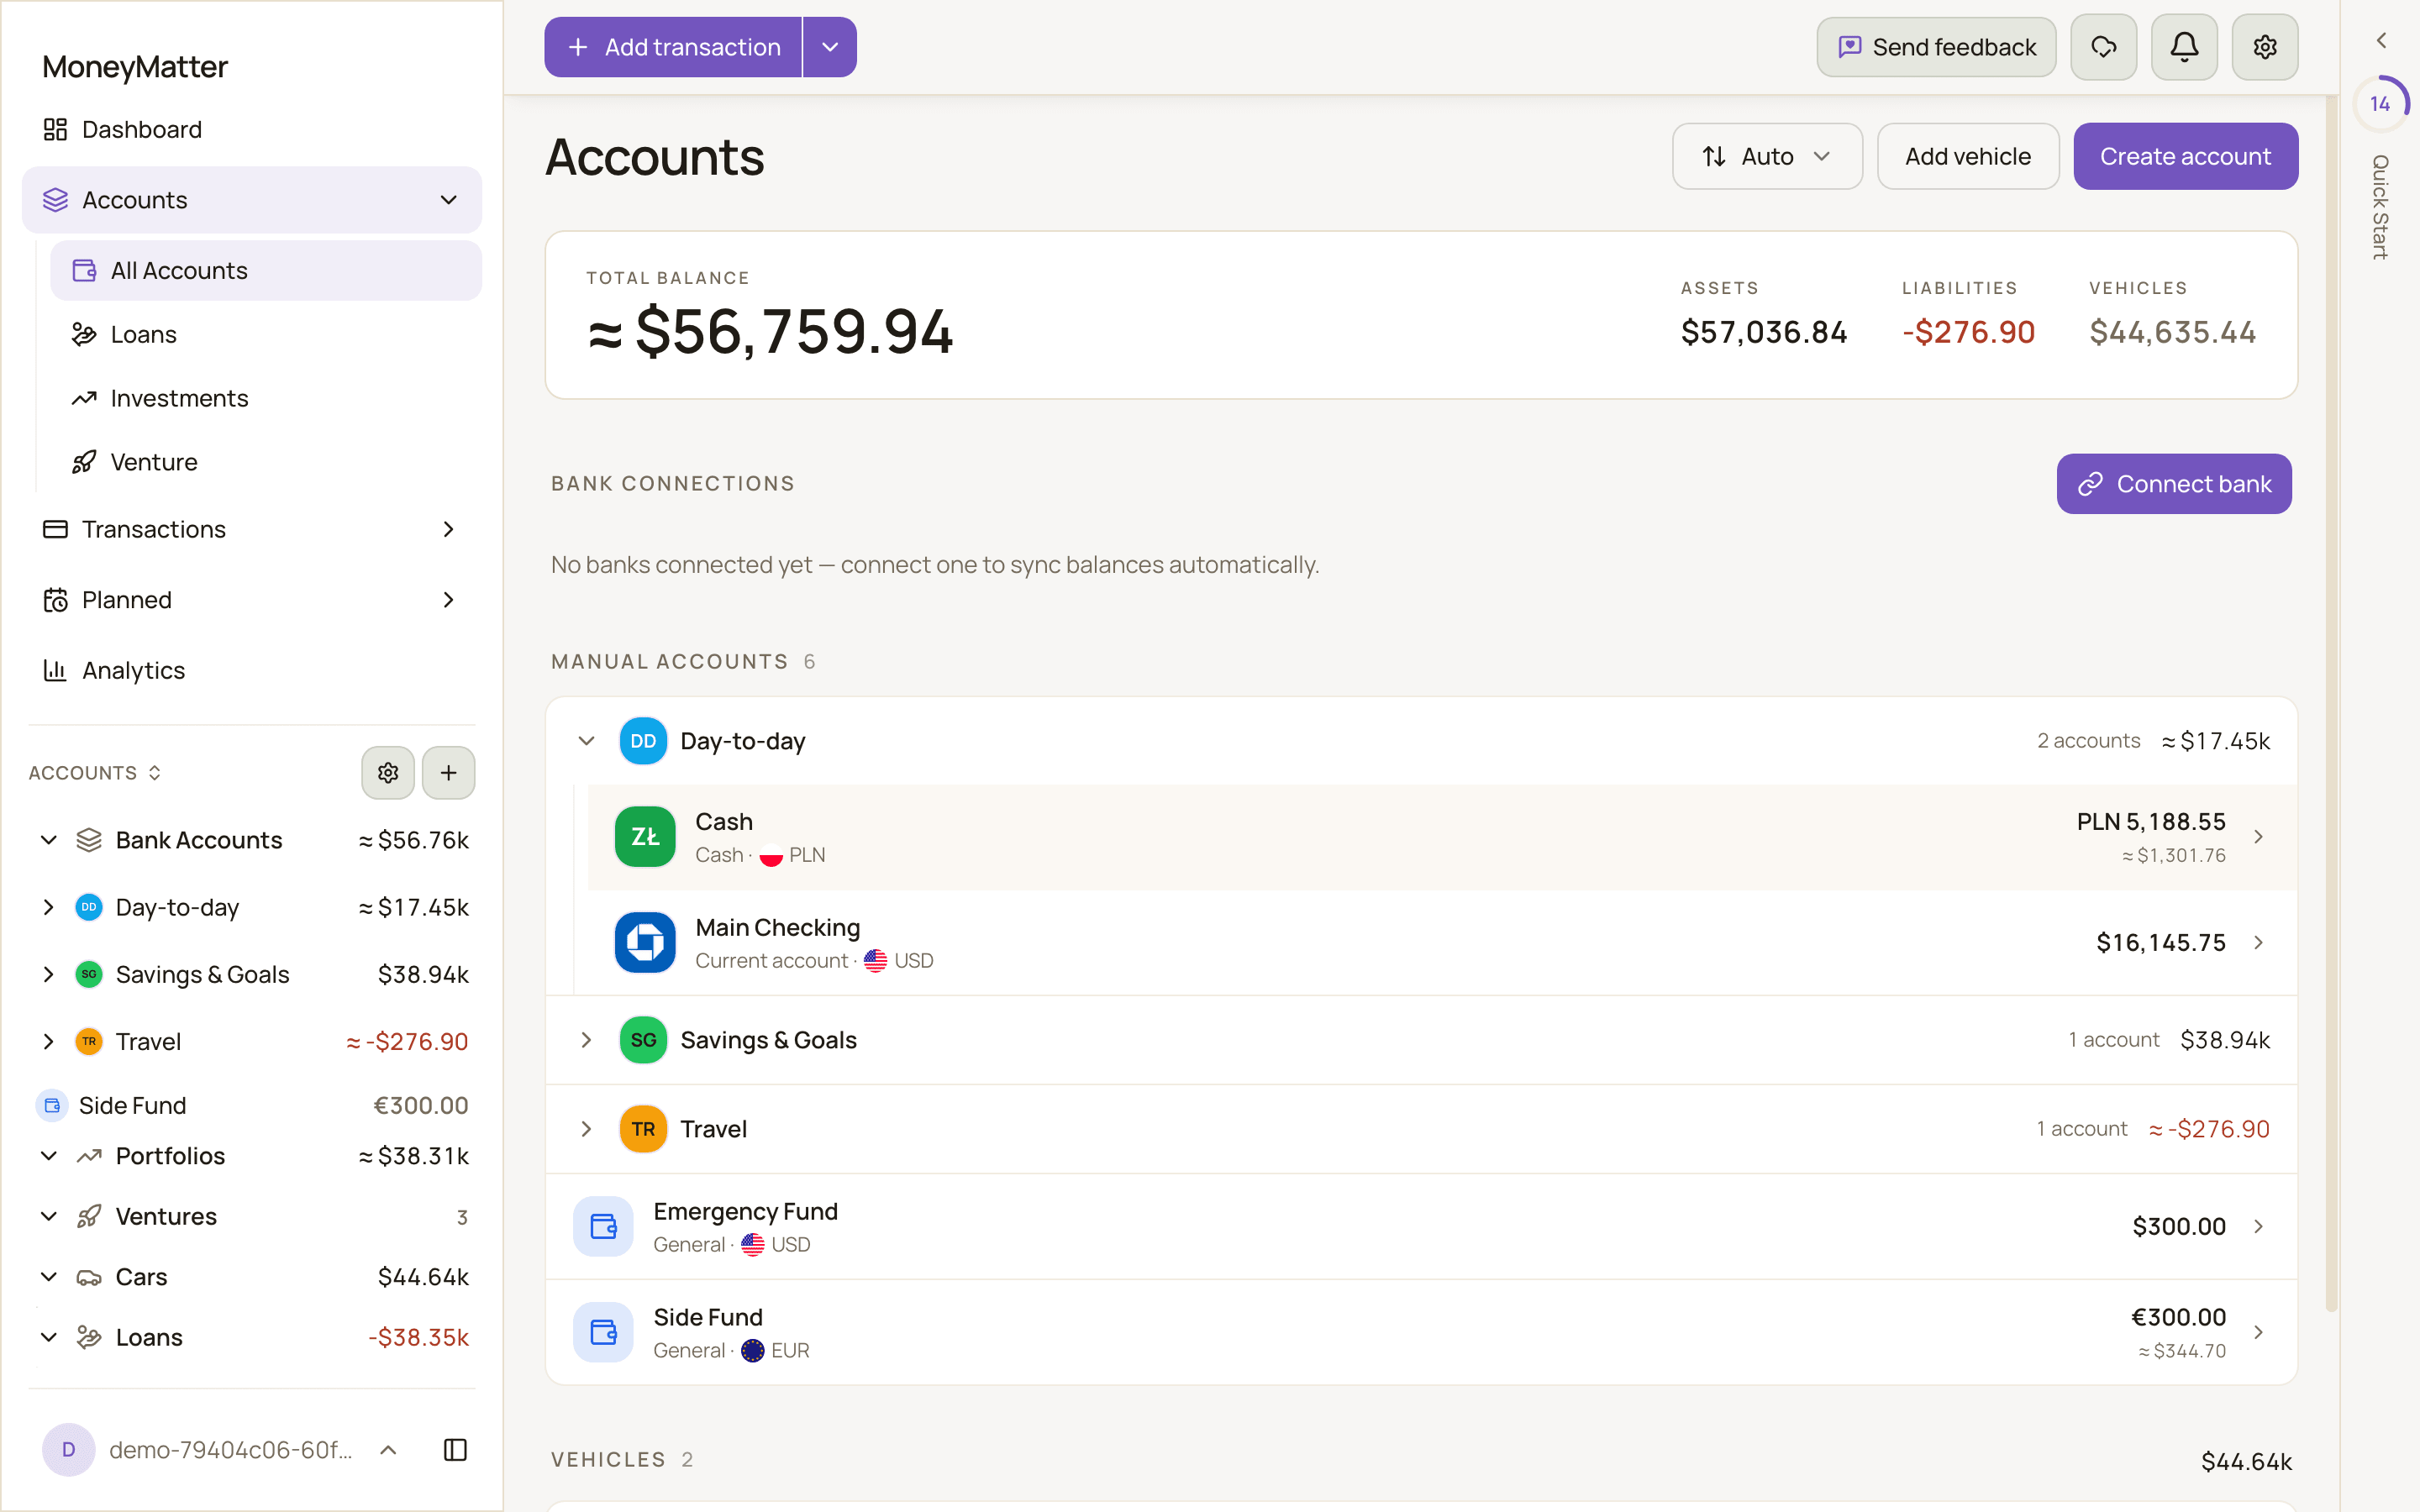
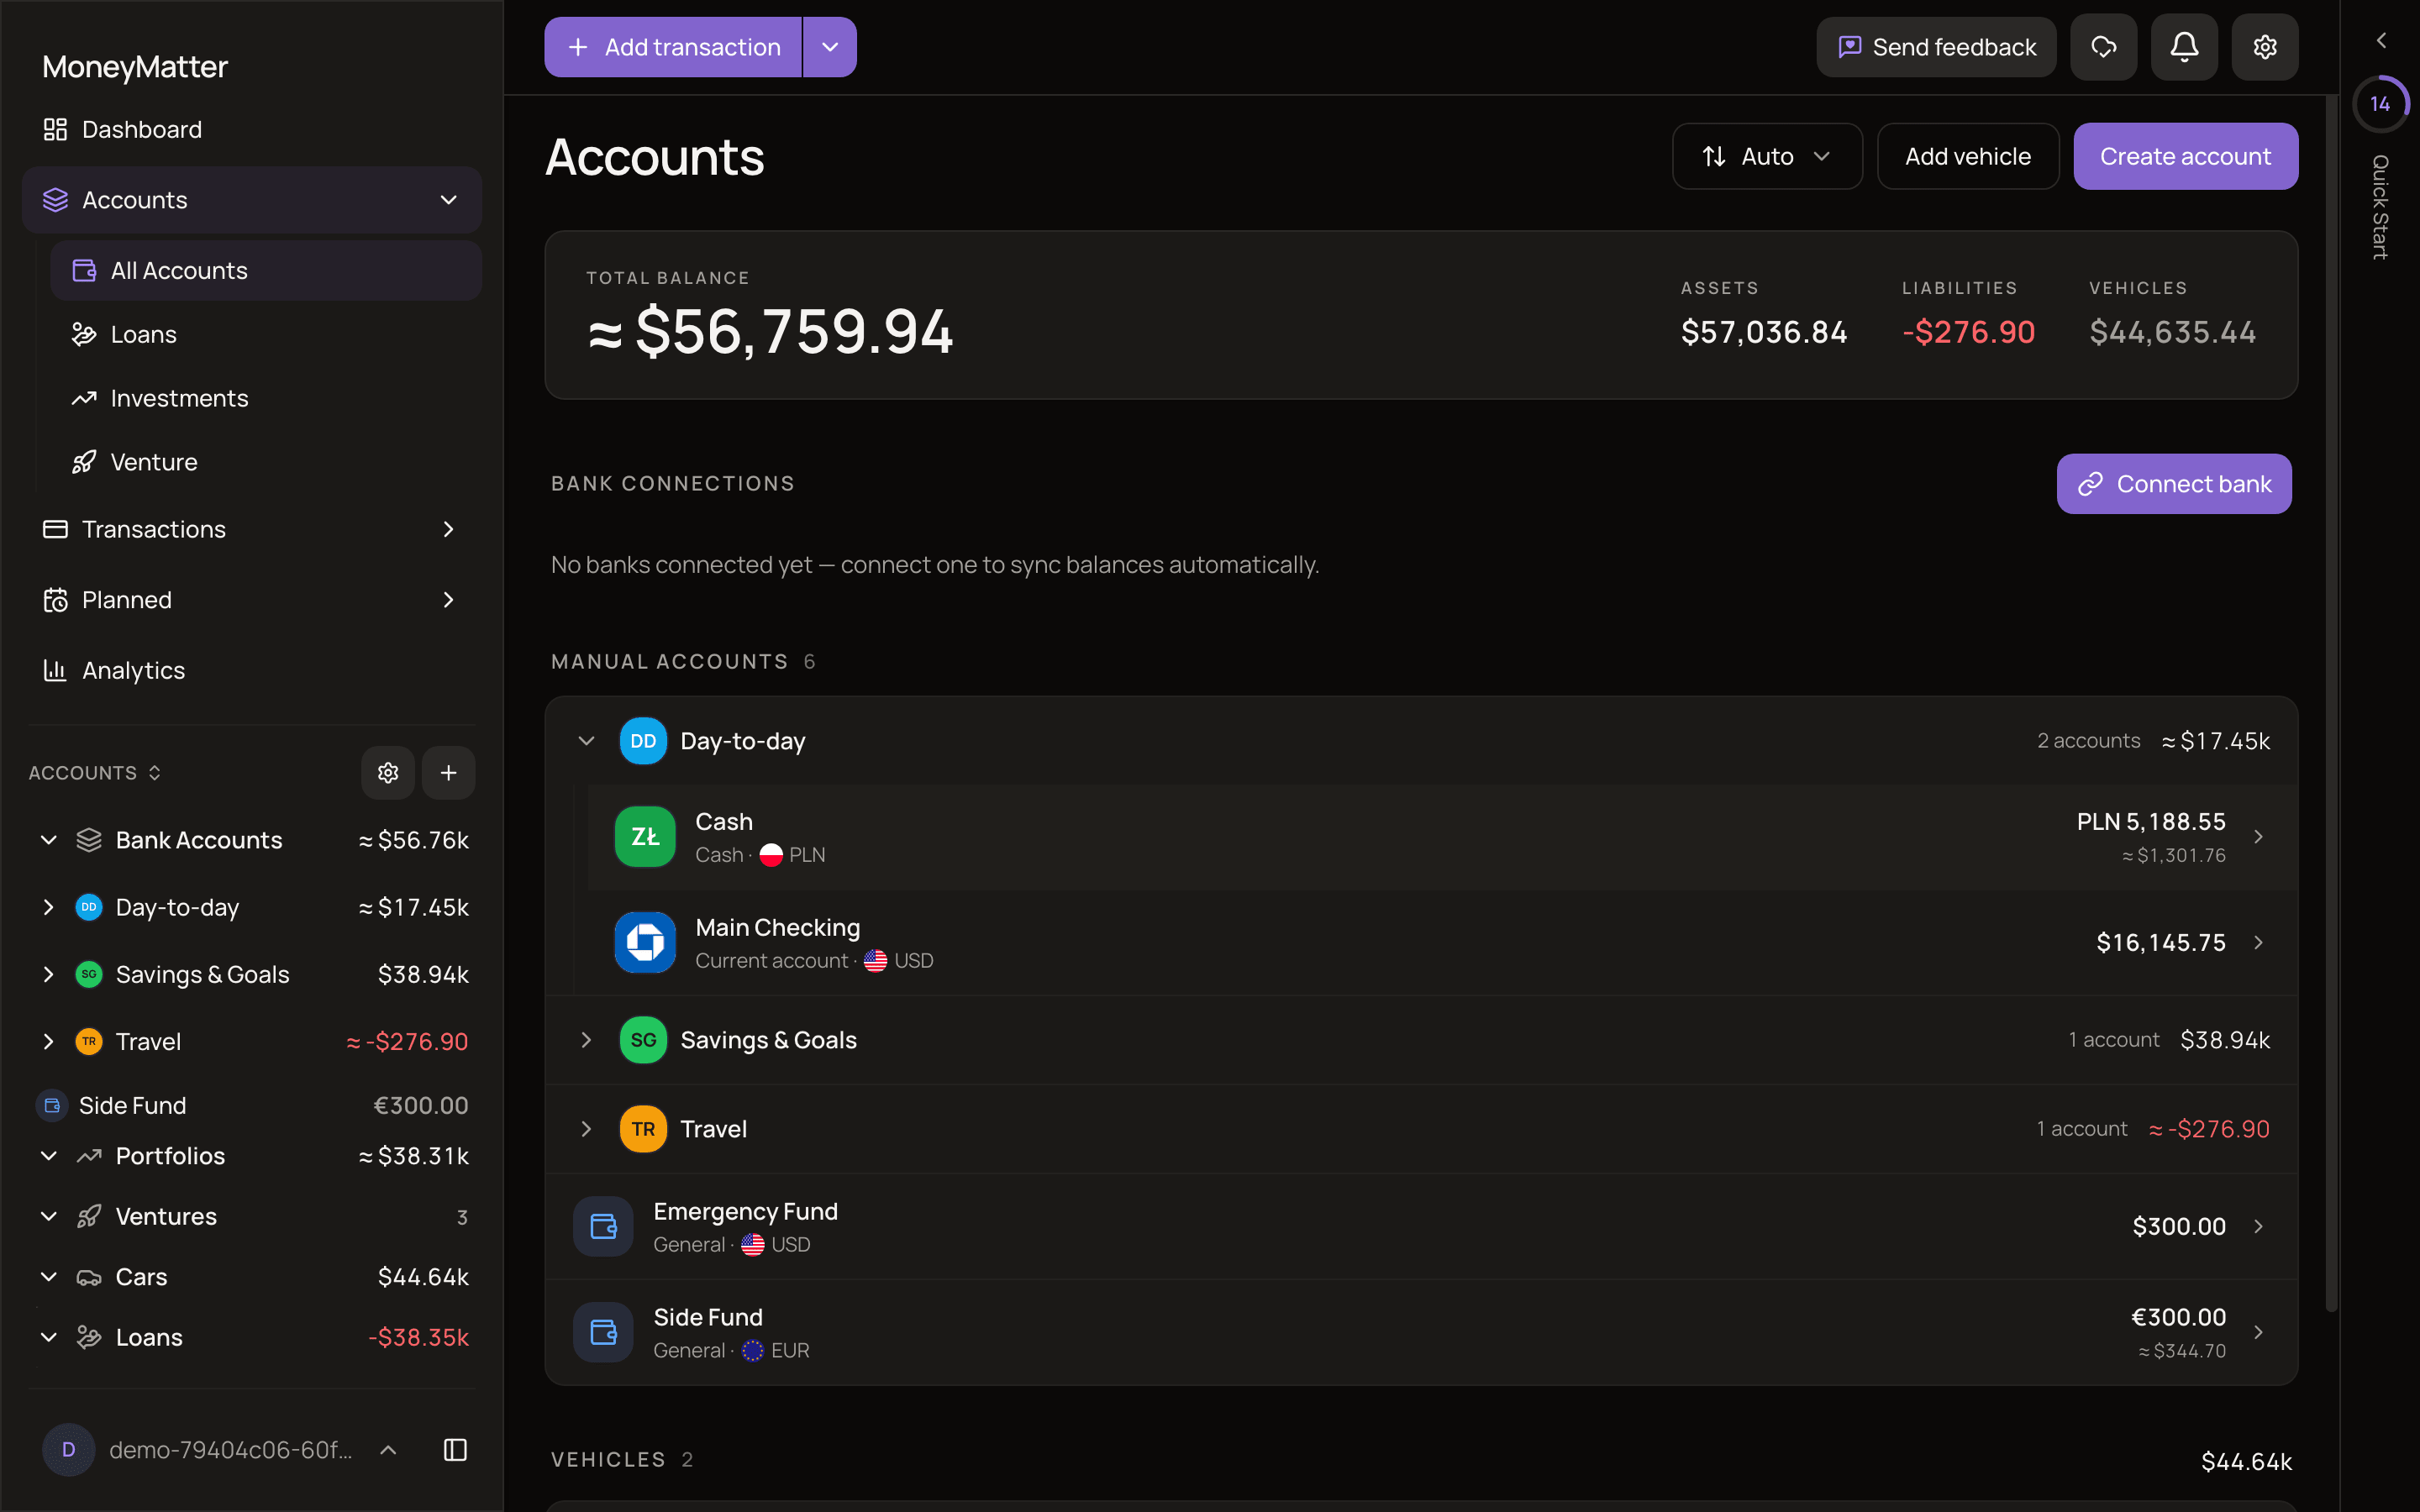
Section titled “The Accounts page”In the sidebar, open Accounts → All Accounts. The page lists everything you own, from top to bottom:
- Overview: your Total balance, split into Assets (accounts with a positive balance) and Liabilities (accounts with a negative balance, shown in red). A Vehicles figure appears too if you have vehicles. All figures are in your base currency. Total balance starts with ”≈” when some accounts are in another currency, because those are converted at the current exchange rate.
- Bank connections: accounts synced from your bank, plus a Connect bank button. See bank connections. Bank connections are part of the Plus plan (see plans and billing).
- Manual accounts: your account groups that contain at least one manual account, shown as folders you can expand, followed by accounts that aren’t in a group.
- Vehicles, if you have any.
- Archived, if you have any: a collapsed list of archived accounts. Click it to expand.
Each row shows the account’s logo, name, category and currency, and its balance in the account’s own currency. If that isn’t your base currency, the amount converted to your base currency is shown too. Click a row to open the account.
What Total balance includes
Section titled “What Total balance includes”Total balance adds up your active money accounts. It leaves out:
- vehicles, which get their own Vehicles figure
- archived accounts
Sort the list
Section titled “Sort the list”At the top of the page, click the button with up and down arrows. It shows the current order, for example Auto. Then choose:
- Auto: groups first, then accounts, each in A–Z order.
- Name: groups and accounts mixed together in A–Z order.
- Balance: largest balance first, compared in your base currency.
Your choice is remembered on this browser.
Accounts in the sidebar
Section titled “Accounts in the sidebar”The Accounts panel in the sidebar gives you quick access to your active accounts. Your manual and bank-synced accounts are listed under Bank Accounts. Accounts in a group sit inside a folder. A collapsed folder shows the group’s total in your base currency. Click any account to open it.
Archived accounts never appear in the sidebar.
Click the gear button (Settings) next to the Accounts heading to change what the sidebar shows:
- Hide zero balances hides accounts whose balance is exactly 0, and groups where every account is at 0. It only affects the sidebar.
- Sidebar sections lets you turn other sections on or off. Bank Accounts is always visible.
The account page
Section titled “The account page”Click an account on the Accounts page or in the sidebar to open it.
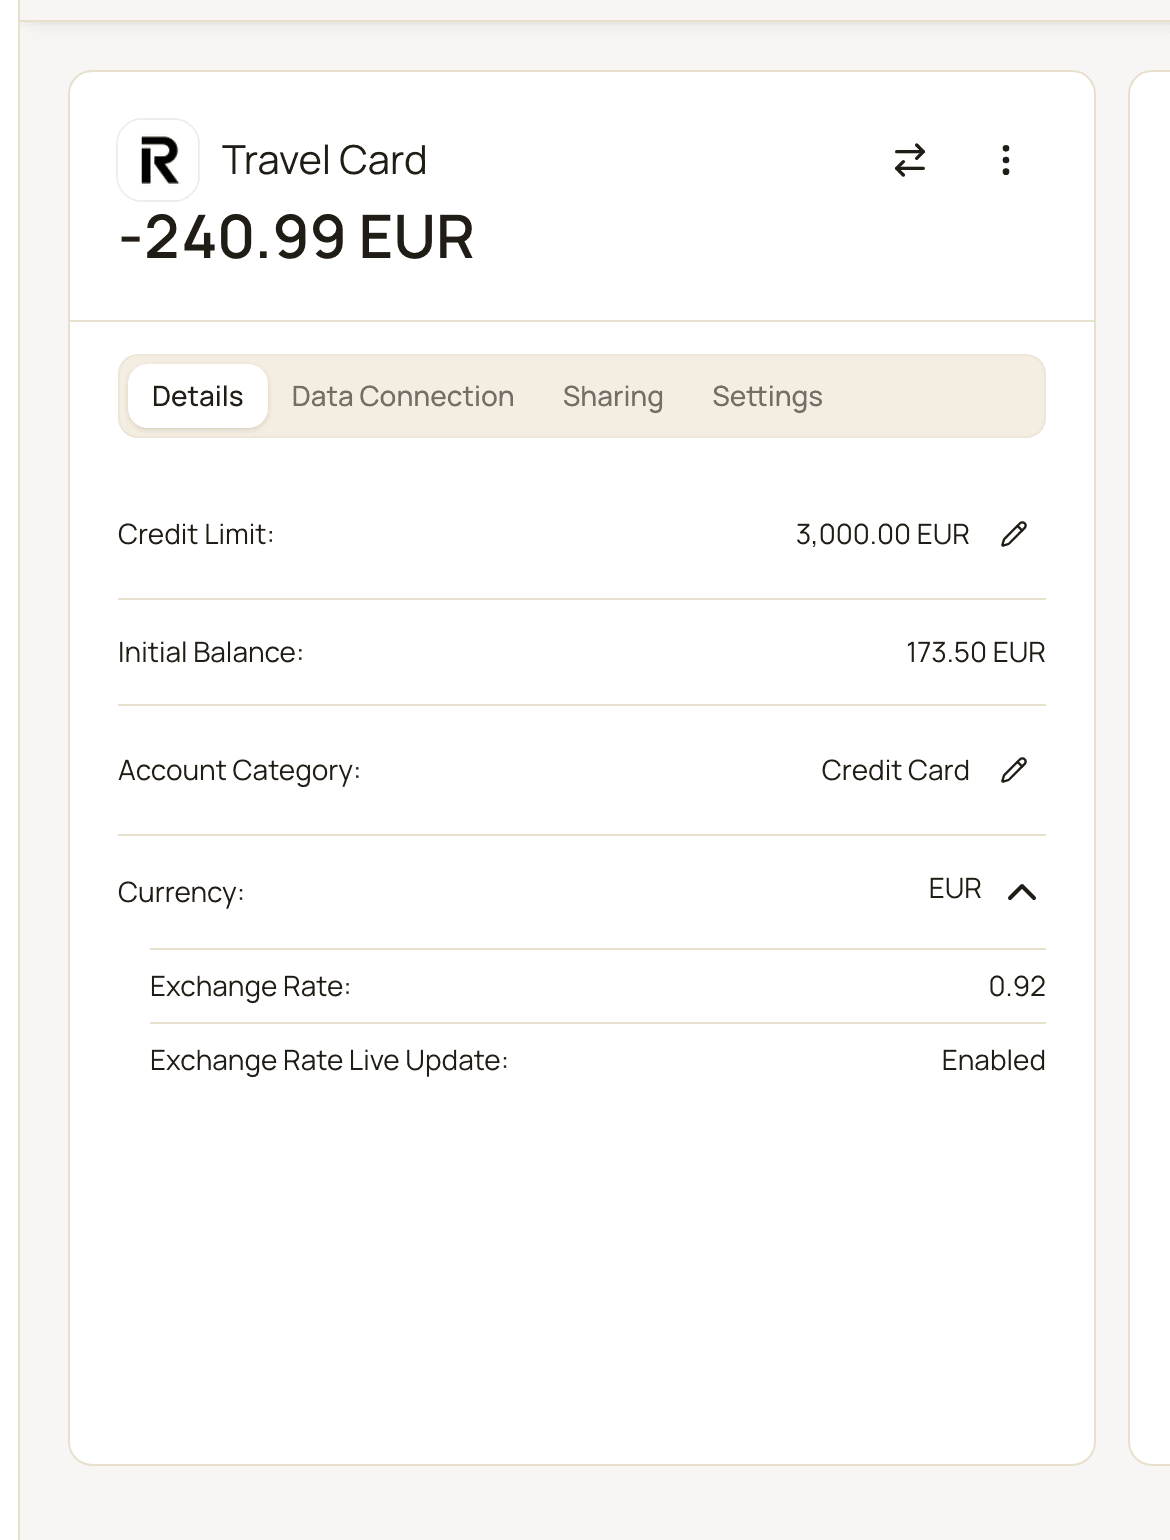
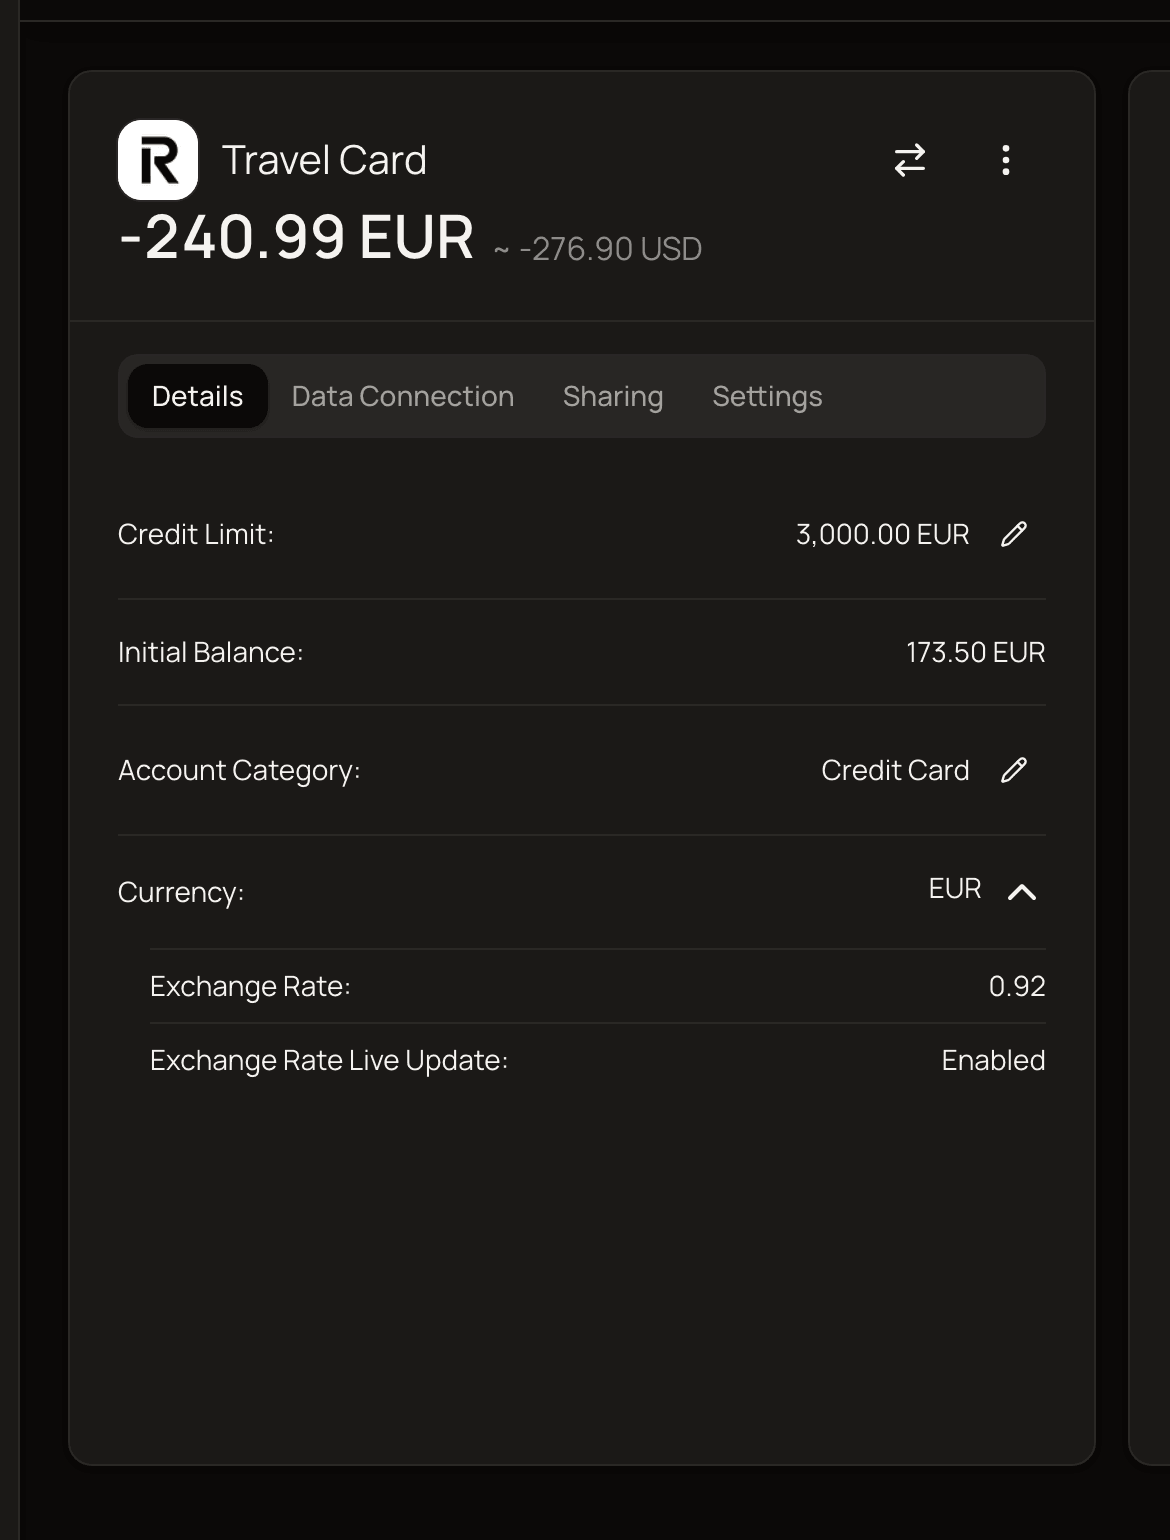
The left card shows the account’s logo, name and balance. If the account isn’t in your base currency, the converted amount appears next to the balance. The Account actions menu (the ⋮ button) holds Rename account, Adjust balance and Share account.
Below that are tabs:
- Details: the Credit Limit:, Initial Balance:, Account Category: and Currency:. Click Currency: to see the Exchange Rate: and whether Exchange Rate Live Update: is Enabled. Those come from your currency settings. (main) next to the currency means it’s your base currency.
- Data Connection: for a manual account, this is where you link it to a bank connection with Link to bank (Plus plan). See bank connections.
- Sharing: who else can see this account.
- Settings: Exclude from statistics, Account group, archiving and deleting.
The right card lists the account’s transactions, newest first. Scroll down to load more.
Rename an account or change its logo
Section titled “Rename an account or change its logo”- Open the account.
- Click the ⋮ button (Account actions) and choose Rename account. You can also click the account name.
- Type the new Account name (at least 2 characters) and click Save.
To change the logo, click the logo next to the name (Change logo). You can search for a brand logo, pick letters and a colour, or choose Remove logo to go back to the category icon.
Change the category
Section titled “Change the category”- Open the account and select the Details tab.
- Click the pencil next to Account Category: (Edit category).
- Choose a new category and click Save.
The category mostly changes the icon and label. It doesn’t change the balance or which transactions count. One exception: the Net Worth History report sorts debts by type, so a negative balance on a Credit card account counts as a Credit card liability, while on most other accounts it counts as Overdraft.
How the balance is calculated
Section titled “How the balance is calculated”For a manual account, MoneyMatter works out the balance from its transactions:
Current balance = initial balance + money in − money out
Money in and out includes everything recorded on the account: income, expenses, transfers and balance adjustments. Adding, editing or deleting a transaction updates the balance straight away. That’s why you can’t type a new balance directly: it would no longer match your transactions. Use Adjust balance instead, which records the difference as a transaction.
Accounts synced from a bank get their balance from the bank. See bank connections.
Adjust a balance
Section titled “Adjust a balance”Sometimes the balance in MoneyMatter doesn’t match your bank. Maybe you missed a few cash purchases, or chose the wrong initial balance. Adjust balance fixes this in one step.
- Open the account.
- Click the ⋮ button (Account actions) and choose Adjust balance. You can also click the balance itself.
- Choose how to enter the correction:
- Set to balance: type the New balance you want the account to have, for example the figure your bank shows.
- Adjust by amount: type an Amount and choose Income to add it or Expense to subtract it.
- Check the preview. It shows the old and new balance, and whether an income or an expense will be created.
- Optionally change the Effective date and add a Transaction Note.
- Click Confirm.
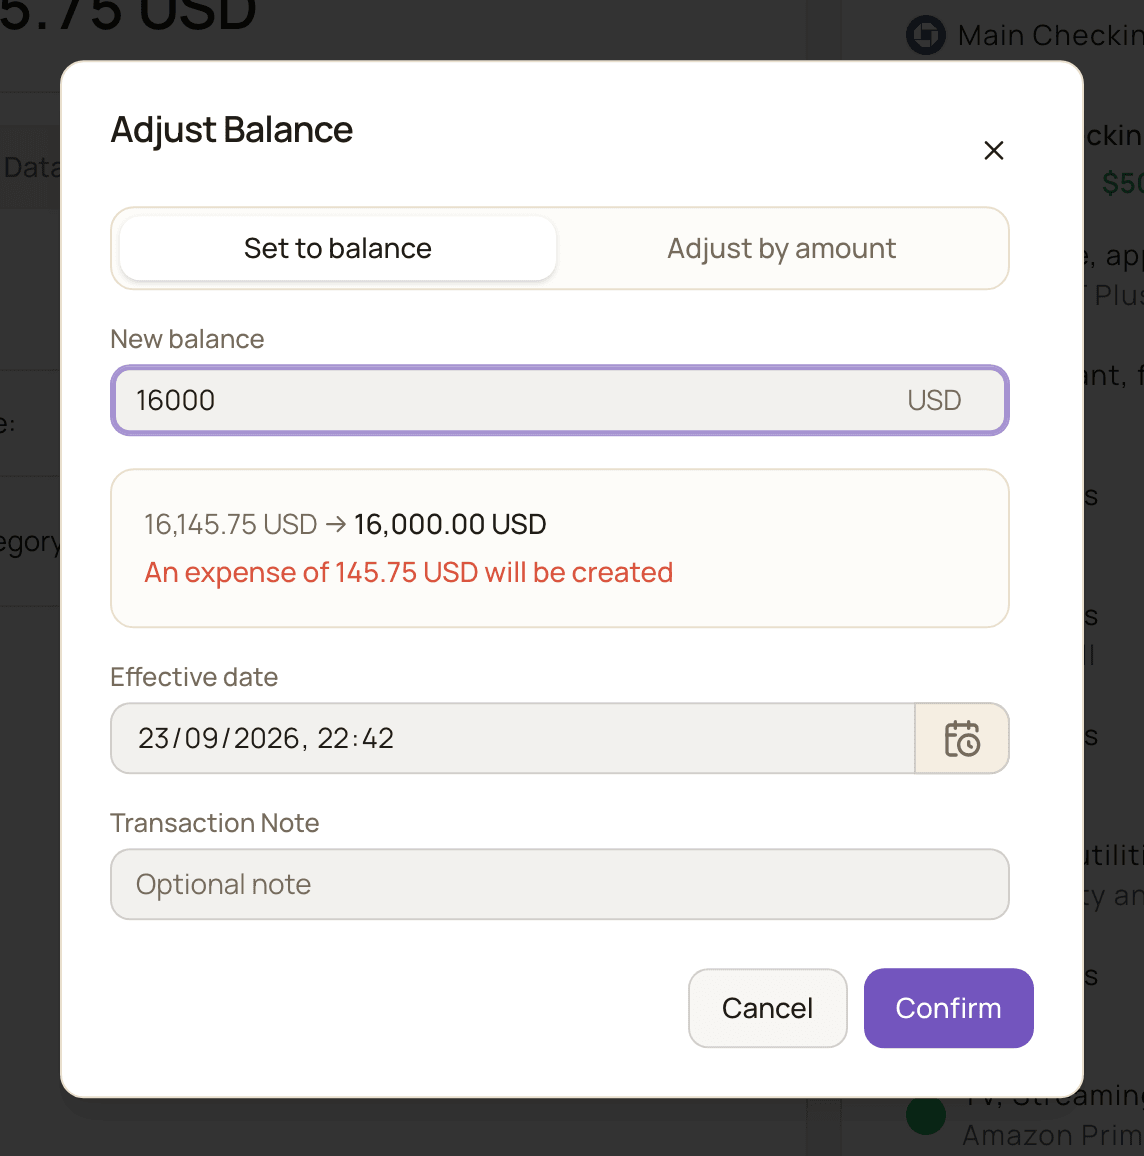
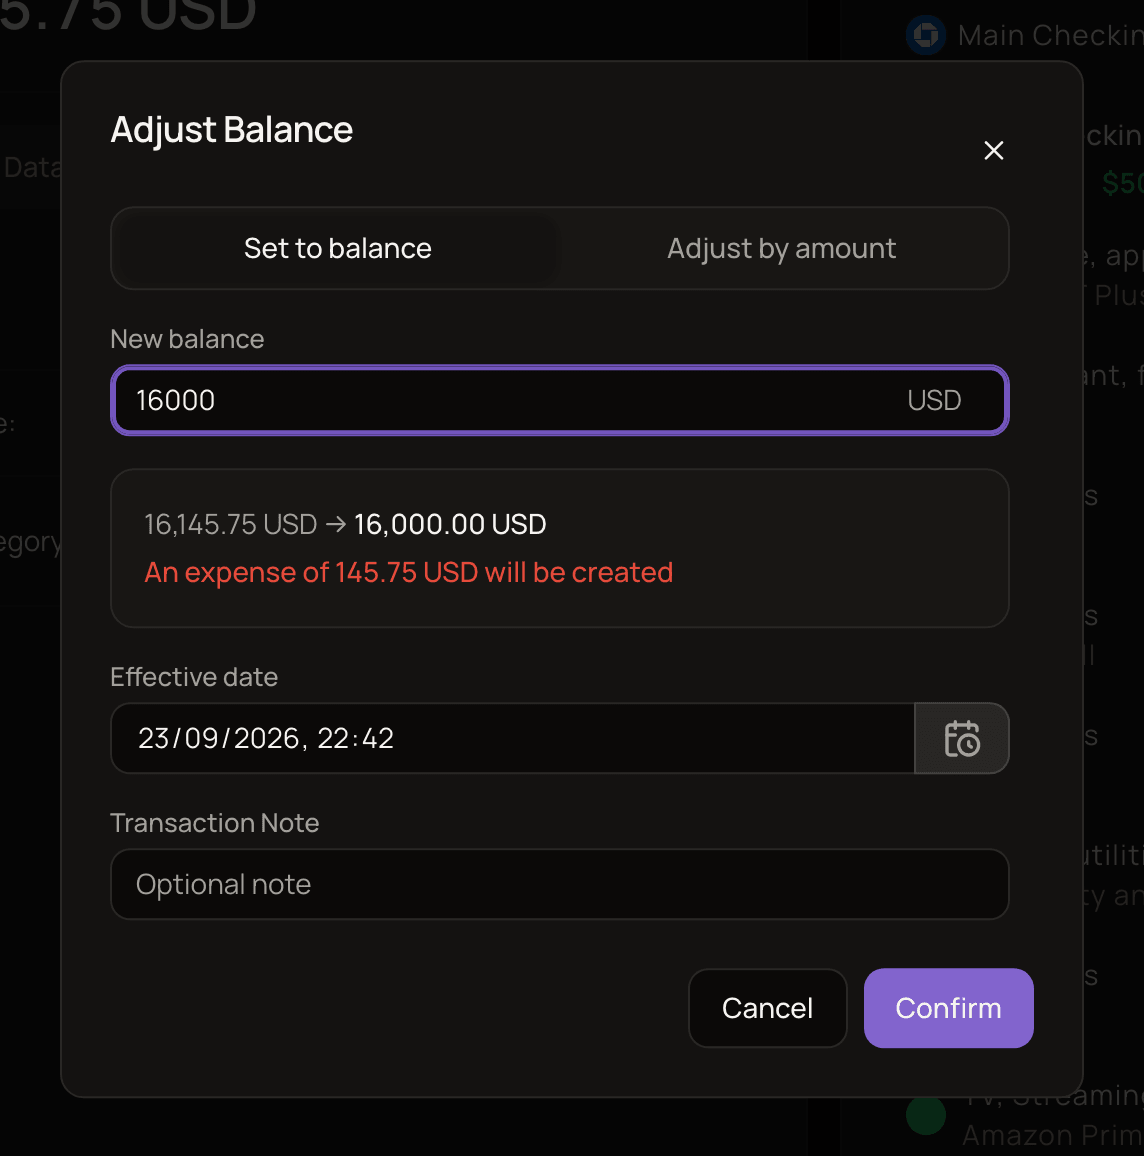
Adjust balance is only available for manual accounts. For bank-synced accounts it’s greyed out, because the bank sets the balance.
What an adjustment creates
Section titled “What an adjustment creates”An adjustment is a real transaction for the difference:
- An income if the balance goes up, an expense if it goes down.
- It’s dated on the Effective date and put in the Other category (see categories).
- Its note is “Balance adjustment” unless you write your own.
- In transaction lists, the other side shows as Out of Wallet, meaning money from or to somewhere MoneyMatter doesn’t track. See Out of Wallet transfers.
Backdate an adjustment
Section titled “Backdate an adjustment”The Effective date is today by default. Set an earlier date if you know when the difference crept in. The correction is recorded on that date, so your balance history changes from that date onward.
With Set to balance, the number you enter is still the balance you want the account to have today. The difference is worked out against today’s balance, whatever date you pick.
Undo an adjustment
Section titled “Undo an adjustment”The adjustment is a normal transaction, so deleting it removes the correction and puts the balance back. See add and edit transactions.
Credit limits
Section titled “Credit limits”Set a credit limit on credit cards and overdrafts. It’s what the Credit Utilization widget on the dashboard measures your usage against, and it can change how the balance is shown when your bank’s balance includes the credit line. For example, a card with a 1,000 EUR limit where you’ve spent 200 EUR shows 800 EUR.
To set or change the limit:
- Open the account and select the Details tab.
- Click the pencil next to Credit Limit: (Edit credit limit).
- Enter the limit and click Save. It can’t be negative.
The limit never changes the balance itself. What it does depends on a setting in Settings → General: Include credit limits in balance. It’s off by default. See general settings.
- Off: balances are shown as they are. The card above shows 800 EUR.
- On: the credit limit is subtracted wherever the balance is shown and in your statistics. The card above shows −200 EUR, which is what you actually owe.
With the setting on, Set to balance in Adjust balance also works with the balance you see, minus the limit. You don’t need to add the limit back yourself.
Exclude an account from statistics
Section titled “Exclude an account from statistics”Some accounts shouldn’t count in your reports, like a card you manage for someone else, or an old account kept only for reference.
- Open the account and select the Settings tab.
- Turn on Exclude from statistics.
The change saves on its own about a second later.
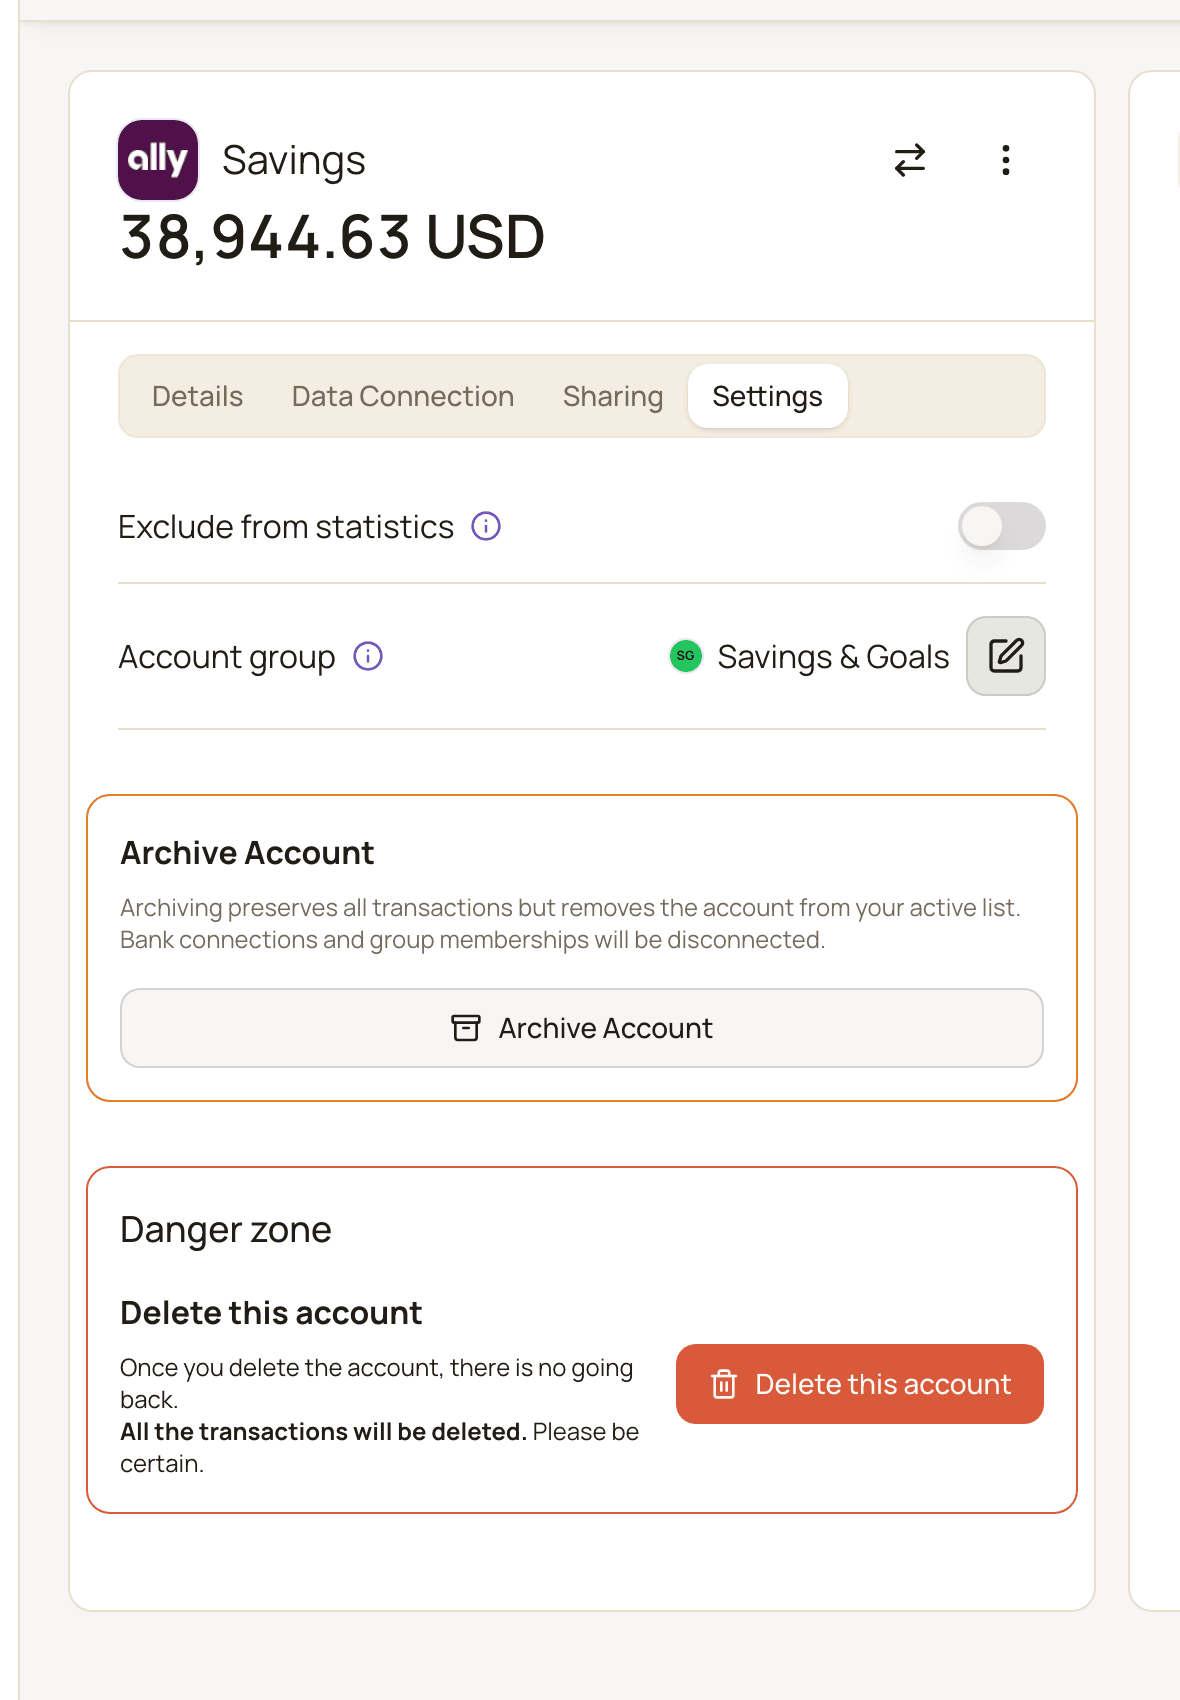
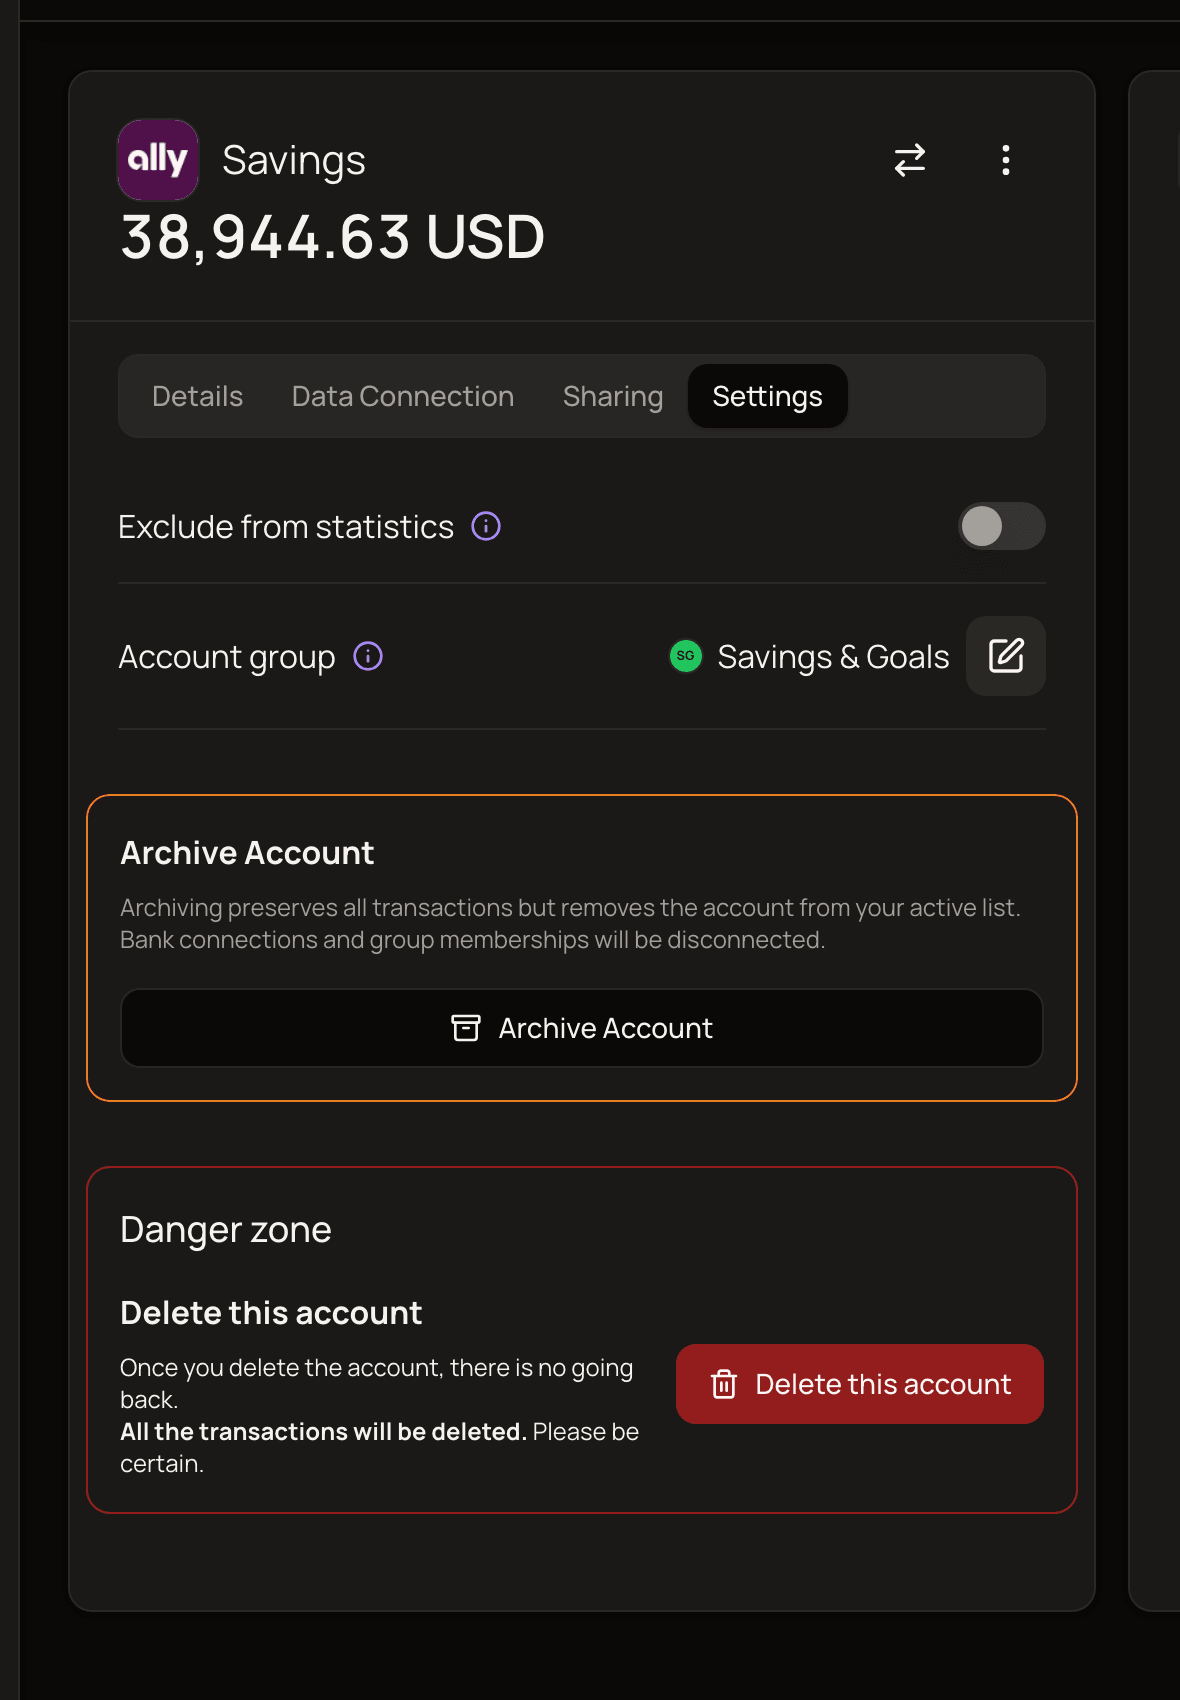
What an excluded account is left out of:
- cash flow, spending and category reports
- the balance trend and net worth history
- payee statistics
- the Credit Utilization widget
What stays the same:
- The account’s transactions still appear in your transaction lists.
- The account stays in the sidebar and on the Accounts page.
- Total balance on the Accounts page and the Bank Accounts total in the sidebar still include it.
The switch’s info text mentions balance totals. That means the balance figures on your dashboard and in reports, not Total balance on the Accounts page or the sidebar totals.
See how stats are calculated for the full picture.
Archive an account
Section titled “Archive an account”Archive an account you no longer use but want to keep the history of, like a closed bank account.
- Open the account and select the Settings tab.
- In the Archive Account box, click Archive Account.
- In the confirmation, leave Also exclude from statistics ticked unless you want the account’s history to keep counting in your reports.
- Click Archive Account.
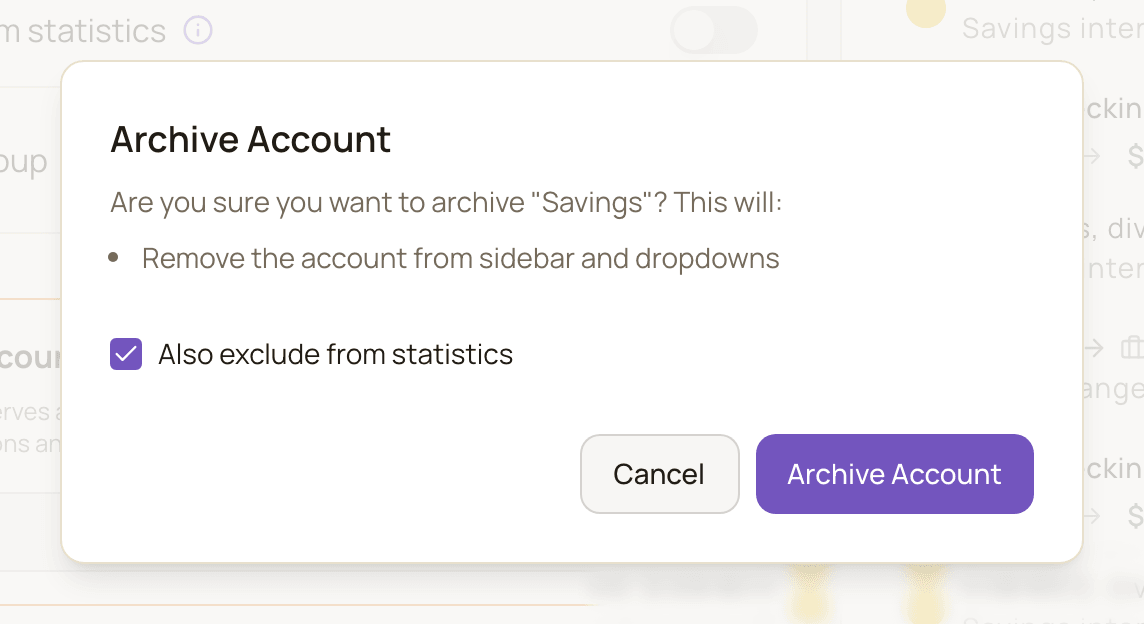
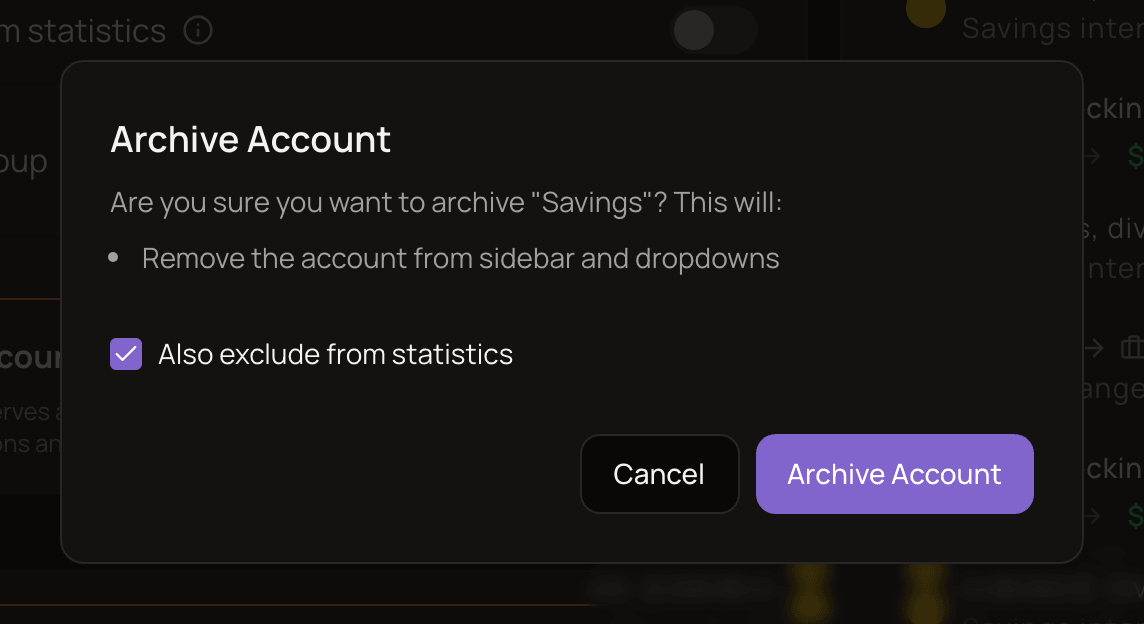
When you archive an account:
- All its transactions are kept.
- It disappears from the sidebar and moves to the Archived section at the bottom of the Accounts page.
- It no longer counts toward Total balance on the Accounts page.
- It’s hidden from the account lists you pick from, for example when adding a transaction. To keep archived accounts in those lists, turn on Show archived accounts in Settings → General. They’re then marked “(archived)”.
- It’s removed from its account group.
- Transaction templates that used it lose the account, along with their saved amount.
- If it was synced with a bank, it’s disconnected from the bank and becomes a manual account.
You can still filter your transactions by an archived account.
Unarchive an account
Section titled “Unarchive an account”- On the Accounts page, expand Archived and click the account.
- Select the Settings tab.
- In the Archived Account box, click Unarchive Account.
The account becomes active again, but a few things don’t come back on their own:
- It isn’t put back into its group. Add it to a group again if you want.
- It isn’t reconnected to your bank. Link it again from the Data Connection tab.
- Transaction templates don’t get the account or their saved amount back. Edit each template to set them again.
- Exclude from statistics stays on if it was on. Turn it off on the Settings tab if you want the account counted again.
Delete an account
Section titled “Delete an account”Deleting an account removes it and all of its transactions for good. If you might want the history later, archive it instead.
- Open the account and select the Settings tab.
- In the red Danger zone box, click Delete this account.
- The confirmation tells you how many transactions will be deleted along with the account. Type the account name exactly as shown. You can click the name under Account name (click to copy) to copy it.
- Click Accept.
You’re taken back to the Accounts page. The account is also removed from its group, and transaction templates that used it lose the account, along with their saved amount.
If you moved money between this account and your other accounts, the other side of those transfers stays in the other account and still counts in its balance. Delete or edit those transactions yourself if you don’t want them.
The confirmation also shows Also delete portfolio contribution records linked to this account, ticked by default. It only matters if you’ve moved money between this account and an investment portfolio. Otherwise you can leave it as it is.
If the account was used to pay off a loan, you need to delete or reassign those payments before you can delete the account.
Archive, exclude or delete?
Section titled “Archive, exclude or delete?”| Exclude from statistics | Archive | Delete | |
|---|---|---|---|
| Transactions kept | Yes | Yes | No, all deleted |
| Shown in the sidebar | Yes | No | No |
| Counted in Total balance on the Accounts page | Yes | No | No |
| Counted in reports and balance history | No | No by default (Also exclude from statistics is ticked). Yes if you untick it | No |
| Offered when adding transactions | Yes | Only with Show archived accounts on | No |
| Can be undone | Yes, turn it off | Yes, but the group, the bank link and your templates’ account and amount aren’t restored, and Exclude from statistics stays on | No |
Good to know
Section titled “Good to know”- You can’t edit the currency or initial balance yourself after an account is created. An import may adjust the initial balance for you so your current balance stays the same (see how an import affects balances). To fix a balance, use Adjust balance.
- Changing your base currency takes a moment. While it’s running, you can’t create, edit or delete accounts. Wait for it to finish and try again.
- After your trial or plan ends, your data becomes read-only, including your accounts. See plans and billing.