
Categories
Categories describe what money was spent on or where it came from, such as Groceries, Rent or Salary. Every expense and income has exactly one category, and your stats and reports are built from them.
Open your categories
Section titled “Open your categories”- Click the gear button (Settings) at the top right of the app.
- Under Workspace, choose Categories.
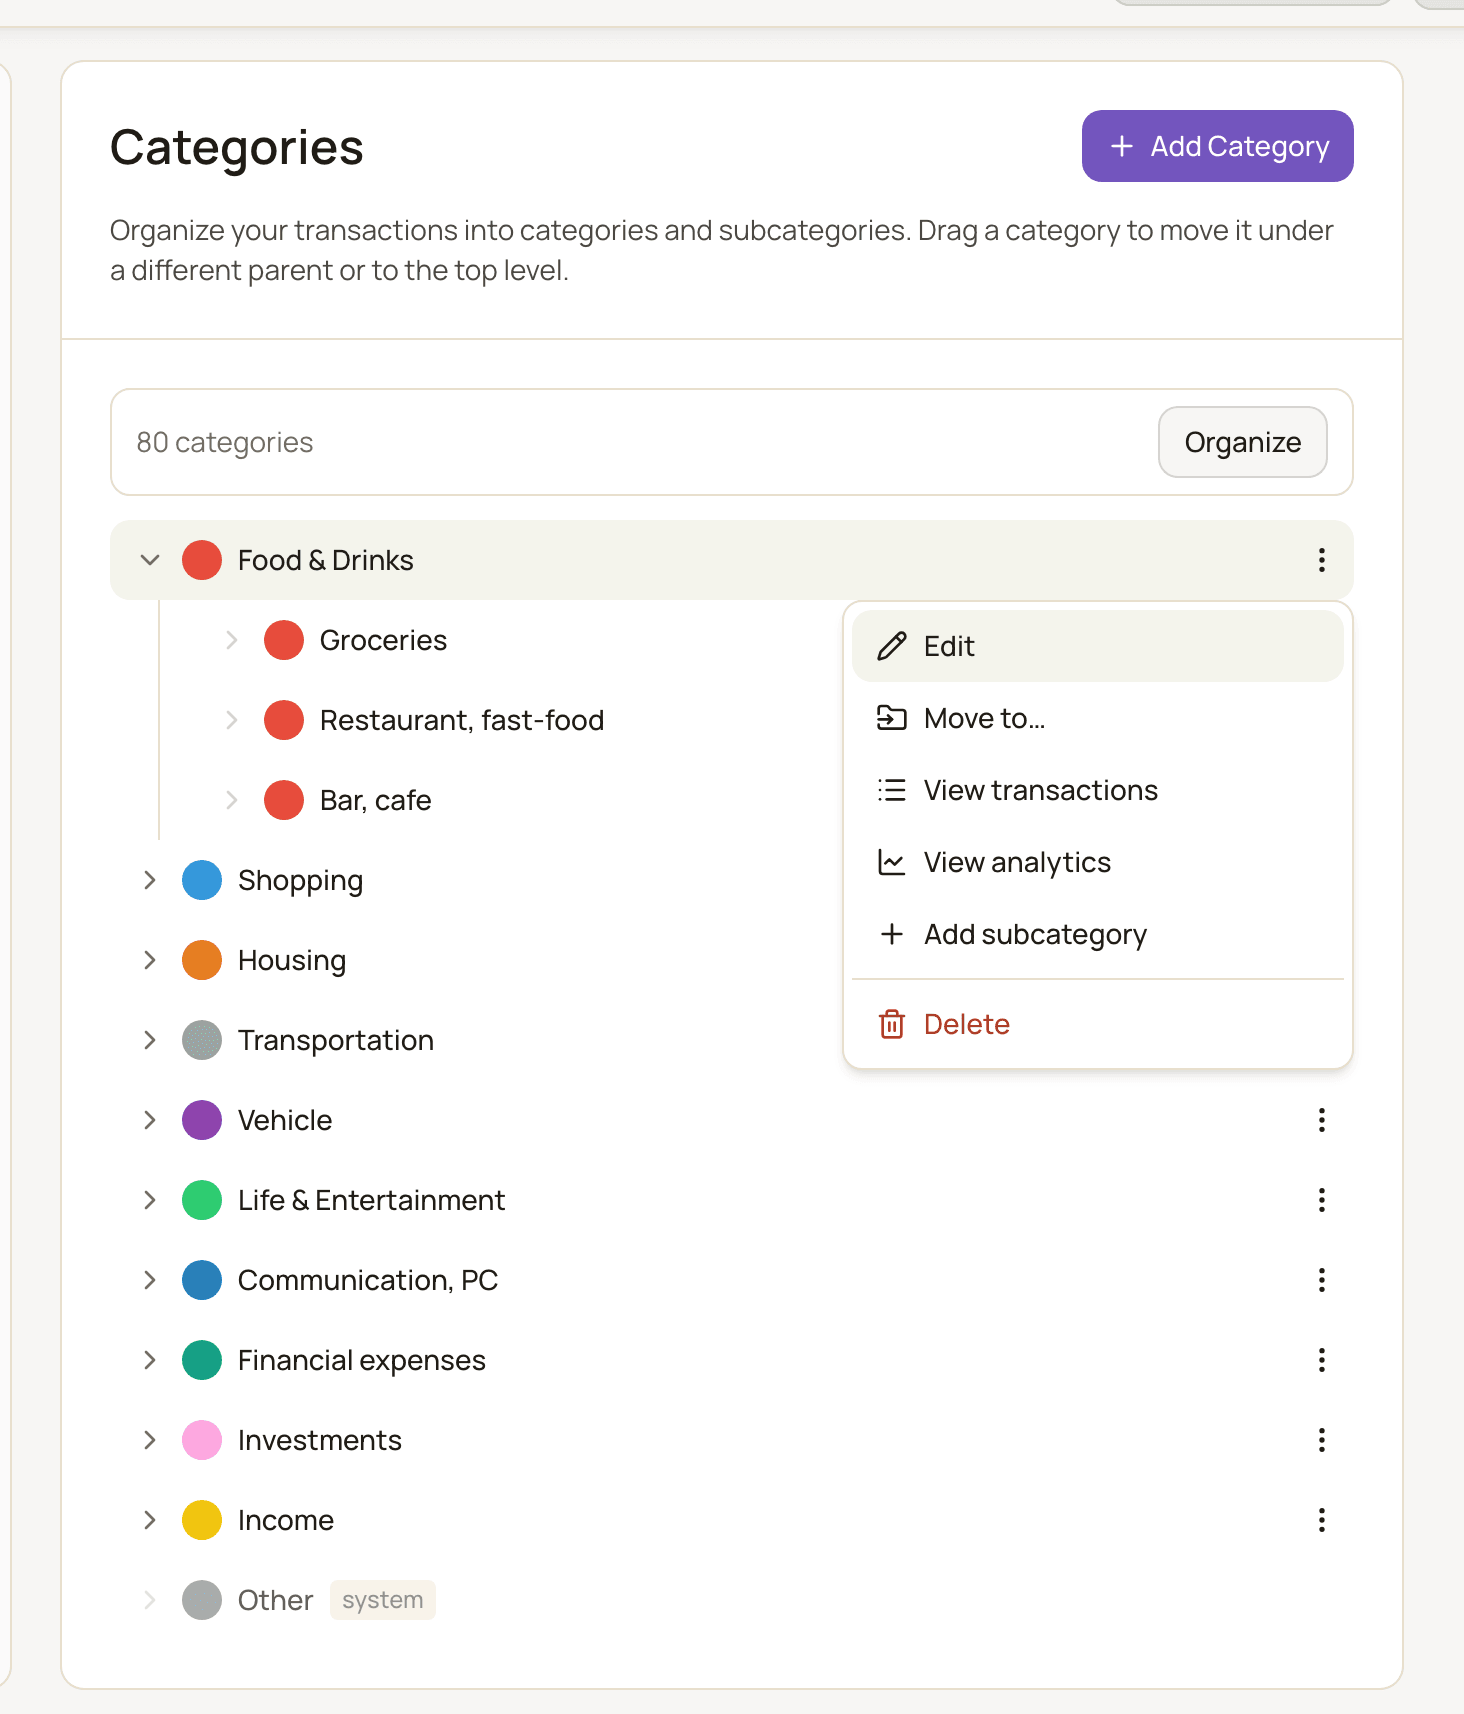
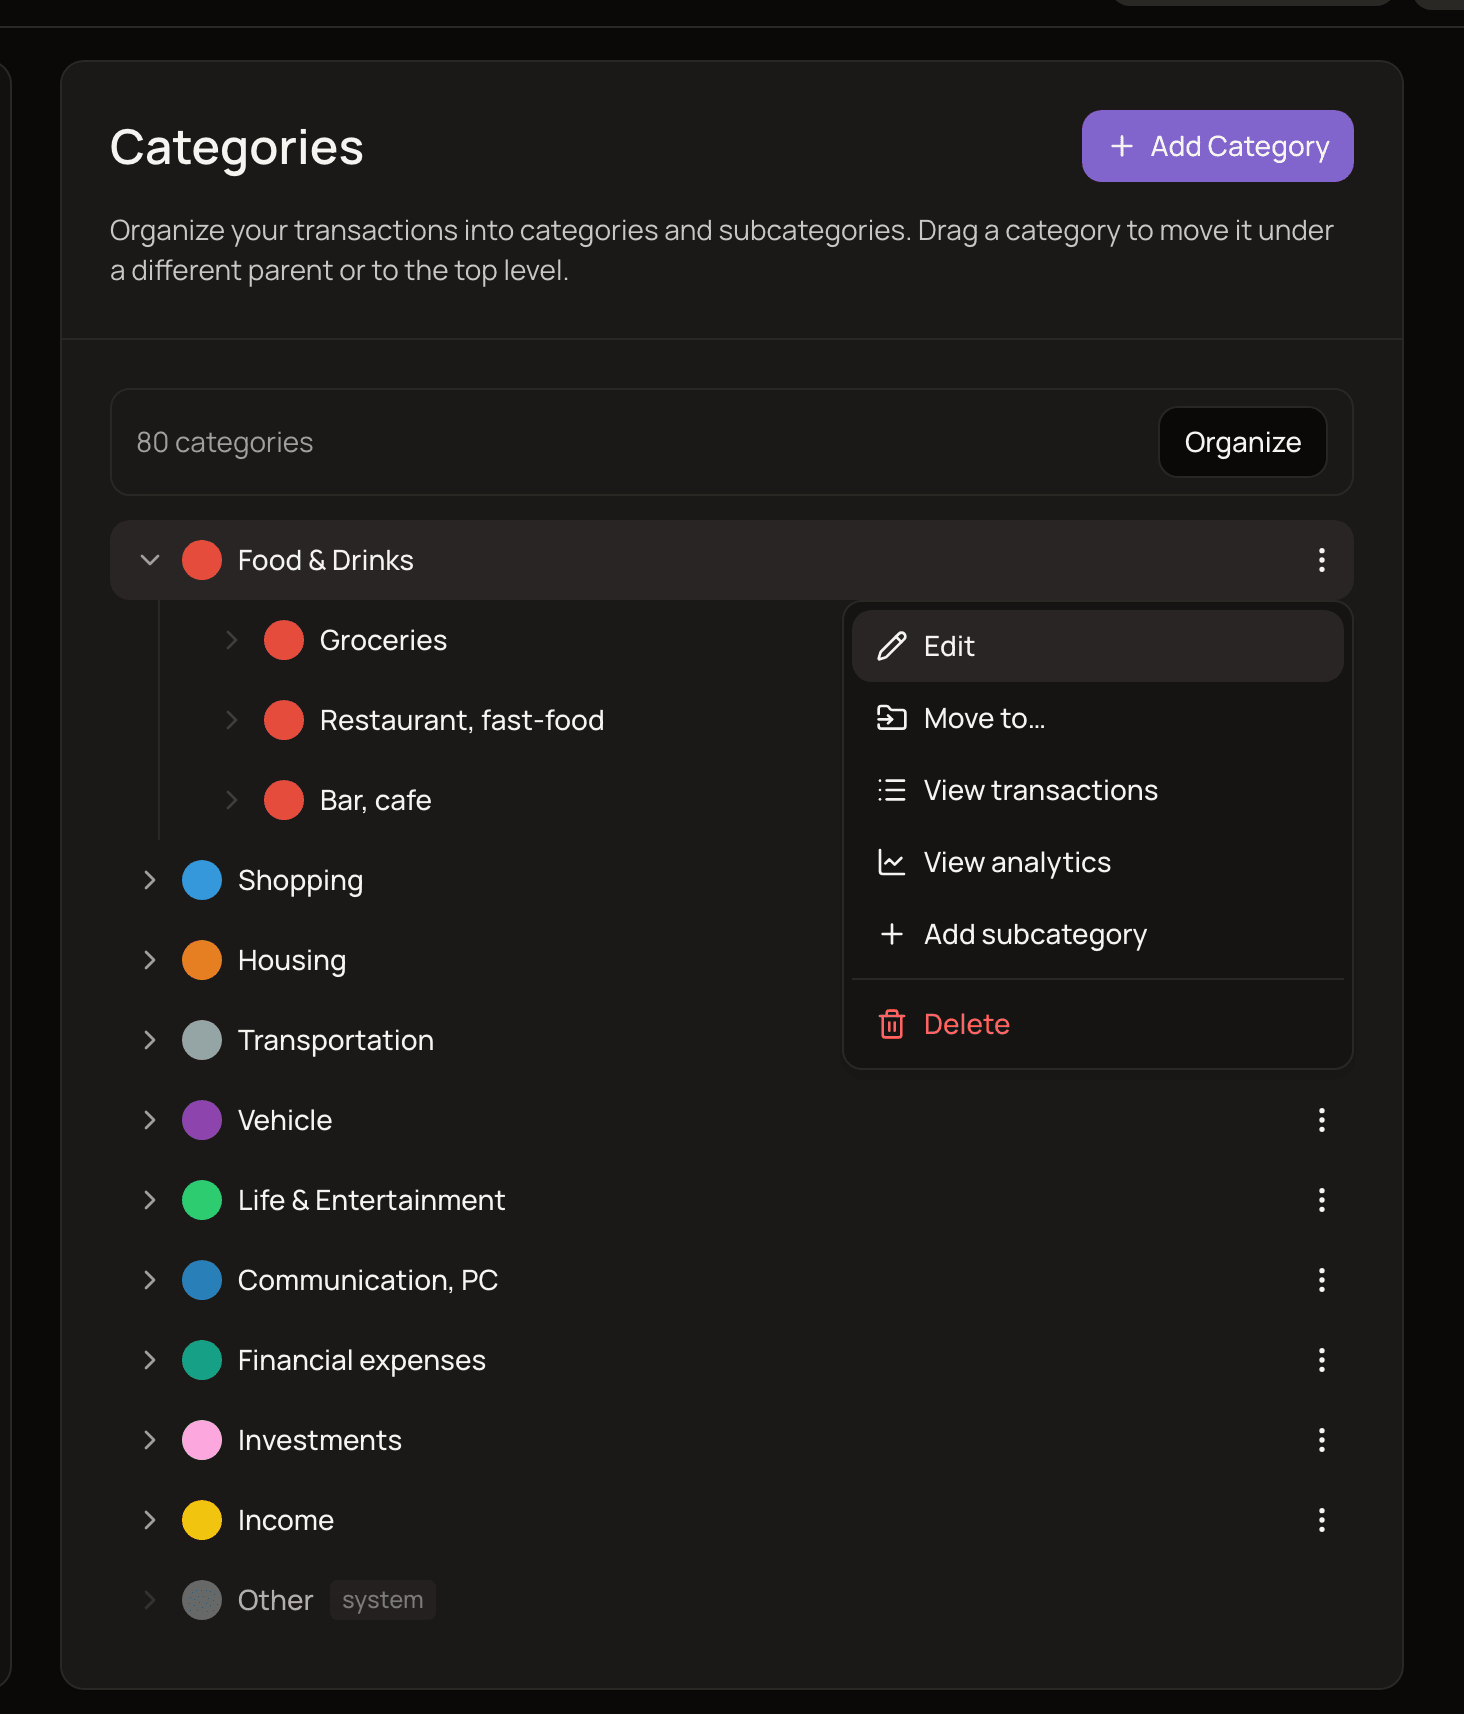
Click a category to show its subcategories.
The categories you start with
Section titled “The categories you start with”A new MoneyMatter account comes with a ready-made set of categories, named in the language you signed up in. In English, the top-level ones are:
- Food & Drinks
- Shopping
- Housing
- Transportation
- Vehicle
- Life & Entertainment
- Communication, PC
- Financial expenses
- Investments
- Income
- Other
Most have subcategories, for example Groceries, Restaurant, fast-food and Bar, cafe under Food & Drinks. You can rename, recolour, move or delete any of them, except Other.
The “Other” category
Section titled “The “Other” category”Other is a system category, marked system in the list. It’s the fallback for transactions nothing else has categorized, such as a bank-synced transaction with no matching rule. Because MoneyMatter relies on it always being there, you can’t edit, move or delete it, and it can’t have subcategories.
Add a category
Section titled “Add a category”- On the Categories page, click Add Category.
- Enter a Category name (up to 200 characters).
- Leave Parent category on Top level, or pick a parent to make it a subcategory.
- Pick a Color and an Icon.
- Click Create.
Add a subcategory
Section titled “Add a subcategory”- Open the ⋮ menu next to the parent category.
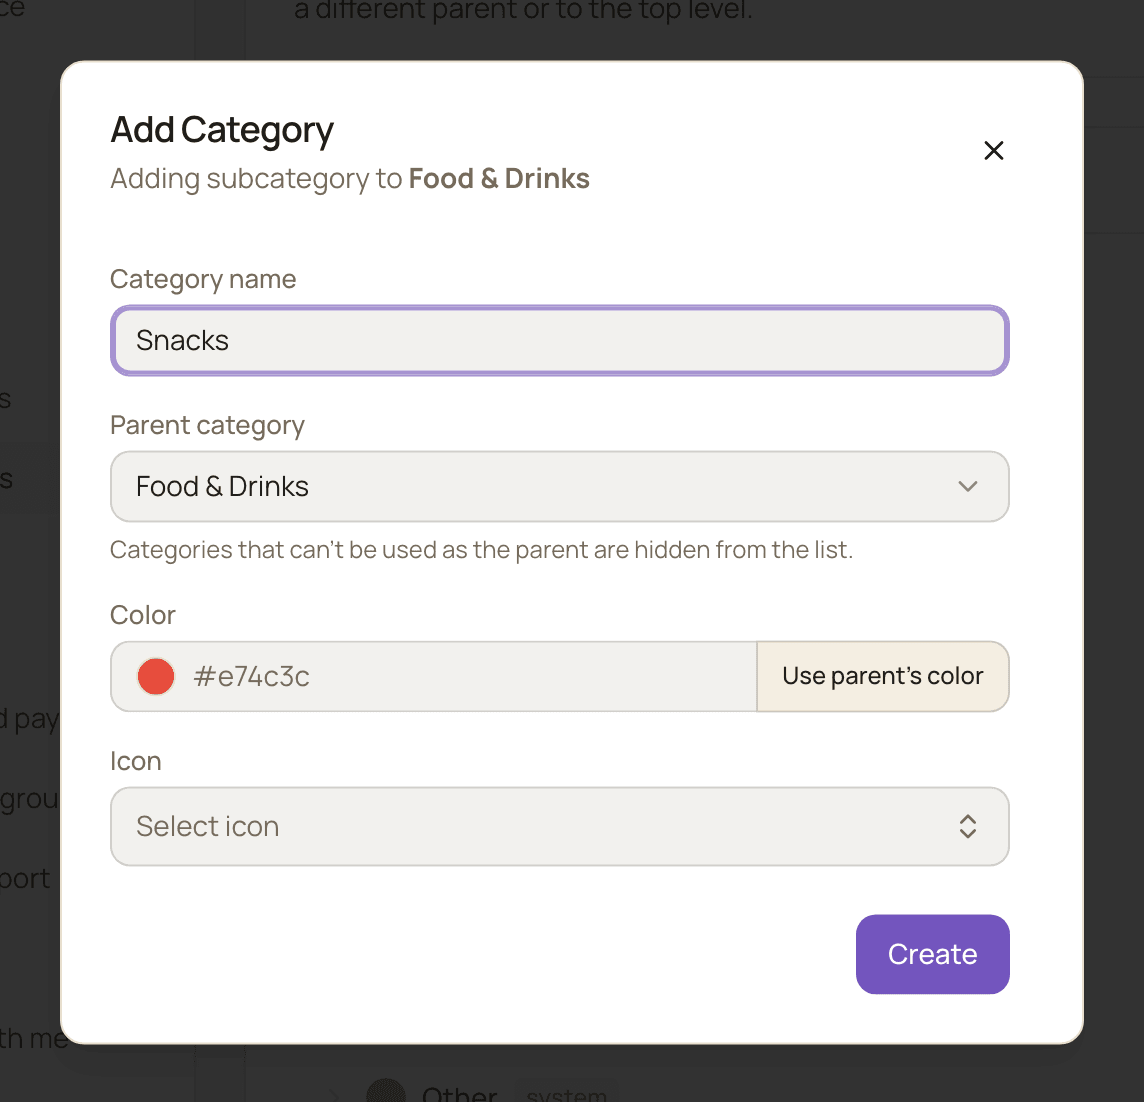
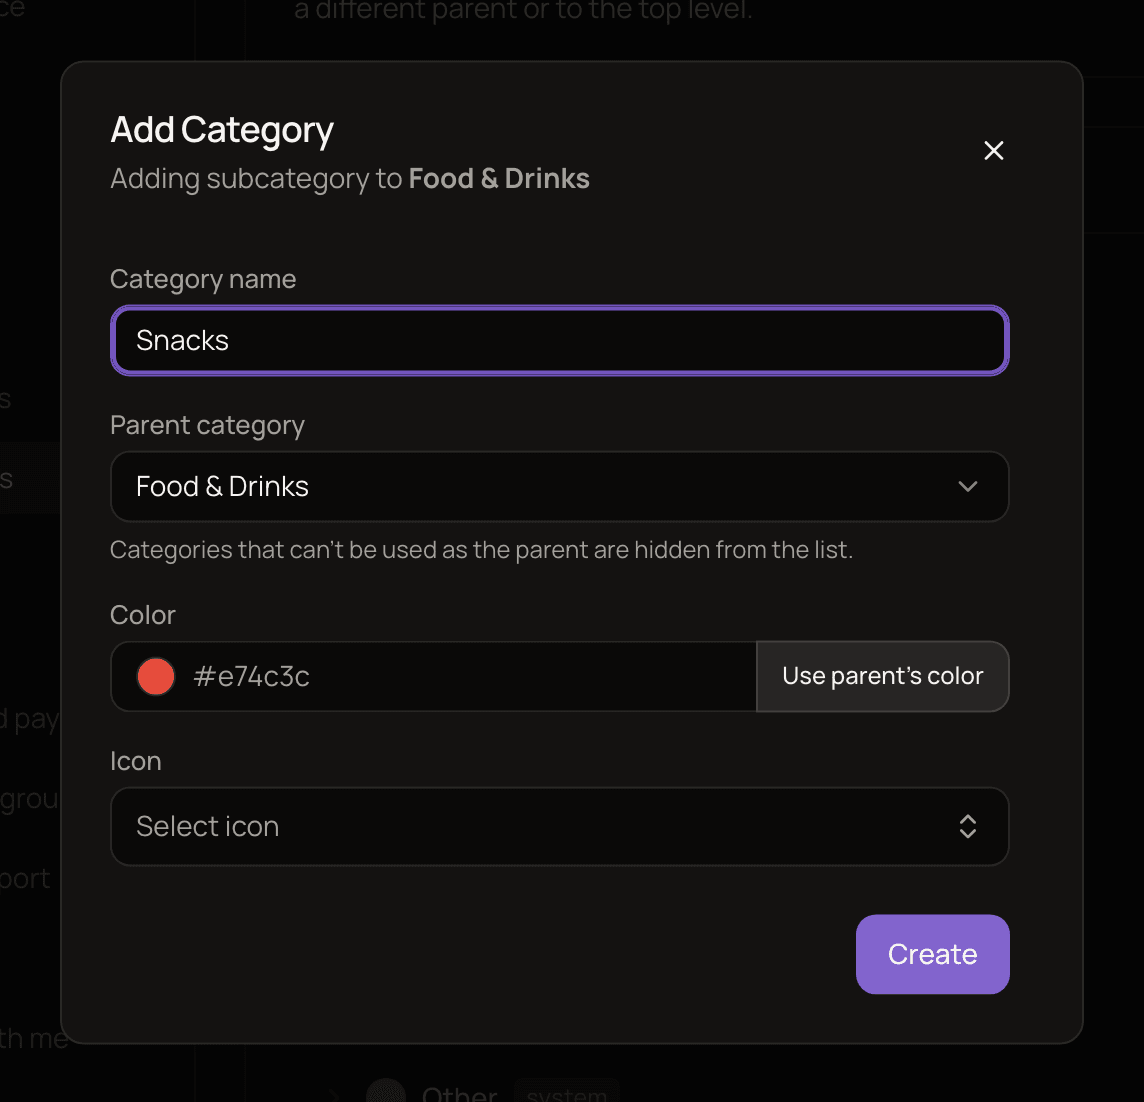
- Choose Add subcategory. The window says which category you’re adding to.
- Enter a Category name.
- The color and icon start out the same as the parent’s. Change them if you like, or click Use parent’s color to go back to the parent’s color.
- Click Create.
Categories can be nested up to three levels deep, for example Food & Drinks → Restaurant, fast-food → Lunch at work. A third-level category has no Add subcategory option.
Edit a category
Section titled “Edit a category”Open the ⋮ menu next to the category and choose Edit. In Edit Category you can change the Category name, Parent category, Color and Icon. Click Save.
Changes apply everywhere at once, including past transactions, since they point to the category rather than a copy of its name.
Move a category
Section titled “Move a category”Moving a category takes its subcategories and all its transactions along. You have three ways to do it:
- Move to… in the ⋮ menu: choose the new parent and click Move.
- Parent category in the Edit Category window.
- Organize: click Organize at the top of the page, then drag categories onto a new parent, or onto the top area to make them top-level. Moves are queued until you click Save changes, so you can rearrange several at once.
Organize isn’t available on touch screens. On a phone or tablet, use Move to… instead.
A move is refused if it would put a category inside its own subcategory, or push anything deeper than three levels.
Delete a category
Section titled “Delete a category”Open the ⋮ menu next to the category and choose Delete.
- If the category has no transactions, confirm in the Delete category? window.
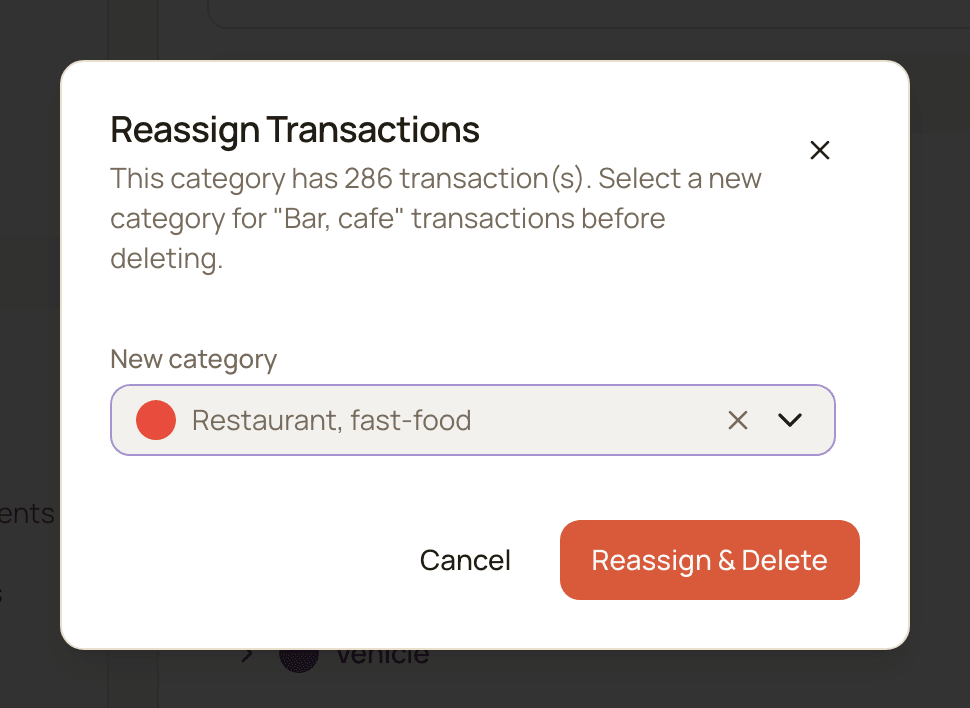
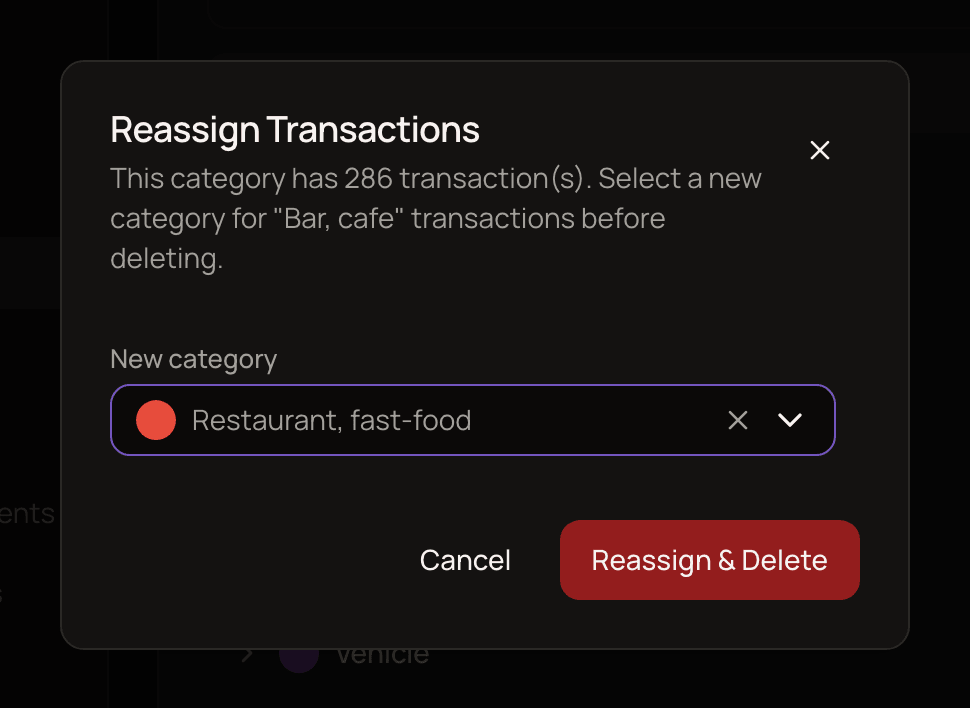
- If it has transactions, the Reassign Transactions window shows how many there are. Pick a New category and click Reassign & Delete.
Reassigning moves everything that used the old category to the new one in a single step:
- its transactions,
- split parts in that category (these count toward the number shown),
- transaction templates that use it.
Nothing is left without a category, and your totals stay the same; they just show up under the new category.
Payees that used the deleted category as their Default category lose it; it isn’t moved to the new category. Set it again on the payee’s page (see payees).
Jump to a category’s transactions or stats
Section titled “Jump to a category’s transactions or stats”The ⋮ menu has two shortcuts:
- View transactions opens the All Transactions page filtered to this category. It shows this exact category only, without its subcategories. To include them, pick the parent in the categories filter instead.
- View analytics opens this category’s trends in analytics.
Categories in your stats
Section titled “Categories in your stats”- Stats group amounts by category, and subcategories can roll up into their top-level category. See how stats are calculated.
- A split transaction counts toward several categories at once.
- Money you set aside, for example in a “Savings” category, can be counted as savings instead of expenses in cash-flow analytics with Count categories as savings.
- Transfers between your own accounts don’t have a category, and they never count as spending. See how transfers work.
Good to know
Section titled “Good to know”- You can’t create a category from the transaction form. Add it here first, then pick it in the form.
- Changing a transaction’s category by hand shows it as “Manual” in the Categorized by column of the transactions table (moving it back to Other clears the label).