
How transfers work
A transfer is money moving between your own accounts, for example from your checking account to your savings. You didn’t spend or earn anything, so MoneyMatter keeps transfers out of your income and expense totals. This page covers how to record a transfer and what happens to it afterwards.
Two kinds of transfer
Section titled “Two kinds of transfer”A transfer is one of two kinds. Which one you get depends on whether you pick Out of Wallet as one of the accounts:
- Between accounts. Money moves from one of your MoneyMatter accounts to another. The app records it as two transactions: an expense on the account the money left and an income on the account it arrived in. The two are paired and act as one transfer.
- Out of Wallet. Money moves to or from somewhere you don’t track in MoneyMatter, for example a savings account at another bank that you haven’t added. There’s no second account to put the other side on, so this is one transaction: an expense when money leaves, an income when money arrives.
Both kinds show up in the transaction list filters, as Between accounts and Out of wallet.
MoneyMatter also uses transfers for moving money into an investment portfolio and for loan payments. Those aren’t covered here.
Create a transfer between your accounts
Section titled “Create a transfer between your accounts”- Click Add transaction at the top of the app (on a phone, tap Add). The Add Transaction dialog opens.
- Select the Transfer tab at the top of the dialog.
- In Amount, enter how much left the source account.
- In From account, pick the account the money left.
- In the Where the money goes panel, keep Account selected and pick the destination in To account.
- If the two accounts use different currencies, enter how much arrived in Target amount. See Same currency or different currencies.
- Check Datetime. You can also set Payment type, Note and Tags under More options, which is the right-hand column on a computer and a button at the bottom of the dialog on a phone.
- Click Create.
If you click Add transaction while an account’s page is open, From account is already set to that account.
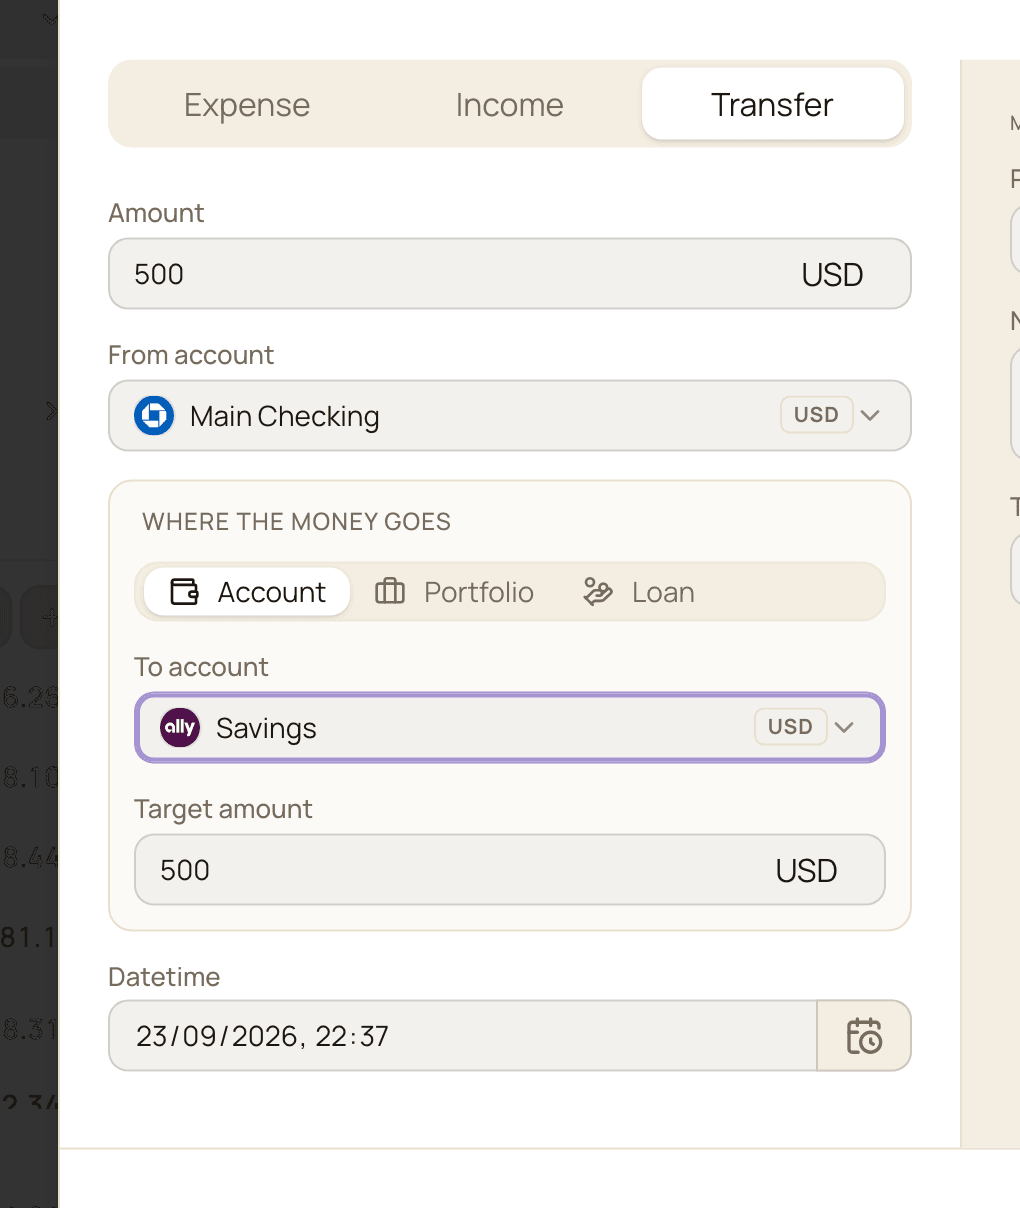
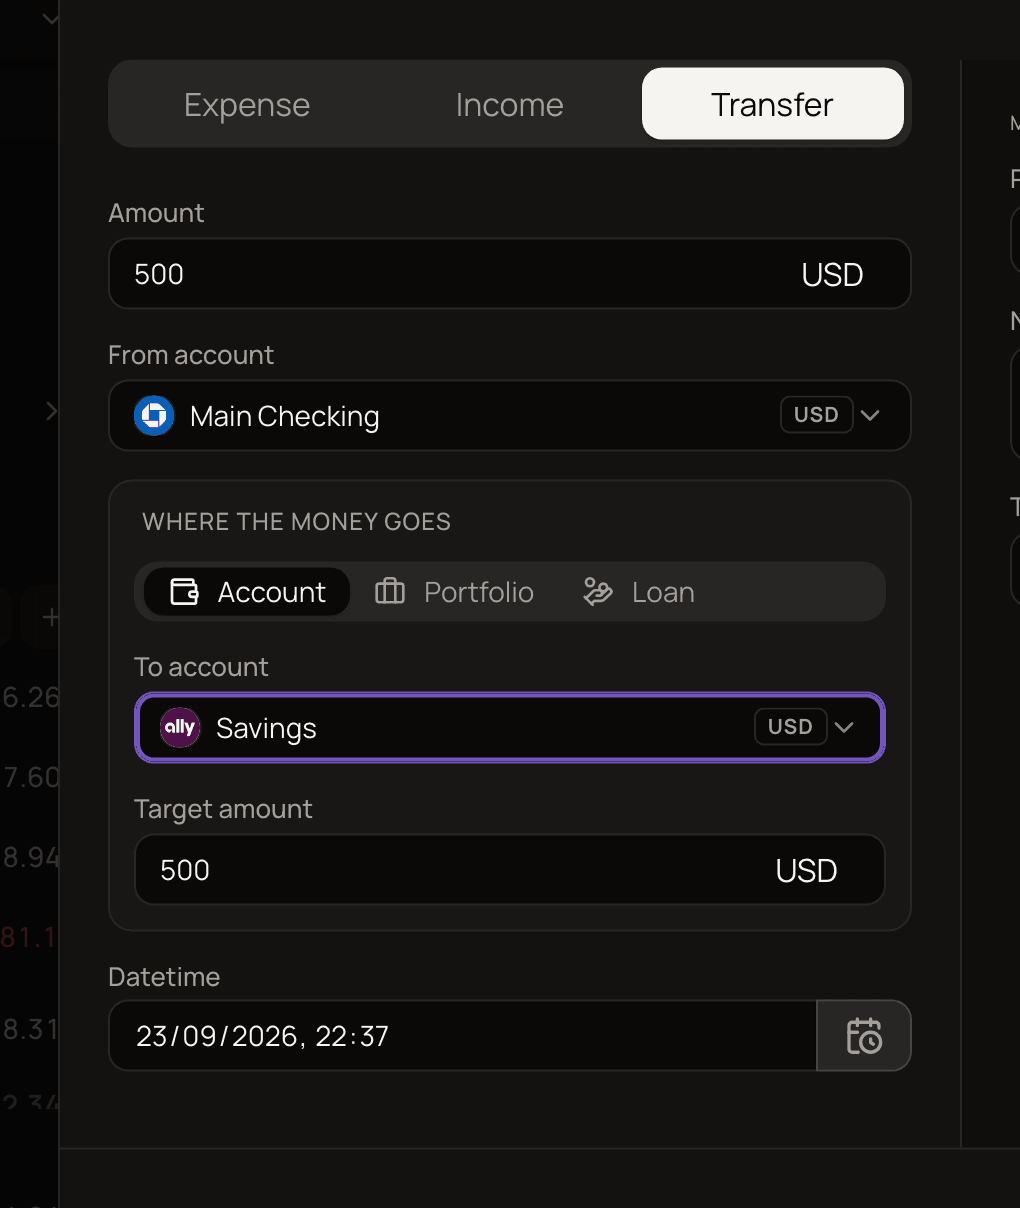
A few fields you know from expenses and incomes aren’t there. Category, Payee and the split option don’t apply to transfers, because moving money between your accounts isn’t spending on anything. Transfers are saved without a category.
Same currency or different currencies
Section titled “Same currency or different currencies”When both accounts use the same currency, both sides of the transfer always get the Amount value. Target amount fills in automatically, and whatever you type there is ignored. If you later change the amount, both sides change together.
When the currencies differ, you type both amounts yourself: what left in Amount, and what arrived in Target amount. Target amount becomes required. MoneyMatter doesn’t look up or suggest an exchange rate here. The rate is whatever your two amounts imply, which is usually what you want, because it matches what your bank or exchange actually charged.
For example, you move 500 USD from Checking to a Travel card that holds EUR, and 460 EUR arrives. Enter 500 in Amount and 460 in Target amount. Checking goes down by 500 USD and the Travel card goes up by 460 EUR.
What’s shared between the two sides
Section titled “What’s shared between the two sides”The second transaction copies the date, note and payment type from the one you entered, and the two stay in sync when you edit them later. Tags are the exception: they’re saved only on the From account side (the account the money left), not on both.
Out of Wallet transfers
Section titled “Out of Wallet transfers”Use Out of Wallet when money leaves your tracked accounts or arrives from outside them without being spent or earned. Typical cases are moving savings to an account you don’t track in MoneyMatter, or receiving money back from one. The app describes these as transfers “to and from accounts you don’t track”.
Why not record it as an expense or income? Because it would inflate your spending or your income, when really the money only moved somewhere you aren’t tracking.
Out of Wallet is the first option in both From account and To account.
- Money leaving: pick your account in From account and Out of Wallet in To account. Enter the amount in Amount. Target amount is turned off. This creates one expense on your account.
- Money arriving: pick Out of Wallet in From account and your account in To account. Enter the amount in Target amount. Amount is turned off. This creates one income on your account.
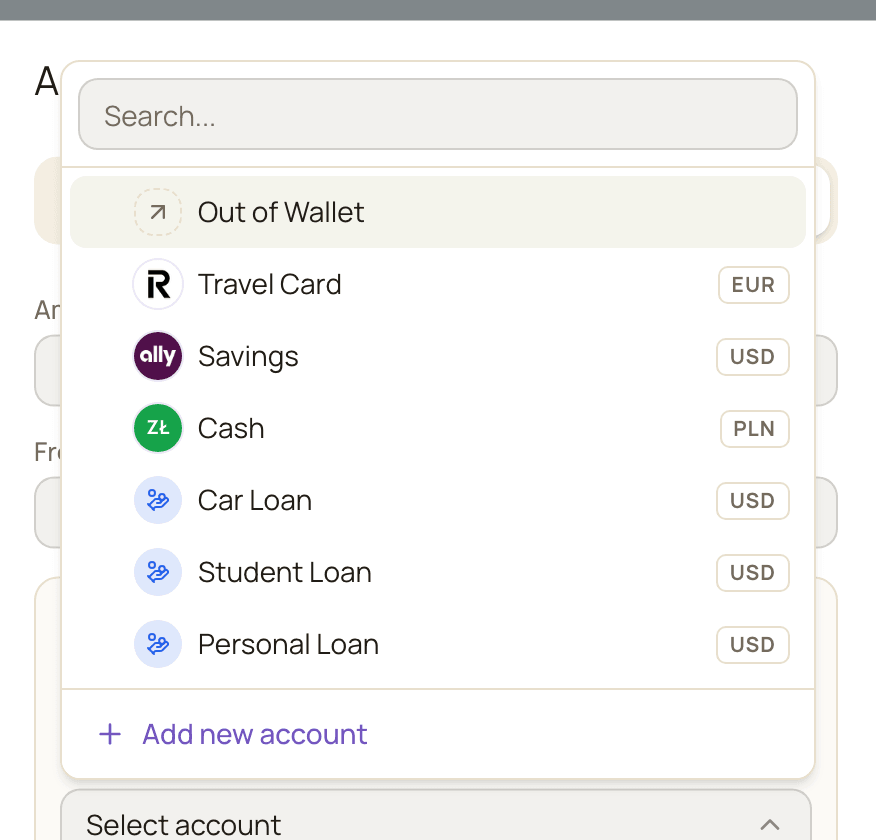
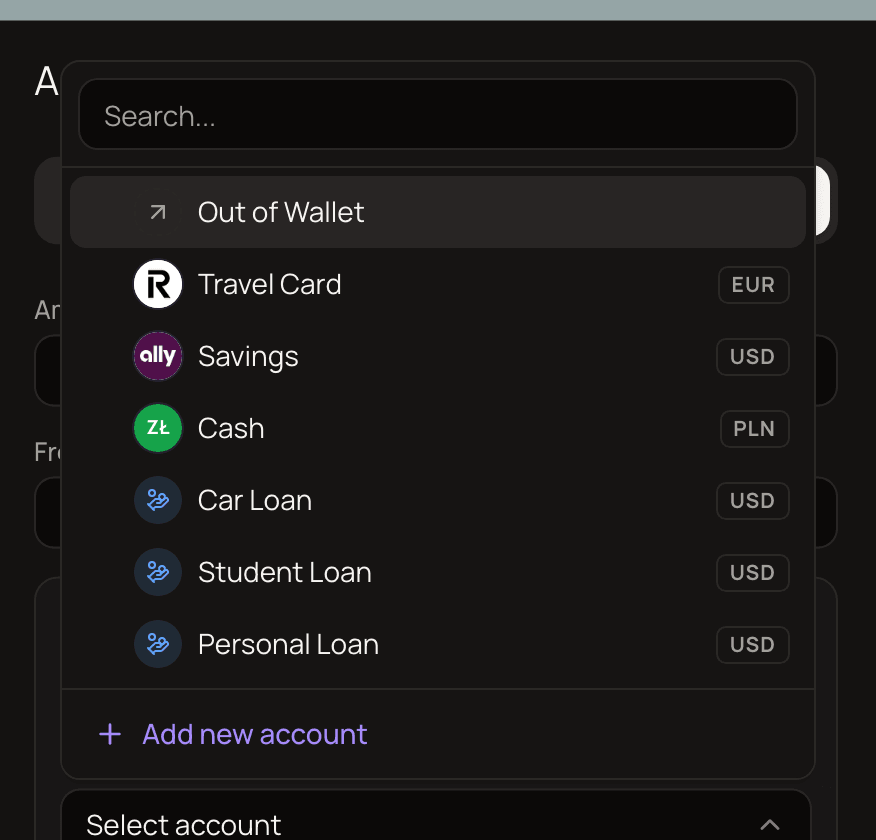
In the transaction list, an Out of Wallet transfer shows Out of Wallet where the other account’s name would be.
To turn an Out of Wallet transfer back into an ordinary expense or income, open it, select the Expense or Income tab, pick a category and click Edit (the save button at the bottom of the dialog).
If you later start tracking the other account, you can join the two records into a regular transfer. See Link existing transactions.
How transfers affect balances
Section titled “How transfers affect balances”Each side of a transfer changes its own account, just like any expense or income. A 500 USD transfer from Checking to Savings takes 500 USD off Checking and adds 500 USD to Savings. With different currencies, each account moves by its own amount in its own currency.
An Out of Wallet transfer only changes the one account it’s on.
How transfers affect stats
Section titled “How transfers affect stats”Transfers are left out of income and expense totals: cash flow, spending by category, and the other reports and widgets that add up what you earned and spent. The exception is a payment to a loan you track: the money leaving your account counts as spending. Moving 1,000 from Checking to Savings doesn’t mean you spent 1,000 and earned 1,000, so counting it would make both your spending and your income look bigger than they were.
Out of Wallet transfers are also left out of income and expense totals. Because they do change an account’s balance, they still show up in that account’s balance and balance history.
For the full picture of what’s counted where, see How stats are calculated.
Transfers in the transaction list
Section titled “Transfers in the transaction list”A transfer shows both account names with an arrow between them. On All Transactions it appears once, not twice. On an account’s own page, you see the side that belongs to that account.
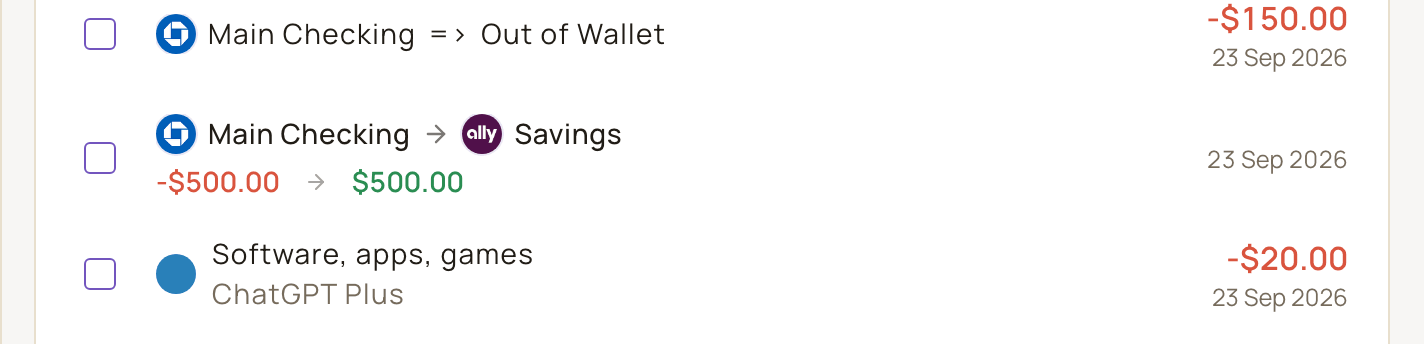
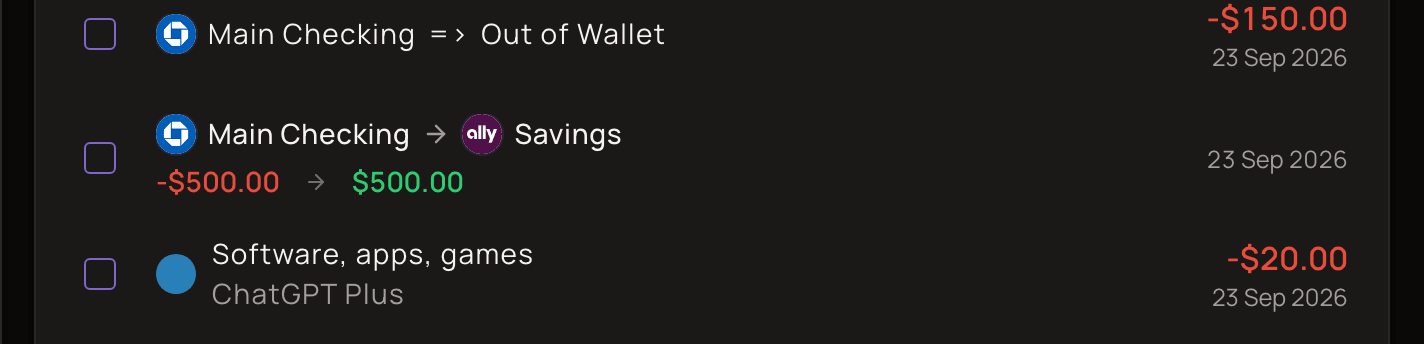
To find transfers, open the Filters menu above the list and add:
- Transfers, to show All transactions, Exclude transfers, or show Only transfers.
- Transfer kinds, to narrow down to Between accounts, Out of wallet, To portfolio or To venture.
See Search and filter for the other filters.
Edit a transfer
Section titled “Edit a transfer”Click either side of a transfer in the list to open Edit Transaction. The form always shows the source as From account and Amount, and the destination as To account and Target amount, whichever row you clicked.
Change what you need and click Edit. Changes to the amounts, the accounts, the date, the note and the payment type are applied to both sides.
The Account / Portfolio / Loan choice in Where the money goes is locked on an existing transfer. To send the money somewhere of a different kind, unlink the transfer first.
Turn an expense or income into a transfer
Section titled “Turn an expense or income into a transfer”If you recorded a transfer as an ordinary expense or income, you can convert it.
- Open the transaction and select the Transfer tab.
- Fill in the account that’s missing. Converting an expense keeps its account as From account. Converting an income puts its account in To account and leaves From account empty for you to pick.
- Check the amounts, then click Edit.
When you convert an expense, MoneyMatter creates the other side on the account you picked.
When you convert an income, the transaction you opened becomes the expense on the From account you picked, and a new income is created on its original account. Its tags, payee and attachments stay with the expense.
If the other side is already recorded, for example because both came from bank imports, don’t convert. Link the two instead, otherwise you’ll end up with a duplicate.
Turn a transfer back into an expense or income
Section titled “Turn a transfer back into an expense or income”Selecting the Expense or Income tab on a transfer, picking a category and clicking Edit turns the From account side (the expense) into an ordinary expense or income, whichever of the two rows you clicked. If one side came from a bank connection, that side is the one that changes. The other side, on the other account, isn’t deleted. It stays on its account as a separate, ordinary transaction, keeps affecting that account’s balance, and starts counting in your income and expense stats. Delete it or link it to something else if you don’t want it.
If you want to keep both sides as ordinary transactions, unlinking is the simpler option.
Unlink a transfer
Section titled “Unlink a transfer”Unlinking turns a transfer back into two separate transactions, without deleting anything.
- Click the transfer in the list to open Edit Transaction.
- In the Where the money goes panel, click Unlink transactions.
The dialog closes straight away. Both transactions keep their amounts, dates and accounts, but they’re now an ordinary expense and an ordinary income, so they now count in your income and expense stats.
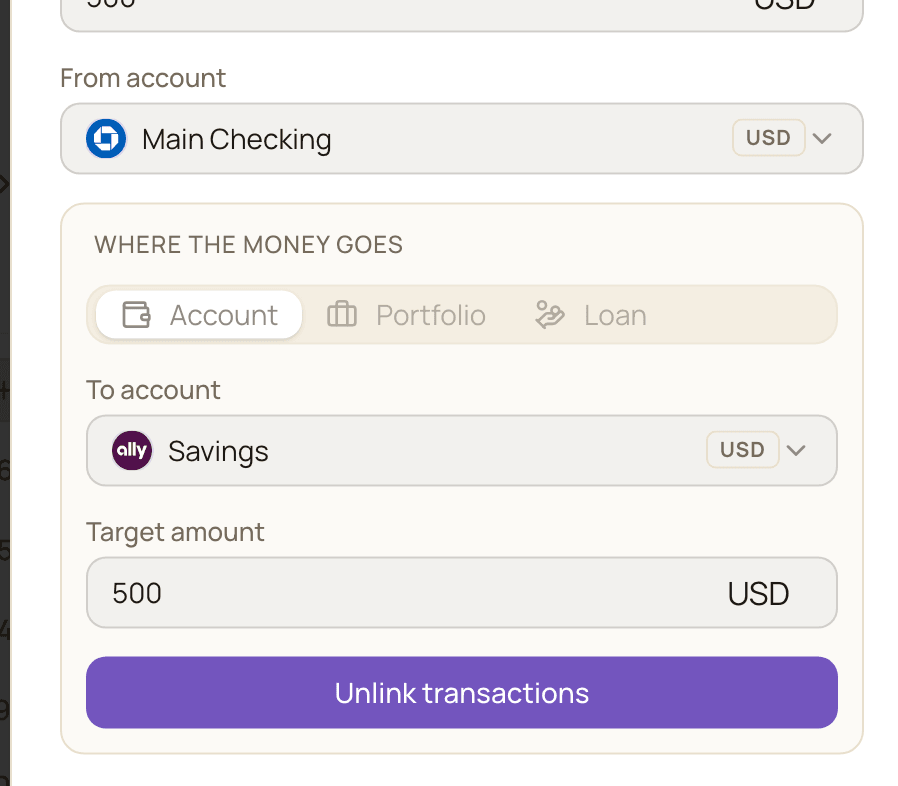
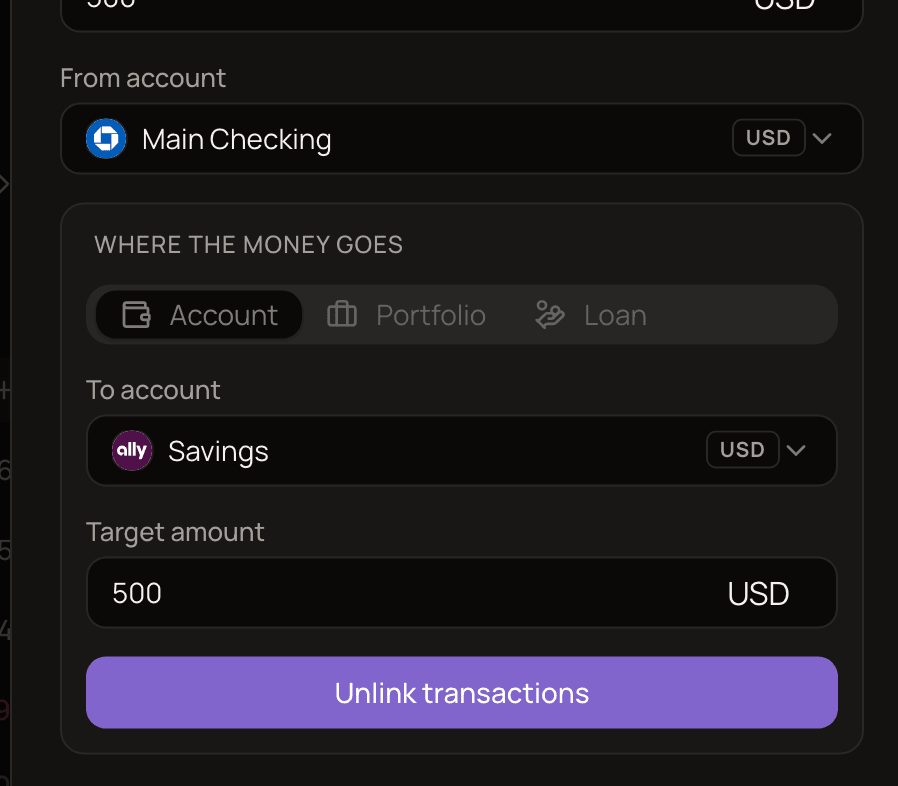
A transfer you added with the Transfer tab has no category, so after unlinking both of its transactions are uncategorized. Give them categories if you’re keeping them as spending and income.
Delete a transfer
Section titled “Delete a transfer”Deleting either side of a transfer deletes both transactions, because together they’re one transfer. The confirmation dialog, Delete this transaction?, doesn’t mention the other side, so keep this in mind before you click Delete.
If you only want to get rid of one side, unlink the transfer first, then delete the one you don’t need.
Transfers with bank-connected accounts Plus
Section titled “Transfers with bank-connected accounts ”Transactions that come from a bank connection are controlled by the bank: you can’t change their amount, date or account, you can’t switch them between expense and income, and you can’t delete them. You can still turn them into a transfer. Bank connections are part of the Plus plan, see Plans and billing.
Bank-connected accounts don’t appear in From account or To account when you add a new transfer. Start from the bank’s transaction instead. The bank’s side stays fixed: an imported expense stays as From account, an imported income stays as To account.
- Open the transaction the bank imported and select the Transfer tab.
- If the bank’s transaction is an expense, pick the destination in To account and check Target amount. If it’s an income, pick the source in From account and check Amount. Enter the amount yourself if the currencies differ.
- Click Edit.
MoneyMatter creates the other side as a manual transaction on the account you picked.
If the other side was also imported, for example you moved money between two banks that are both connected, link the two transactions instead.
A transfer that involves a bank-connected account can’t be deleted from MoneyMatter, and the Delete button doesn’t appear for it. You can still unlink it.
Good to know
Section titled “Good to know”- Transfers can’t be dated in the future. The date picker stops at today. Transfers also can’t be planned, so the Transfer tab is turned off while you’re adding a planned transaction.
- Attachments are added after saving. You can’t attach a file while creating a transfer. Open the saved transfer to add one.
- Refunds and transfers don’t mix. A transfer can’t be linked as a refund, and the Link refund button doesn’t appear on the Transfer tab. See Refunds.