
General settings
This page walks through the options on the General, Appearance and Language settings pages and explains what each one changes in the rest of the app. At the end there’s a short map of the other settings areas.
Open Settings
Section titled “Open Settings”- Click the gear button (Settings) at the top right of the app.
- Pick a page from the settings menu. Appearance, Language and General are under Personal.
On a narrow screen, Settings first shows the list of pages. Use Back to Settings to return to it.
There’s no Save button on these pages. Every change is saved as soon as you make it.
Appearance
Section titled “Appearance”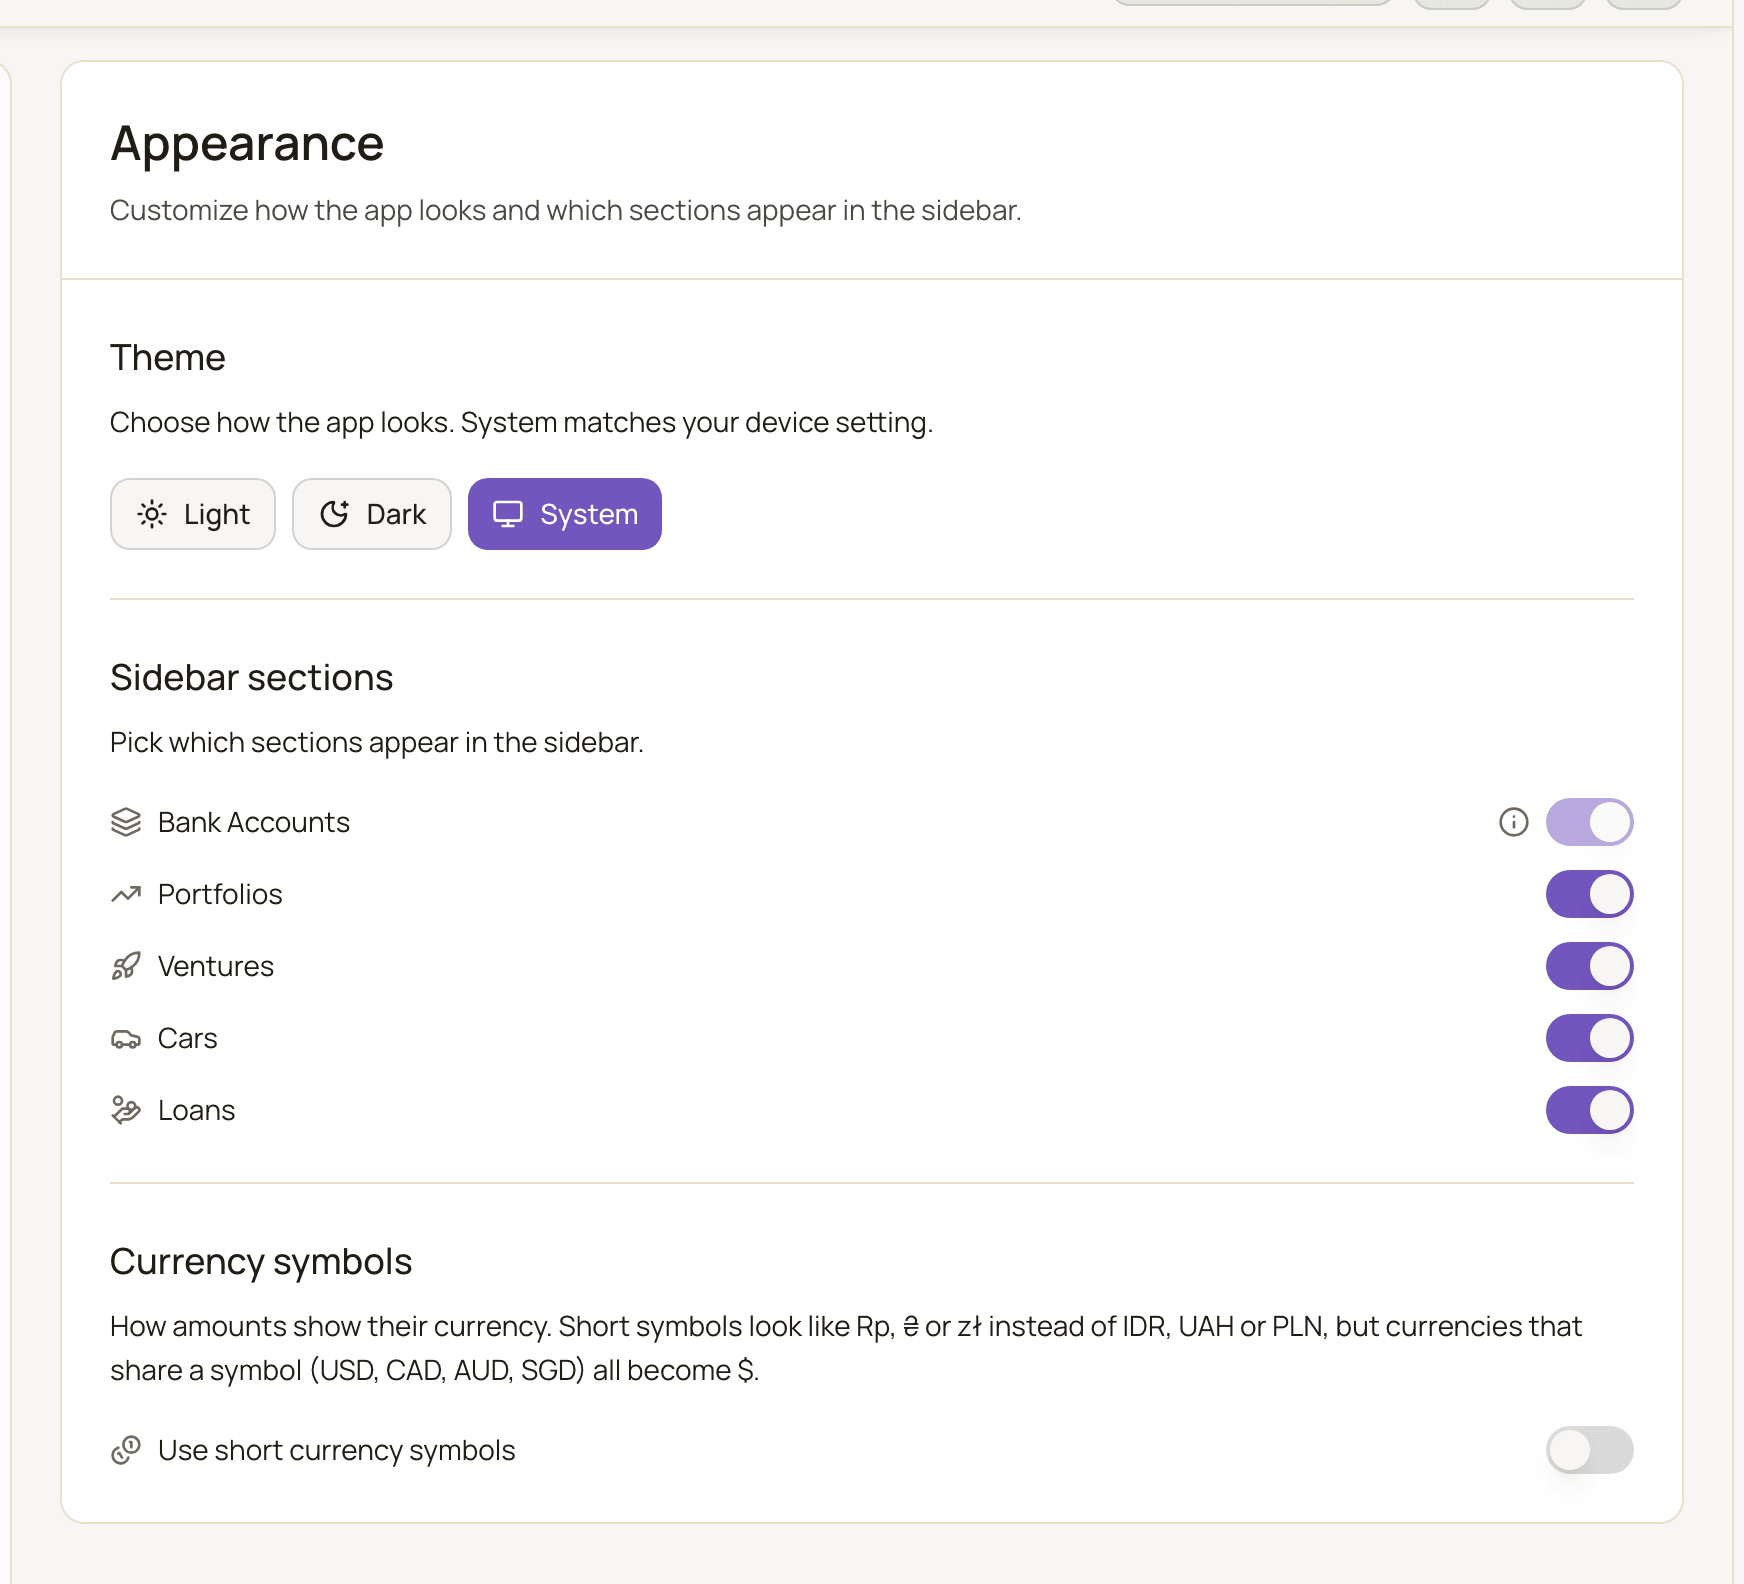
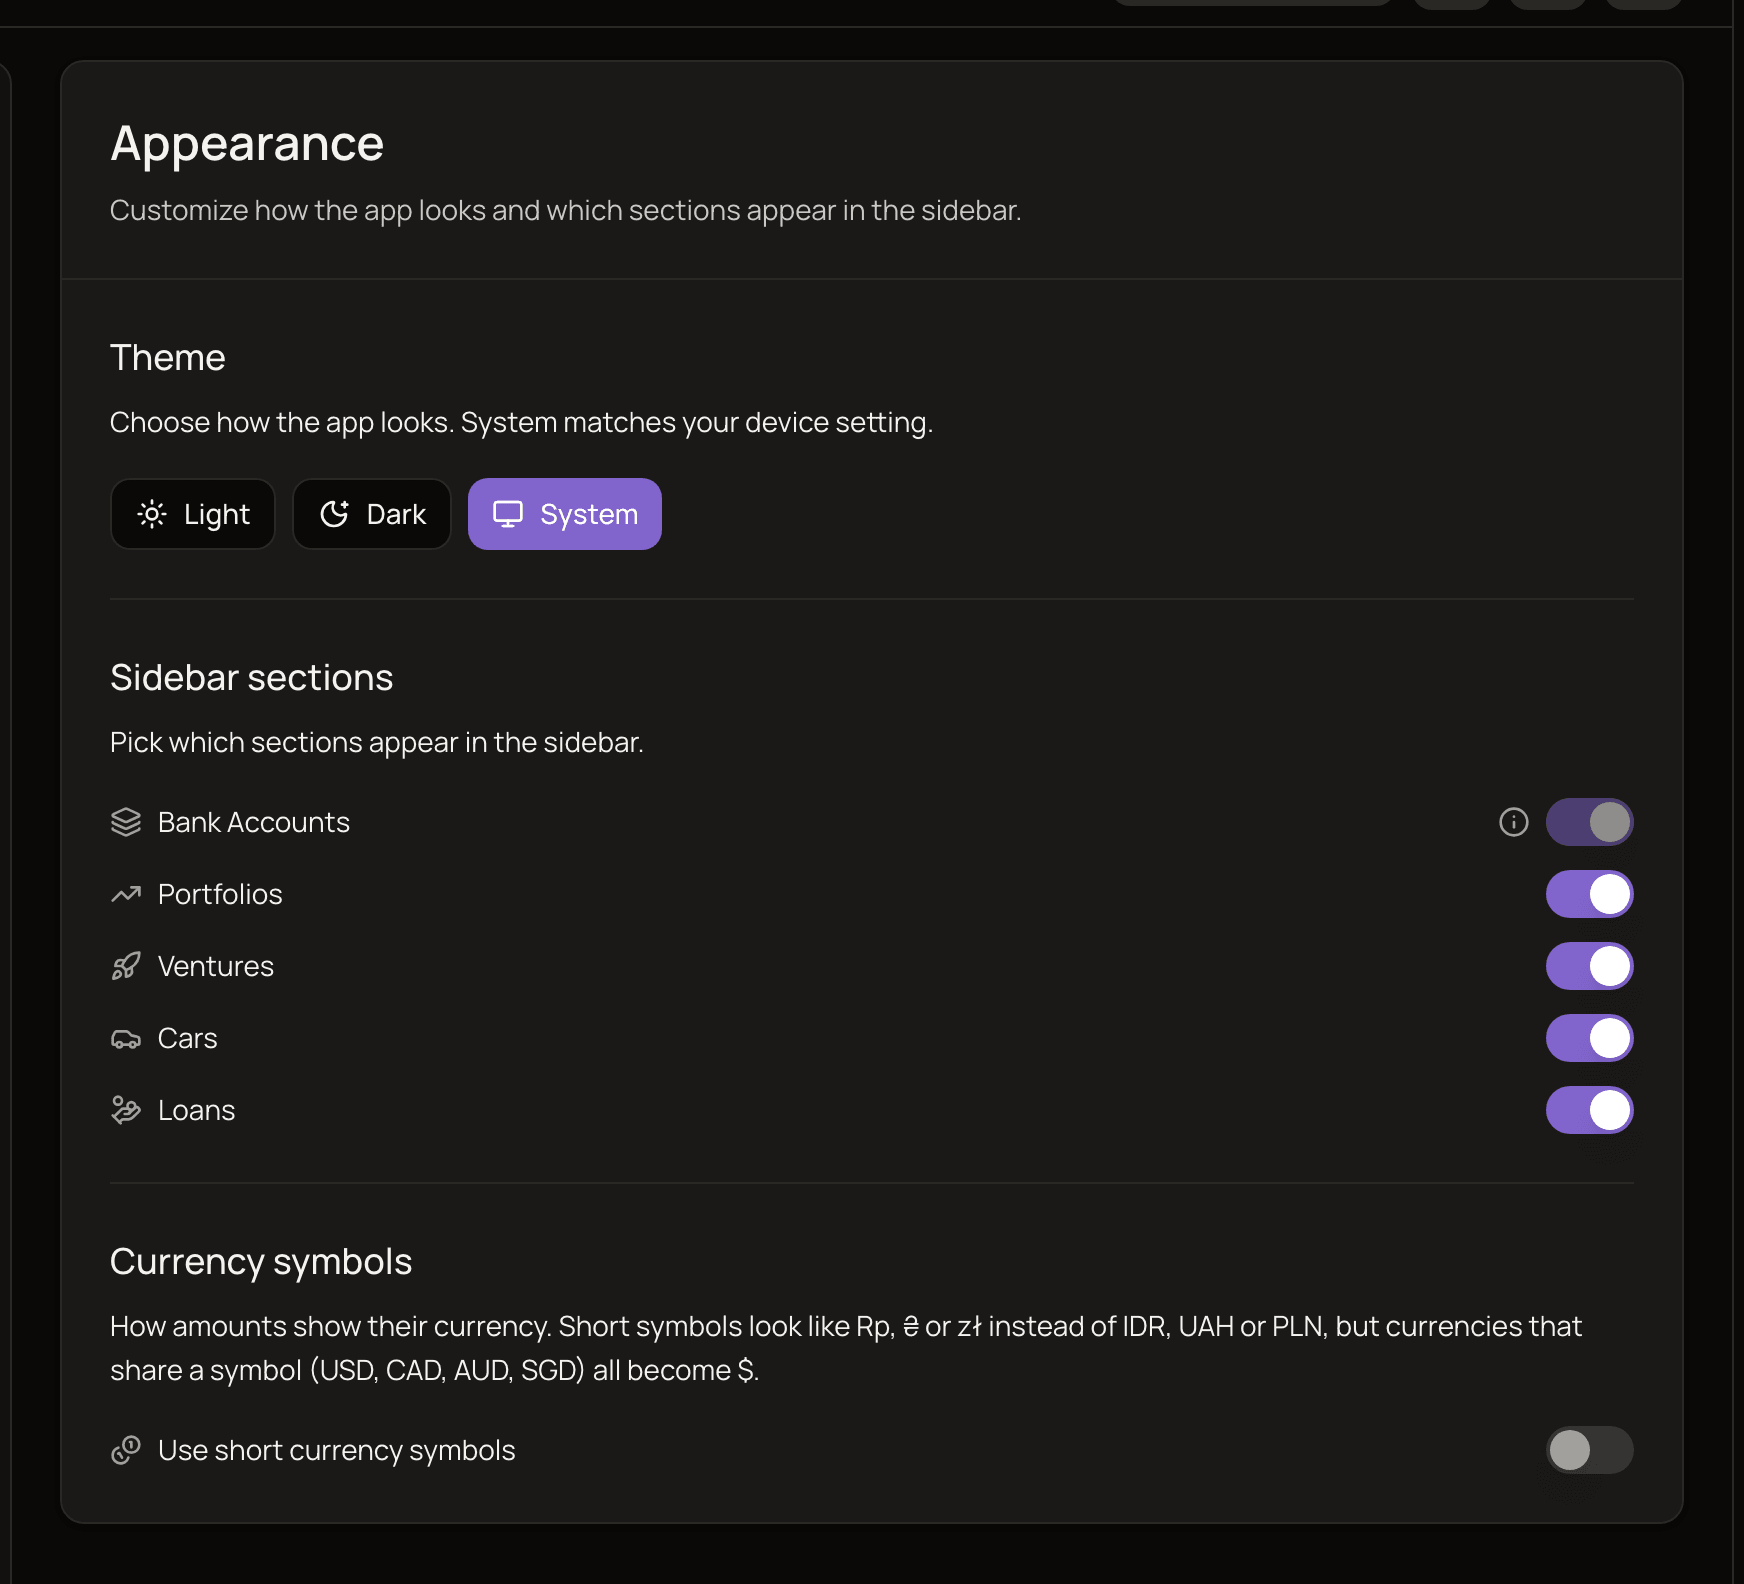
Choose Light, Dark or System. System follows your device’s light or dark mode and switches along with it. System is the default.
Your choice is remembered by this browser only, so a new browser or device starts on System.
Sidebar sections
Section titled “Sidebar sections”Choose which sections appear in the sidebar. Bank Accounts is always shown. You can hide Portfolios, Ventures, Cars and Loans if you don’t use them. All of them are shown by default.
You can also change this from the sidebar itself: click the small gear button next to the Accounts heading in the sidebar (not the Settings button at the top right). That menu also has Hide zero balances, which hides accounts with a zero balance, and any group whose accounts are all at zero. When Include credit limits in balance is on, it checks the balance after the credit limit is subtracted.
Currency symbols
Section titled “Currency symbols”Turn on Use short currency symbols to show amounts with short symbols like Rp, ₴ or zł instead of IDR, UAH or PLN. It changes how every amount in the app is displayed.
The catch is that currencies sharing a symbol all look the same: USD, CAD, AUD and SGD all become $. If you hold several of those, leave this off.
Language
Section titled “Language”Pick the language for the app. It switches right away.
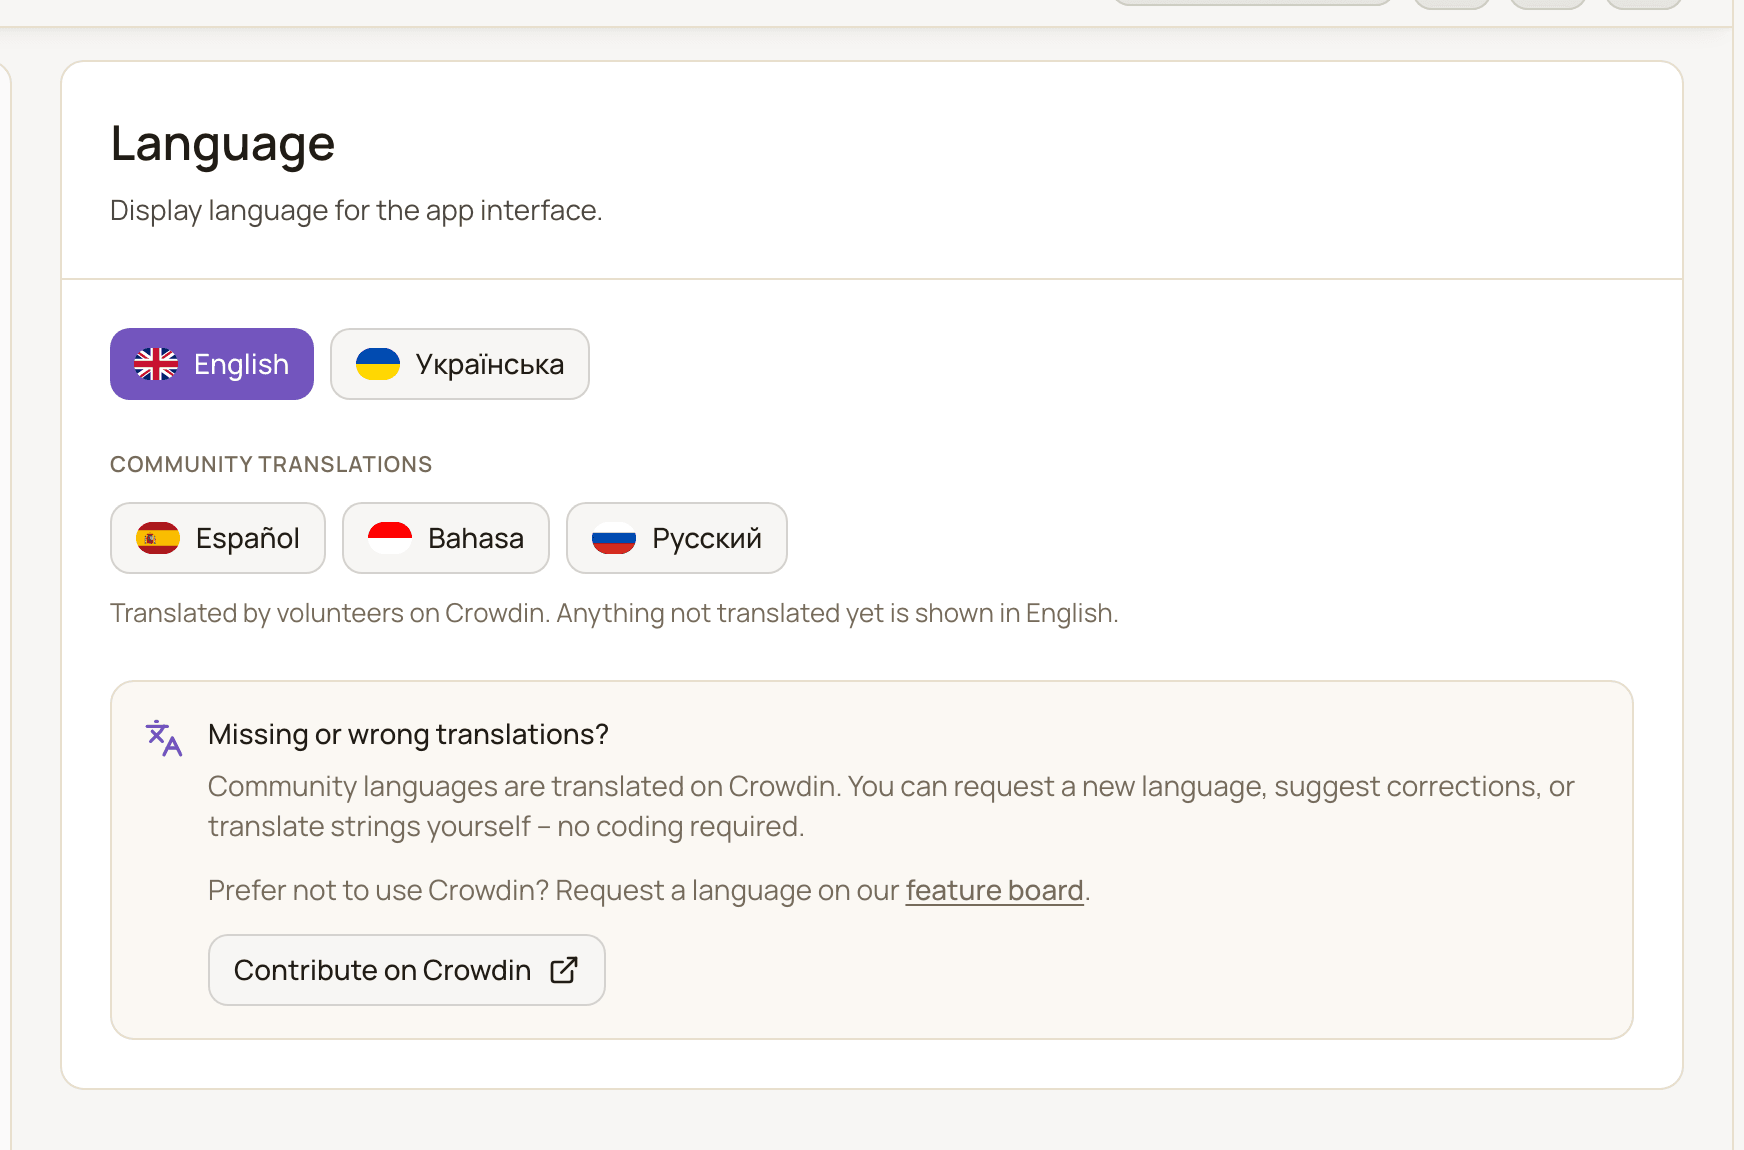
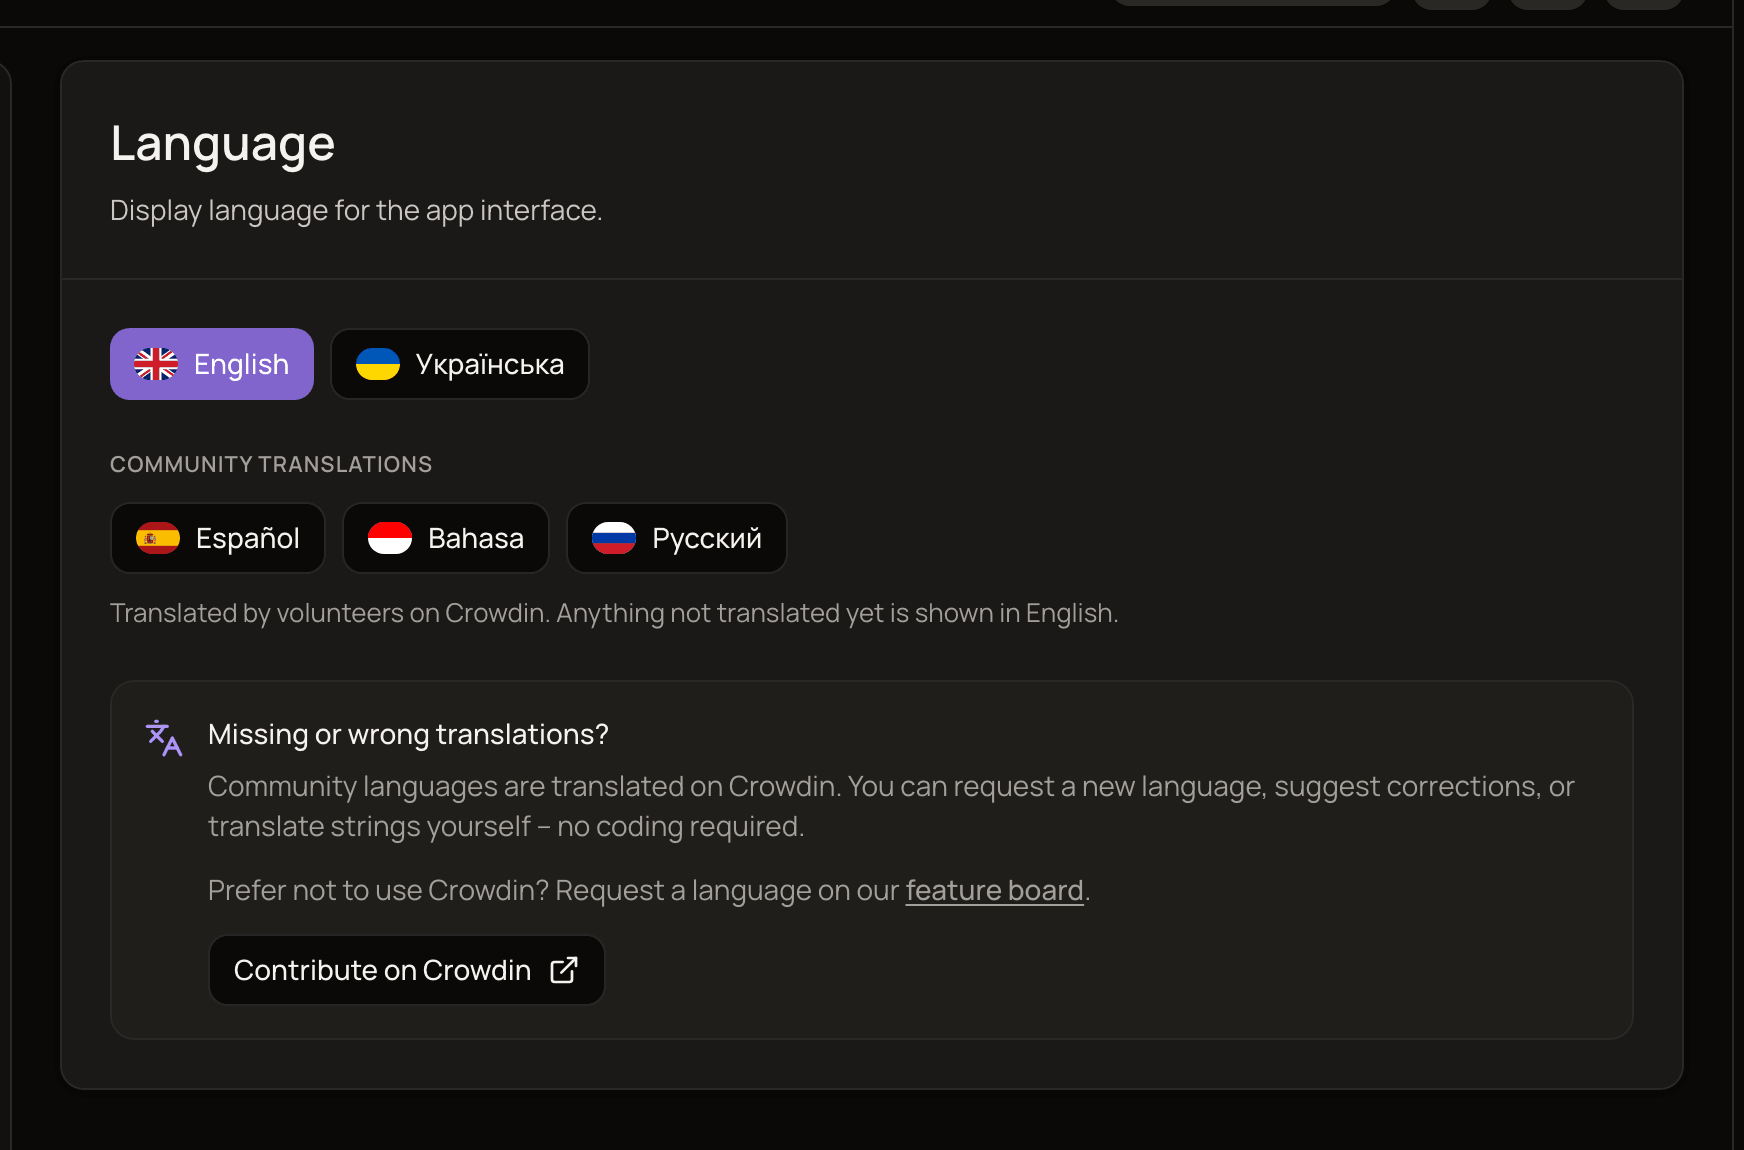
- English and Українська are maintained by the MoneyMatter team.
- Español, Bahasa and Русский are under Community translations. Volunteers translate them on Crowdin, and anything not translated yet is shown in English.
To fix a translation or help with a language, click Contribute on Crowdin in the Missing or wrong translations? box. You can also request a new language from the feature board linked there.
Like the theme, your language is remembered by the browser. On a new browser or device, MoneyMatter starts in your browser’s language if it’s supported, otherwise in English. You can also pick a language on the sign-in and sign-up screens.
General
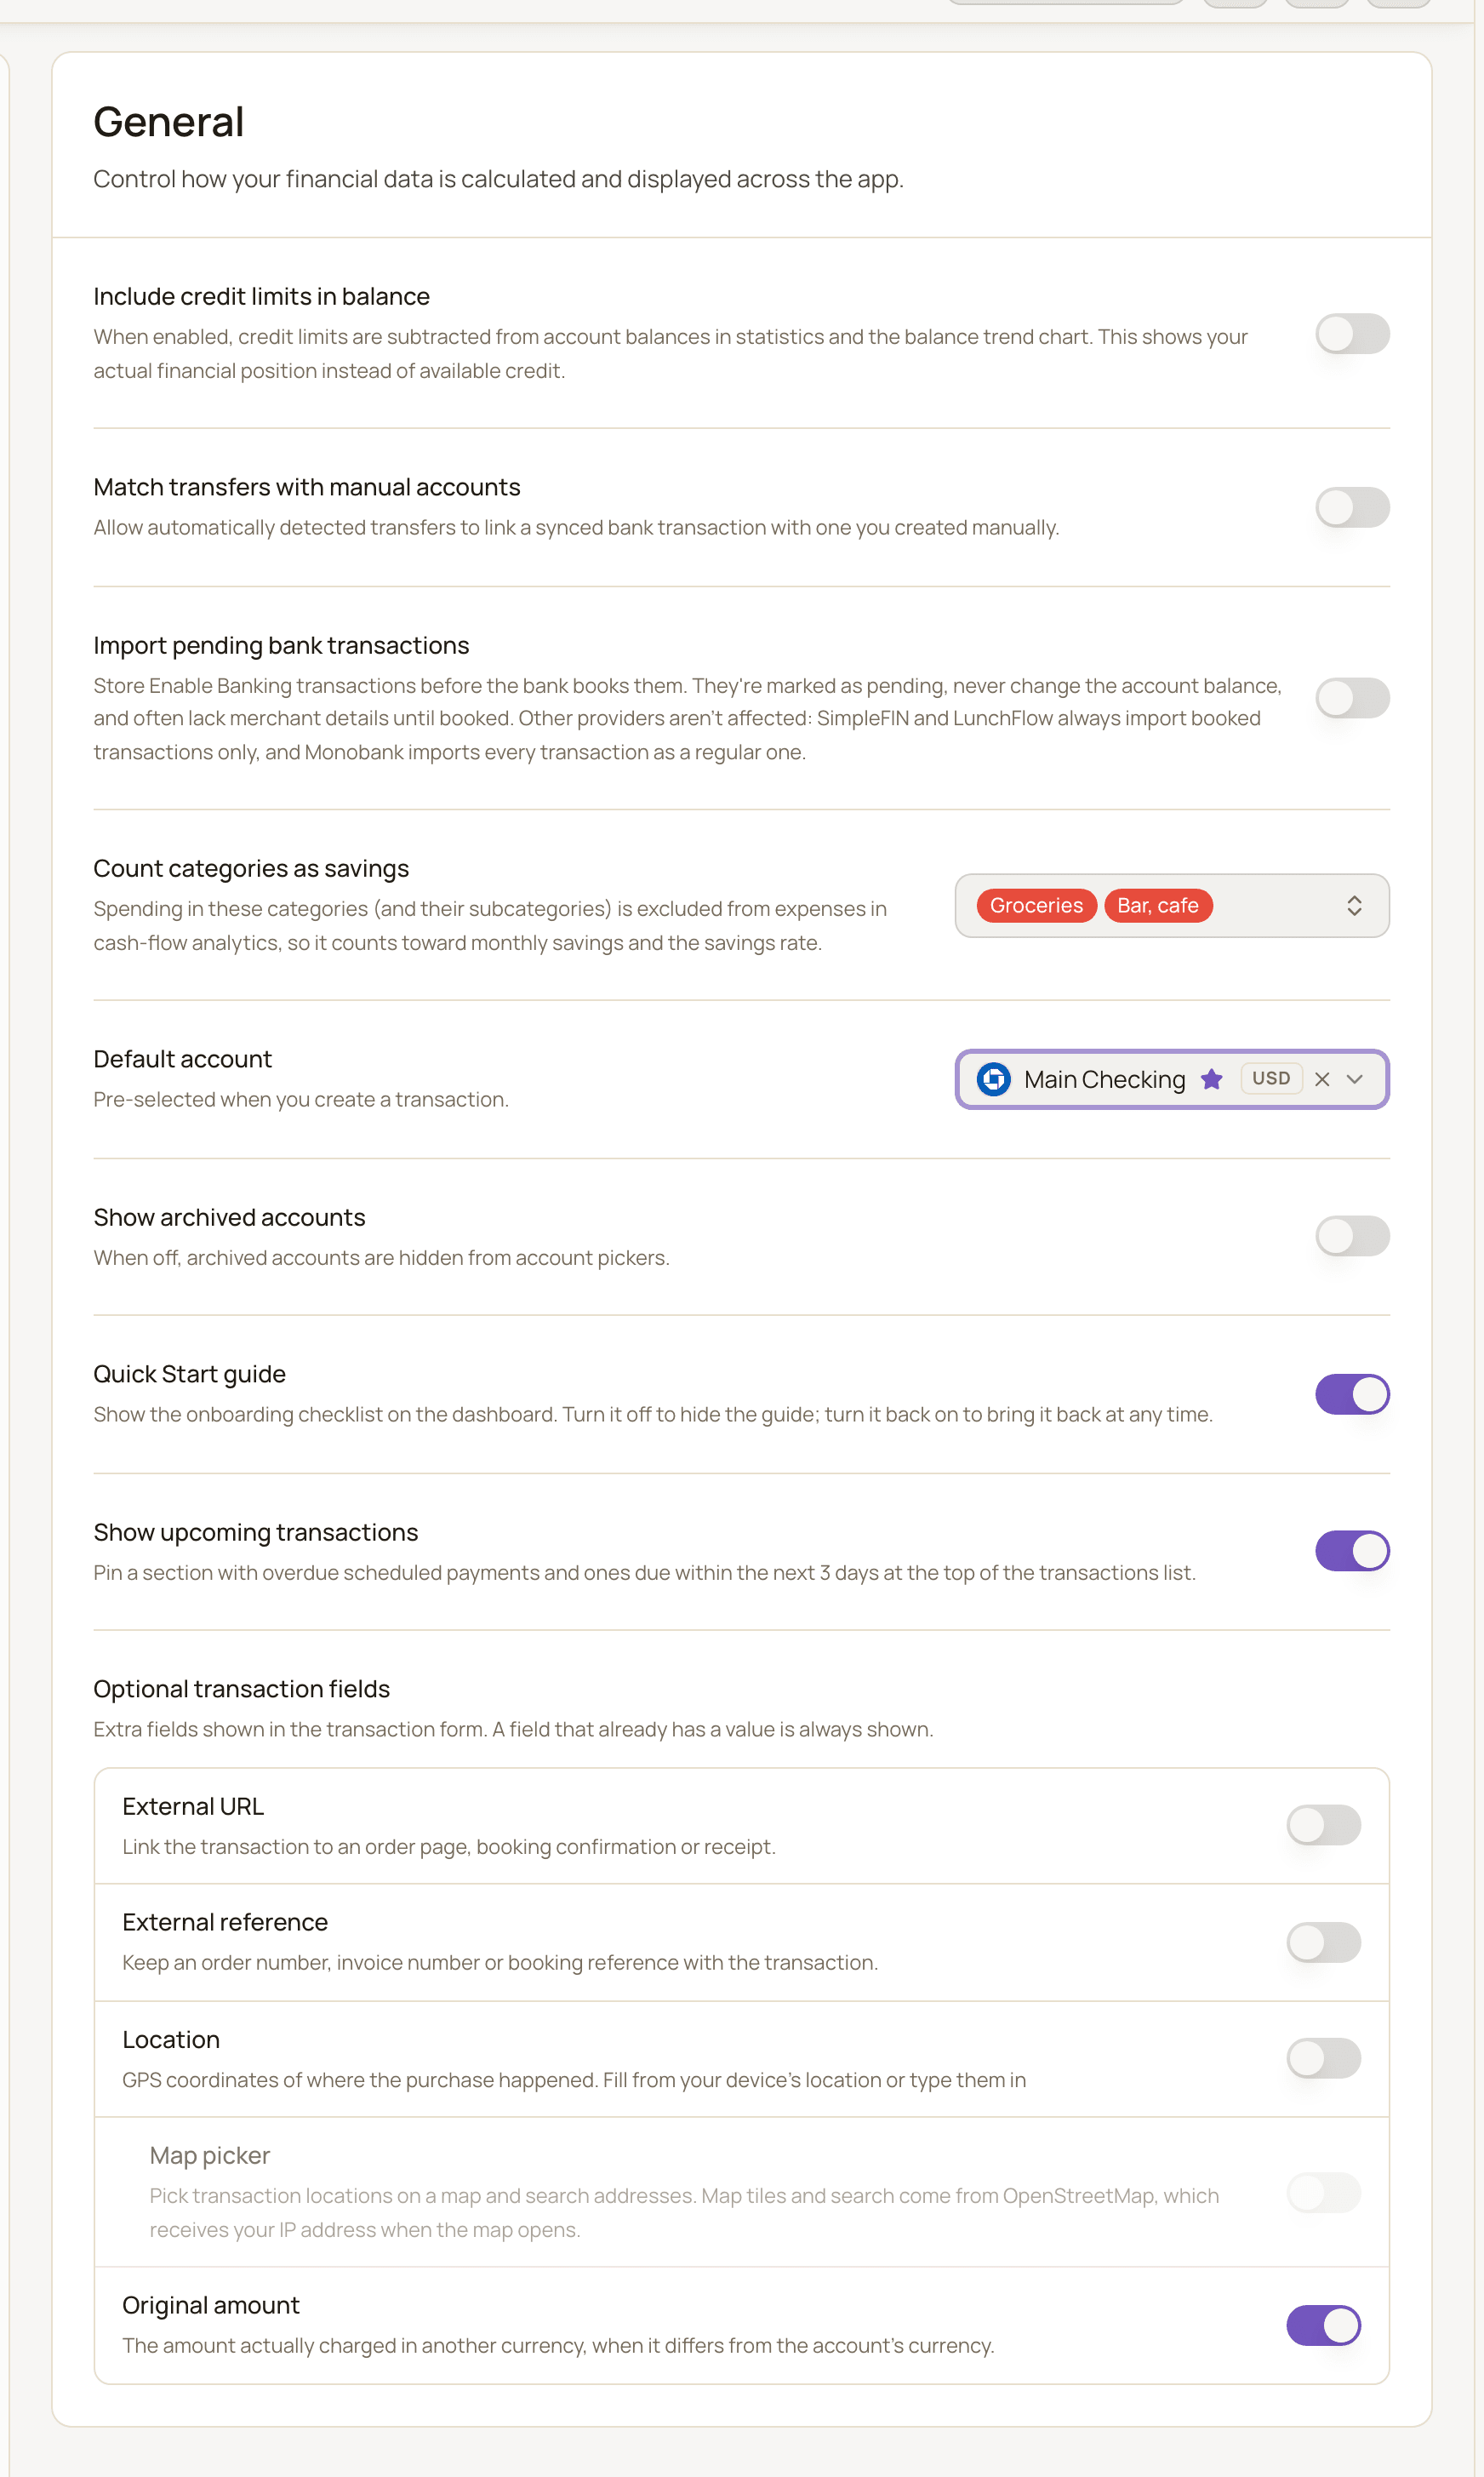
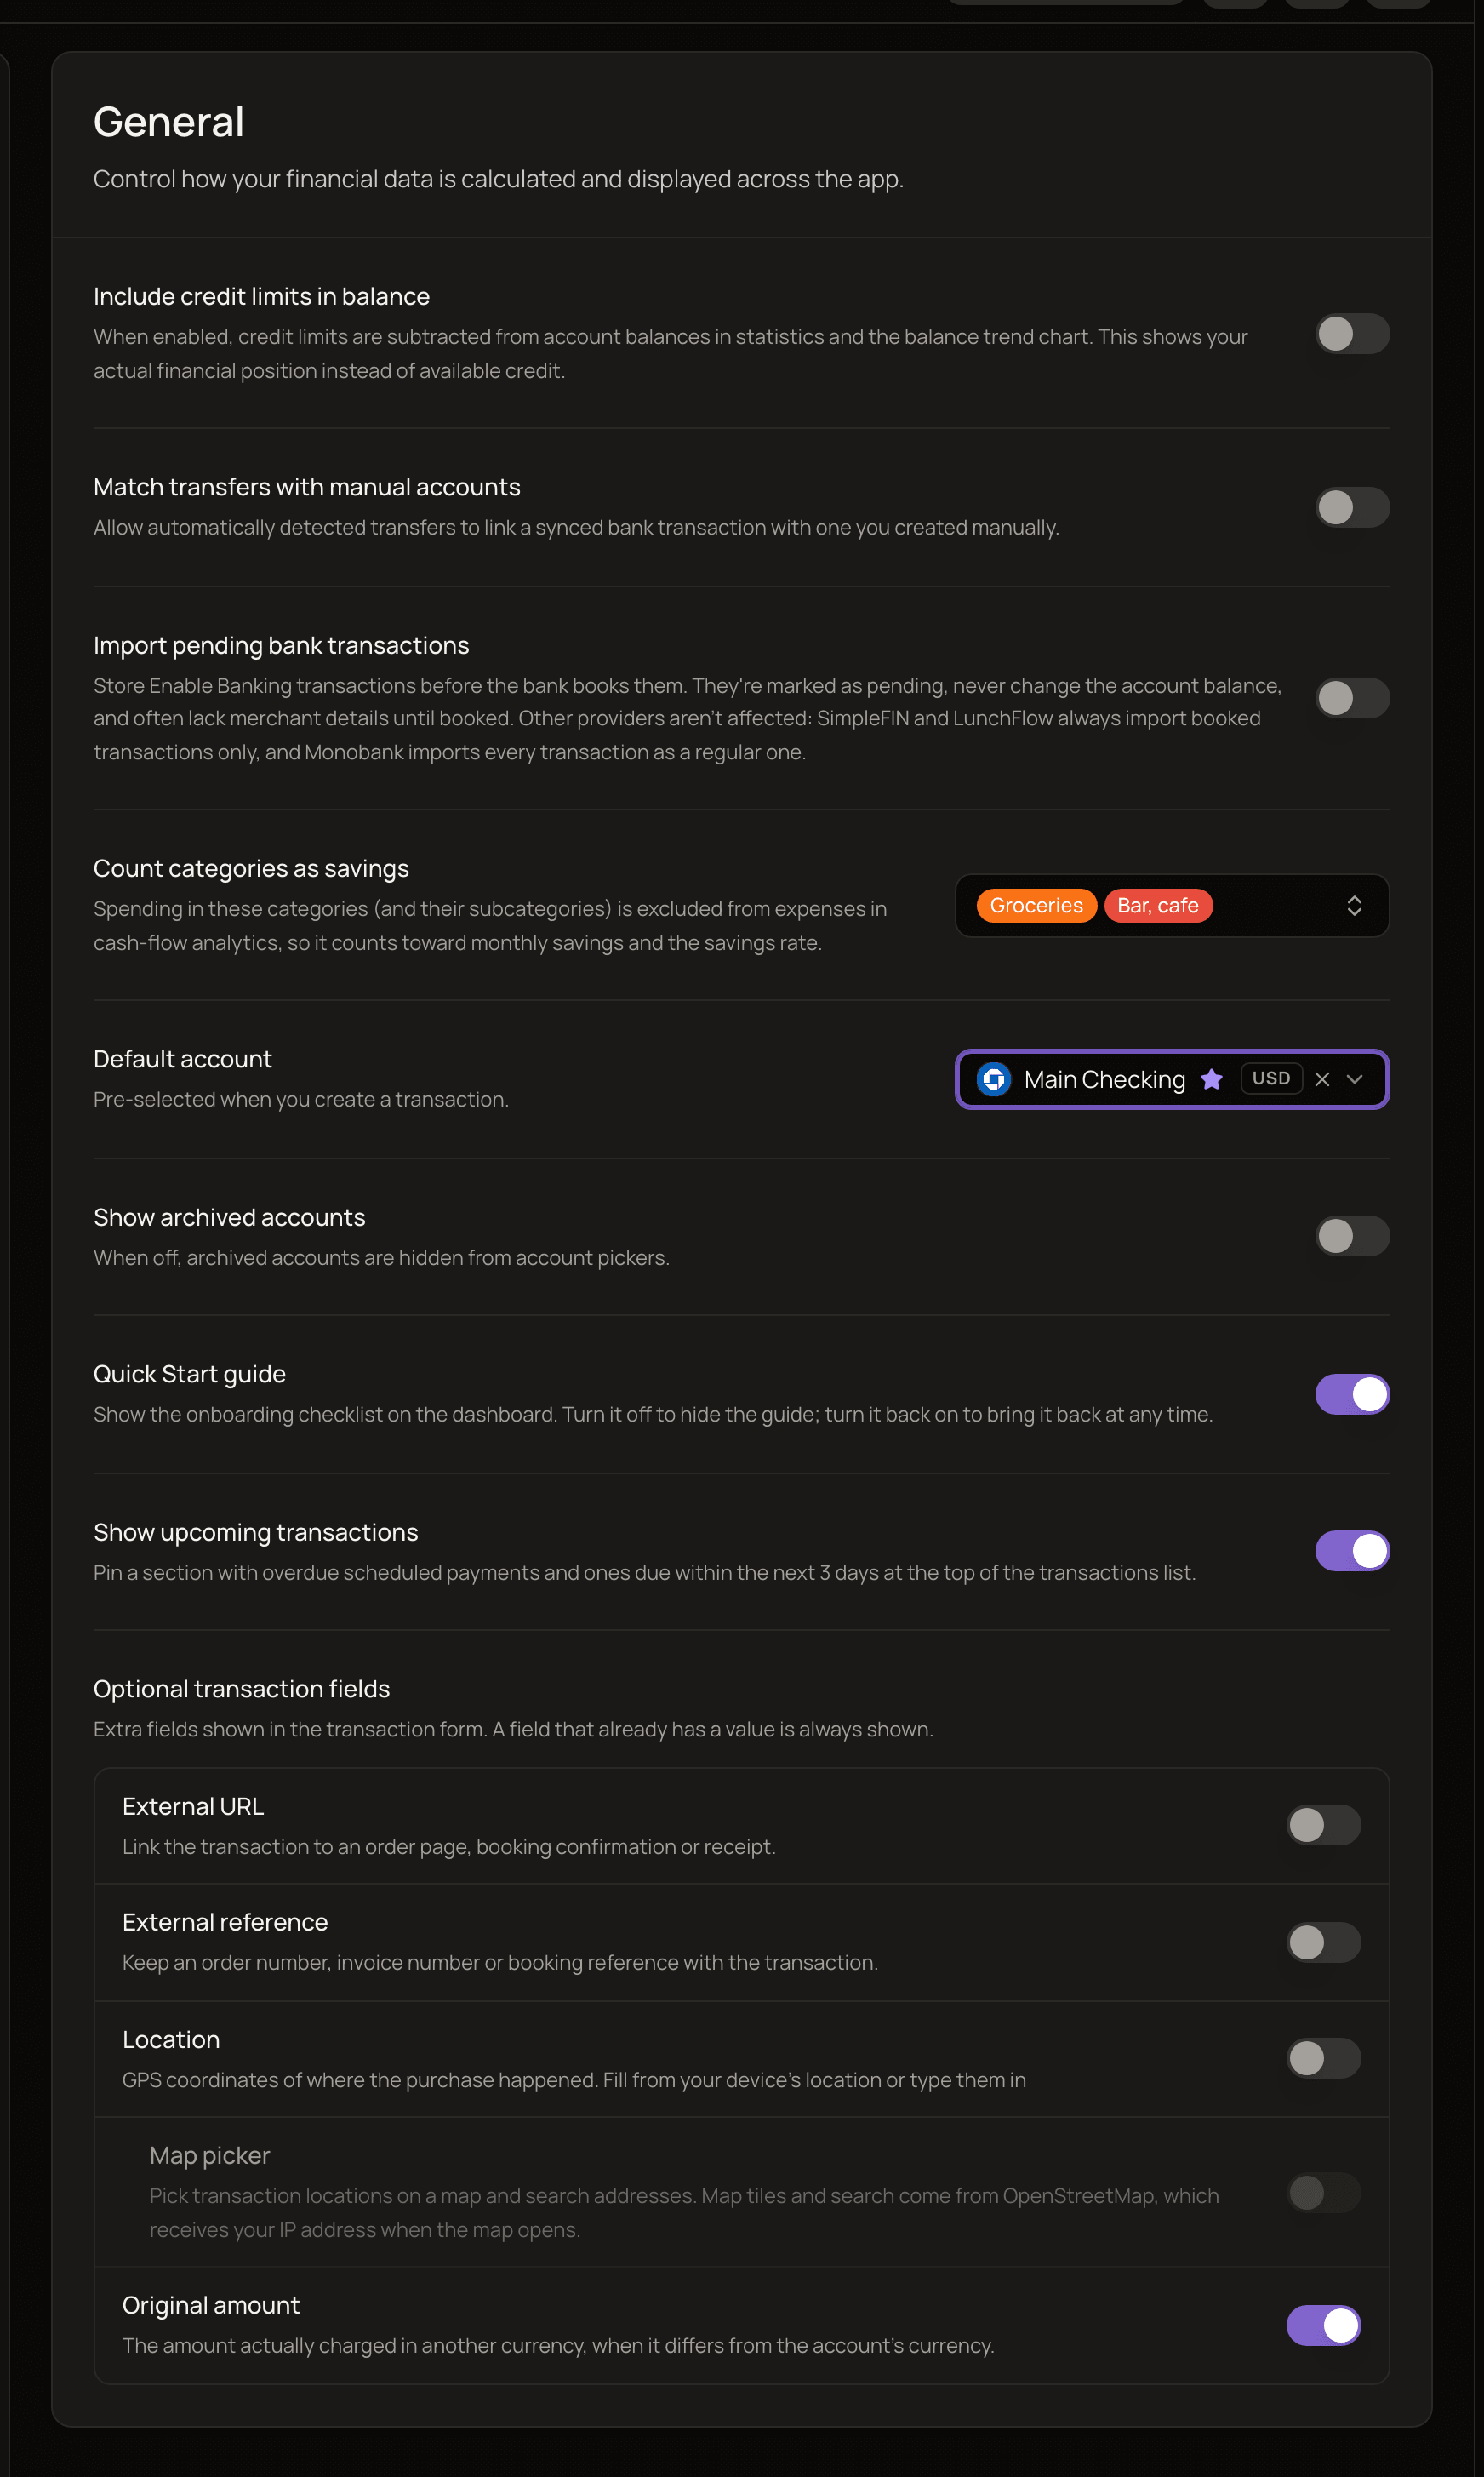
Section titled “General”The General page controls how your numbers are calculated and what forms show you.
Include credit limits in balance
Section titled “Include credit limits in balance”Off by default. When it’s on, the credit limit of each credit account is subtracted from its balance. You see how much you actually owe instead of how much credit you have left.
Turn this on if you record a card’s balance the way your bank shows it, as the credit you have left. The limit itself is set on each account; see credit limits.
For example, a credit card with a 1,000 EUR limit shows a balance of 700 EUR, meaning 700 EUR is still available to spend. With this setting on, it counts as −300 EUR, the amount you’ve actually spent.
This changes more than charts:
- Stats: the dashboard’s Balance trend and Net Worth widgets, and the Net Worth History report in Analytics.
- Displayed balances: the account list in the sidebar, the Accounts page, the account’s own page, and account group totals.
Only accounts with a credit limit above 0 are affected. In stats, the limit isn’t subtracted for loans, cars, or accounts with Exclude from statistics turned on.
Count categories as savings
Section titled “Count categories as savings”Choose categories that represent money you’re setting aside, such as a “Savings” or “Emergency fund” category. Transactions in these categories, and in all their subcategories, drop out of cash-flow totals. That money then counts toward your monthly savings and savings rate instead of your expenses.
For example, each month you pay 500 EUR into a savings plan you don’t track in MoneyMatter and record it in your “Savings” category. Normally that’s 500 EUR of expenses. With “Savings” chosen here, it leaves your expenses, so your net cash flow goes up by 500 EUR and your Savings Rate rises to match. If the money goes to one of your MoneyMatter accounts, record a transfer instead: transfers never count as expenses.
- It affects cash-flow views only: the Cash Flow report in Analytics, the dashboard’s Cash Flow widget, and the Monthly Comparison chart in Trends Comparison.
- Other reports, like spending by category, still show these categories.
- It applies to income in those categories too, not just spending.
- Subcategories you create later are covered automatically.
See how stats are calculated for more on what counts where.
Default account
Section titled “Default account”The account that’s already selected when you create a transaction. If you’re on an account’s page, that account is selected instead.
With no default set, the first active account is used.
Show archived accounts
Section titled “Show archived accounts”Off by default. When it’s off, archived accounts are hidden from account pickers, such as the one in the transaction form. An archived account that’s already selected, for example on a transaction you’re editing, is still shown.
If your default account is archived, it’s ignored while this setting is off.
Quick Start guide
Section titled “Quick Start guide”Shows the Quick Start checklist: a panel on the right edge of the app on desktop, or a floating button on mobile. Turn it off to hide the checklist everywhere. You can turn it back on at any time. See the Quick Start checklist.
Show upcoming transactions
Section titled “Show upcoming transactions”On by default. Pins a section at the top of the transactions list with scheduled payments that are overdue or due within the next 3 days.
Optional transaction fields
Section titled “Optional transaction fields”Choose which extra fields appear in the transaction form. A field that already has a value on a transaction is always shown, even if you turn it off here.
| Field | What it’s for | Default |
|---|---|---|
| External URL | A link to an order page, booking confirmation or receipt. | Off |
| External reference | An order number, invoice number or booking reference. | Off |
| Original amount | The amount actually charged in another currency, when it differs from the account’s currency. | On |
| Location | Where the purchase happened. Fill it from your device’s location or type the coordinates in. | Off |
Map picker sits under Location and only works when Location is on. It lets you pick a place on a map and search for addresses. It’s off by default for privacy: the map and address search come from OpenStreetMap, which receives your IP address when the map opens. If it’s off, the transaction form asks you to allow the map the first time you click Pick on map.
Bank sync options Plus
Section titled “Bank sync options ”On the General page, these two switches come right after Include credit limits in balance.
They only matter if you use bank connections, which are part of the Plus plan. See Plans and billing.
Match transfers with manual accounts
Section titled “Match transfers with manual accounts”Off by default. When your bank syncs, MoneyMatter looks for transfers between your accounts. Normally it only pairs transactions from two bank-connected accounts. Turn this on to let it pair a synced bank transaction with one you entered by hand.
It’s off by default because a matched transaction becomes one side of a transfer, and transfers have no category. So a manual transaction you’d categorized drops out of your category stats once it’s matched.
Import pending bank transactions
Section titled “Import pending bank transactions”Off by default. It only affects banks you connected through the Enable Banking provider. When it’s on, transactions are saved before the bank books them. They’re marked as pending, never change the account balance, and often lack merchant details until they’re booked.
Other connections work the same either way: SimpleFIN and Lunch Flow always import booked transactions only, and Monobank imports every transaction as a regular one.
Other settings areas
Section titled “Other settings areas”The settings menu has more pages. Here’s what each one is for.
Personal
- Security: sign-in methods, active sessions, password, backups, and deleting your data or account. See Security and account.
- Plan & billing: choose a plan and manage your billing. See Plans and billing.
Workspace
- Currencies: your base currency, the other currencies you use, and exchange rates. See Base currency and currencies.
- Categories: organize transactions into categories and subcategories. See Categories.
- Tags: manage the tags you add to transactions. See Tags.
- Payees: the list of merchants you transact with. See Payees.
- Accounts groups: organize accounts into groups. See Account groups.
- Import/Export: bring in data from files and other apps, or download your data as a zip for spreadsheets, taxes or moving elsewhere. See Import from CSV and Other import sources.
- Scheduled payments: manage payments that repeat on a schedule.
- AI: pick which AI model powers each feature, add your own models, and connect AI apps to your data.
- Shared with me: data other people have shared with you.
- Household: share your data with other people.
Good to know
Section titled “Good to know”- Most settings still work in read-only mode. If your trial or plan has ended, you can still change the options on these pages, except the Quick Start guide switch. See read-only mode.
- Two settings change which transactions count as spending: Count categories as savings, and Match transfers with manual accounts, which can turn a categorized transaction into a transfer.