
Import from CSV
Most banks let you download your transactions as a CSV file. The CSV importer reads that file, lets you tell MoneyMatter what each column means, warns you about transactions you already have, and then adds the rest in one go.
If your data comes from another app or in another format (a PDF statement, OFX, YNAB, Wallet or Microsoft Money), see other import sources.
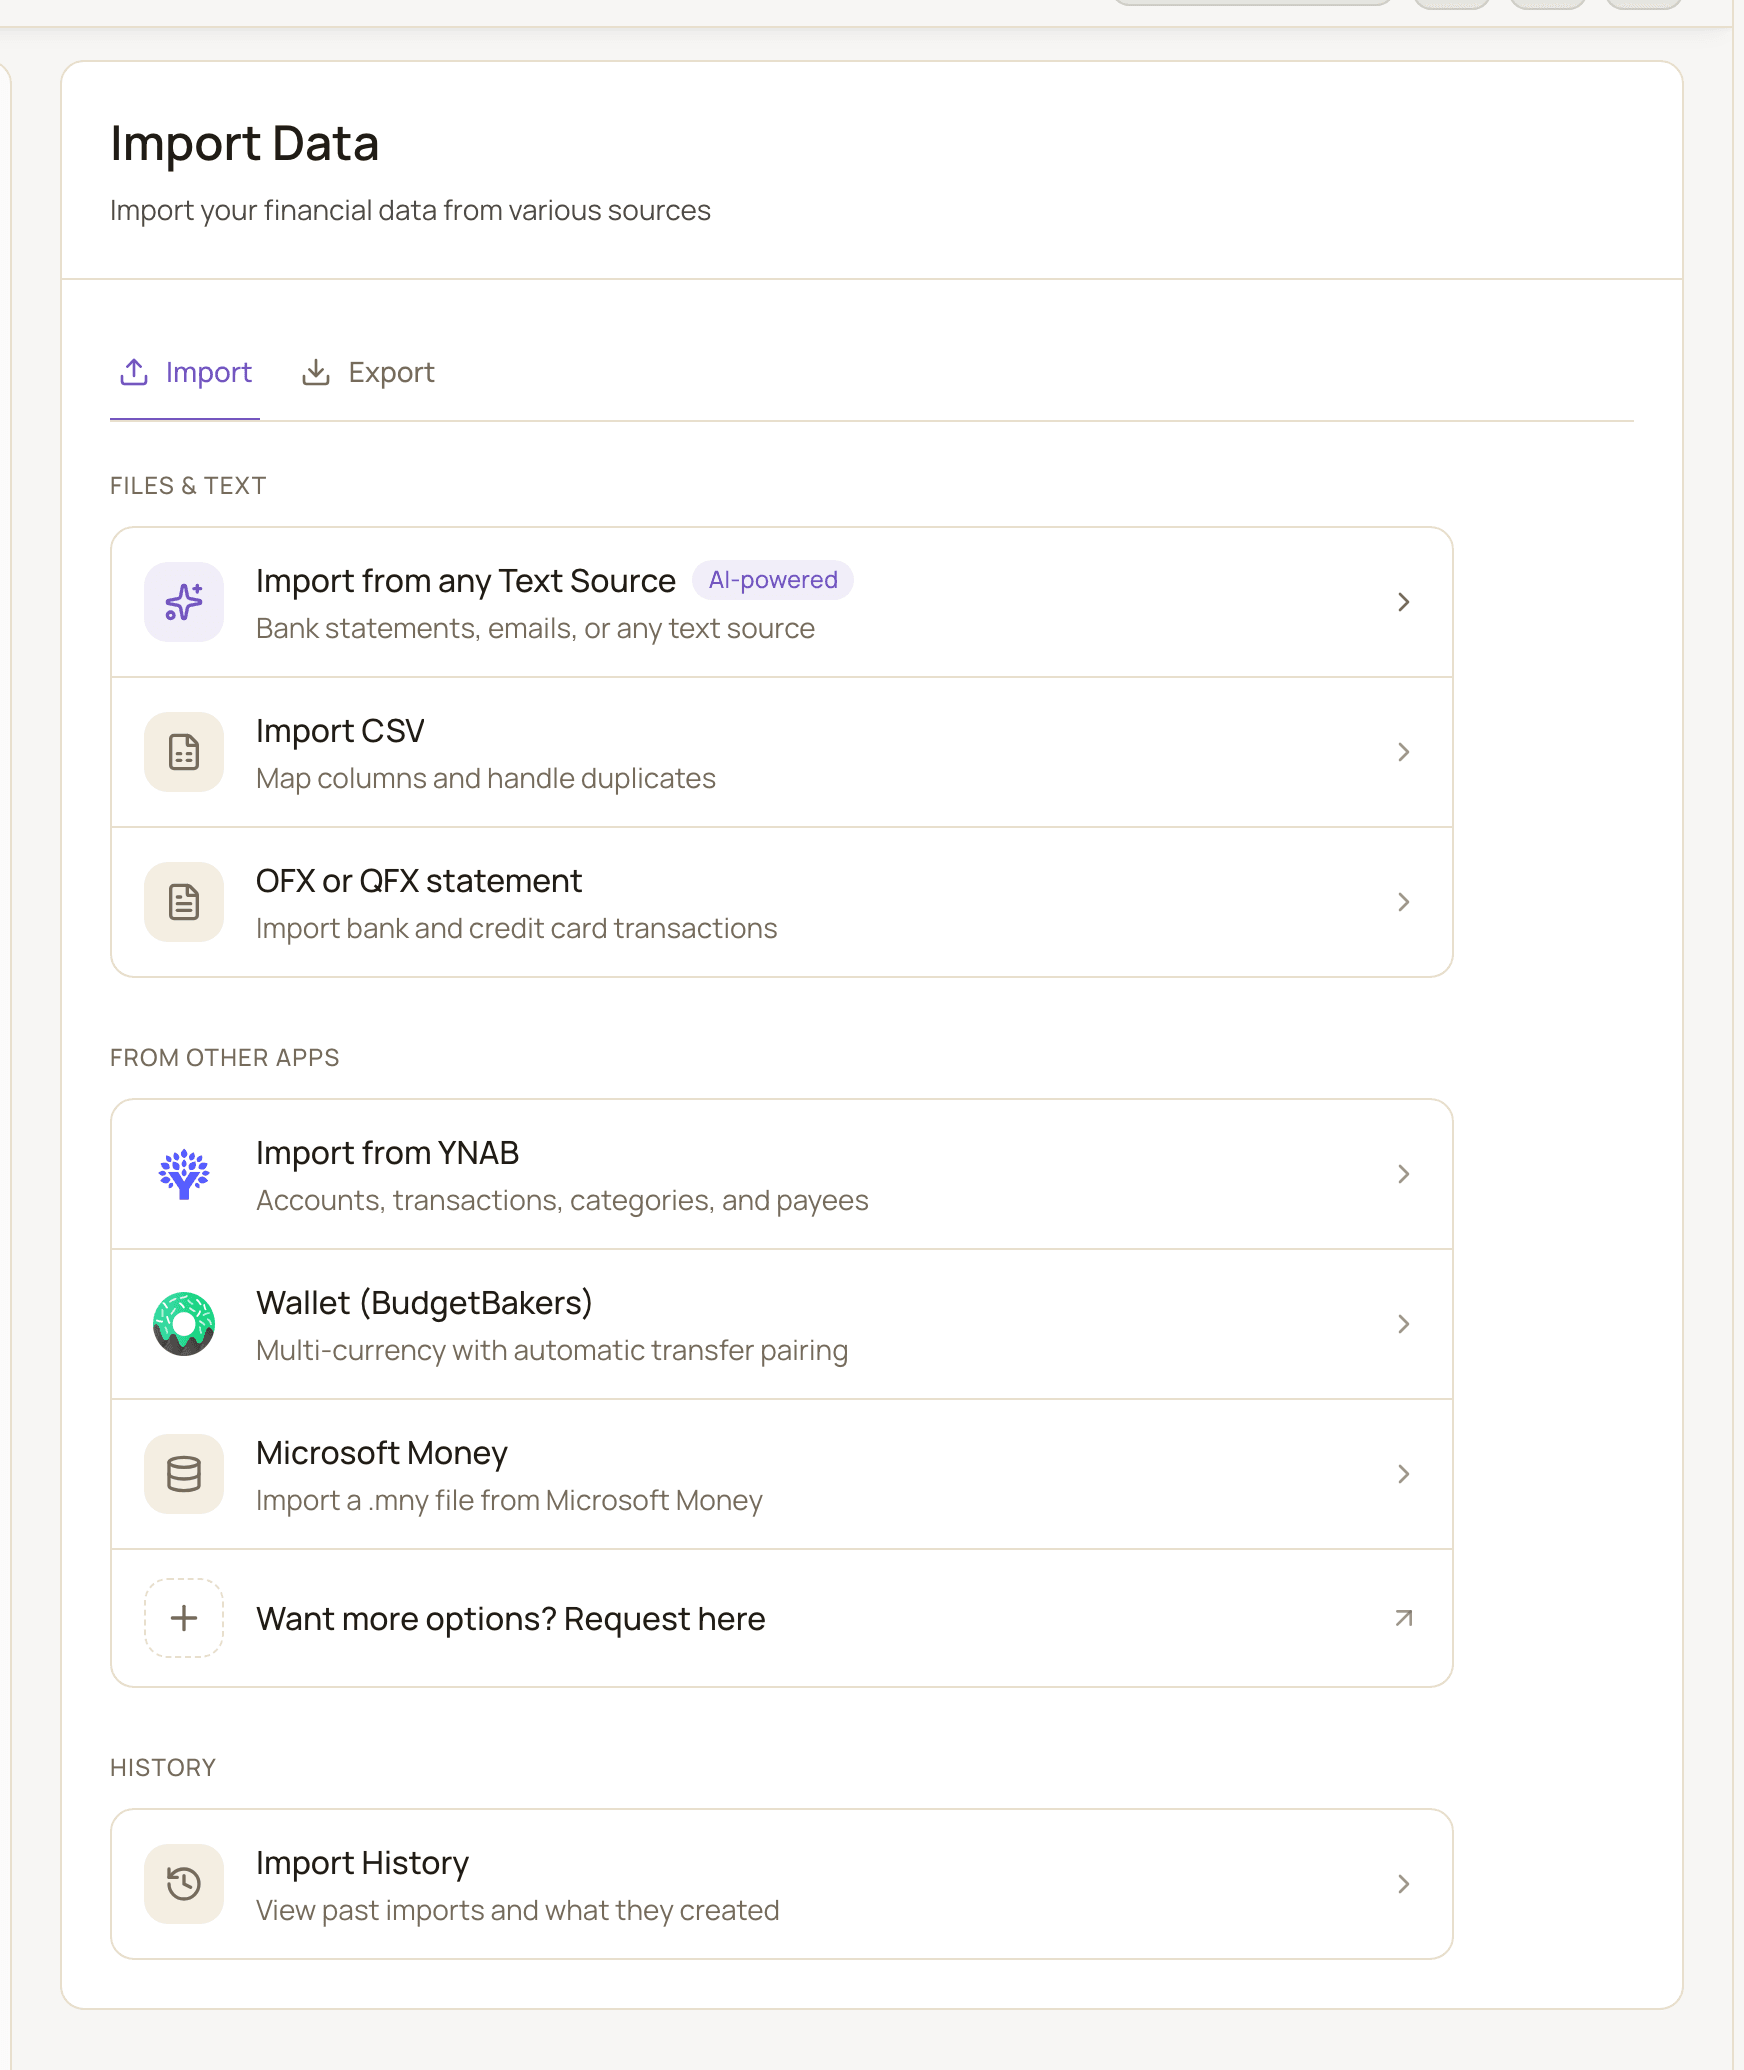
Open the importer
Section titled “Open the importer”- Click the gear button (Settings) at the top right of the app.
- In the settings menu, under Workspace, choose Import/Export.
- On the Import tab, under Files & text, click Import CSV.
Shortcut: in the header, click the arrow next to Add transaction and choose Import data. It opens the same page.
Before you start
Section titled “Before you start”Check that your file meets these rules:
- It’s a .csv file under about 10 MB. If you upload several files, that limit is for all of them together. Anything bigger fails to upload, so split a large export into several imports.
- It has a column with the date and a column with the amount of each transaction. Everything else is optional.
- It has no more than 50,000 rows of transactions.
- If it has a currency column, every value in it is a three-letter code MoneyMatter supports, such as EUR or USD. A symbol like $ or € stops the import. If the import has an Accounts or Categories step, that step shows an error and you can’t go on. Otherwise those rows are flagged on Review as rows that can’t be priced, and you can only skip them. Replace the symbols in the file first.
You can upload several files at once, for example one export per month. They’re combined into one import, so every file must have exactly the same header row, with the same columns in the same order. The 50,000-row limit applies to all the files together.
You don’t need to say whether your file uses commas, semicolons or another separator. MoneyMatter detects it for each file.
Upload
Section titled “Upload”- Drag your CSV file onto the upload area, or click it to browse. Add more files the same way if you have them.
- Click Continue to Mapping.
If a file can’t be used, you’ll see why. The most common messages are that the columns don’t match the first file, that a file has no data rows, or that the files together are over the row limit.
Map Columns
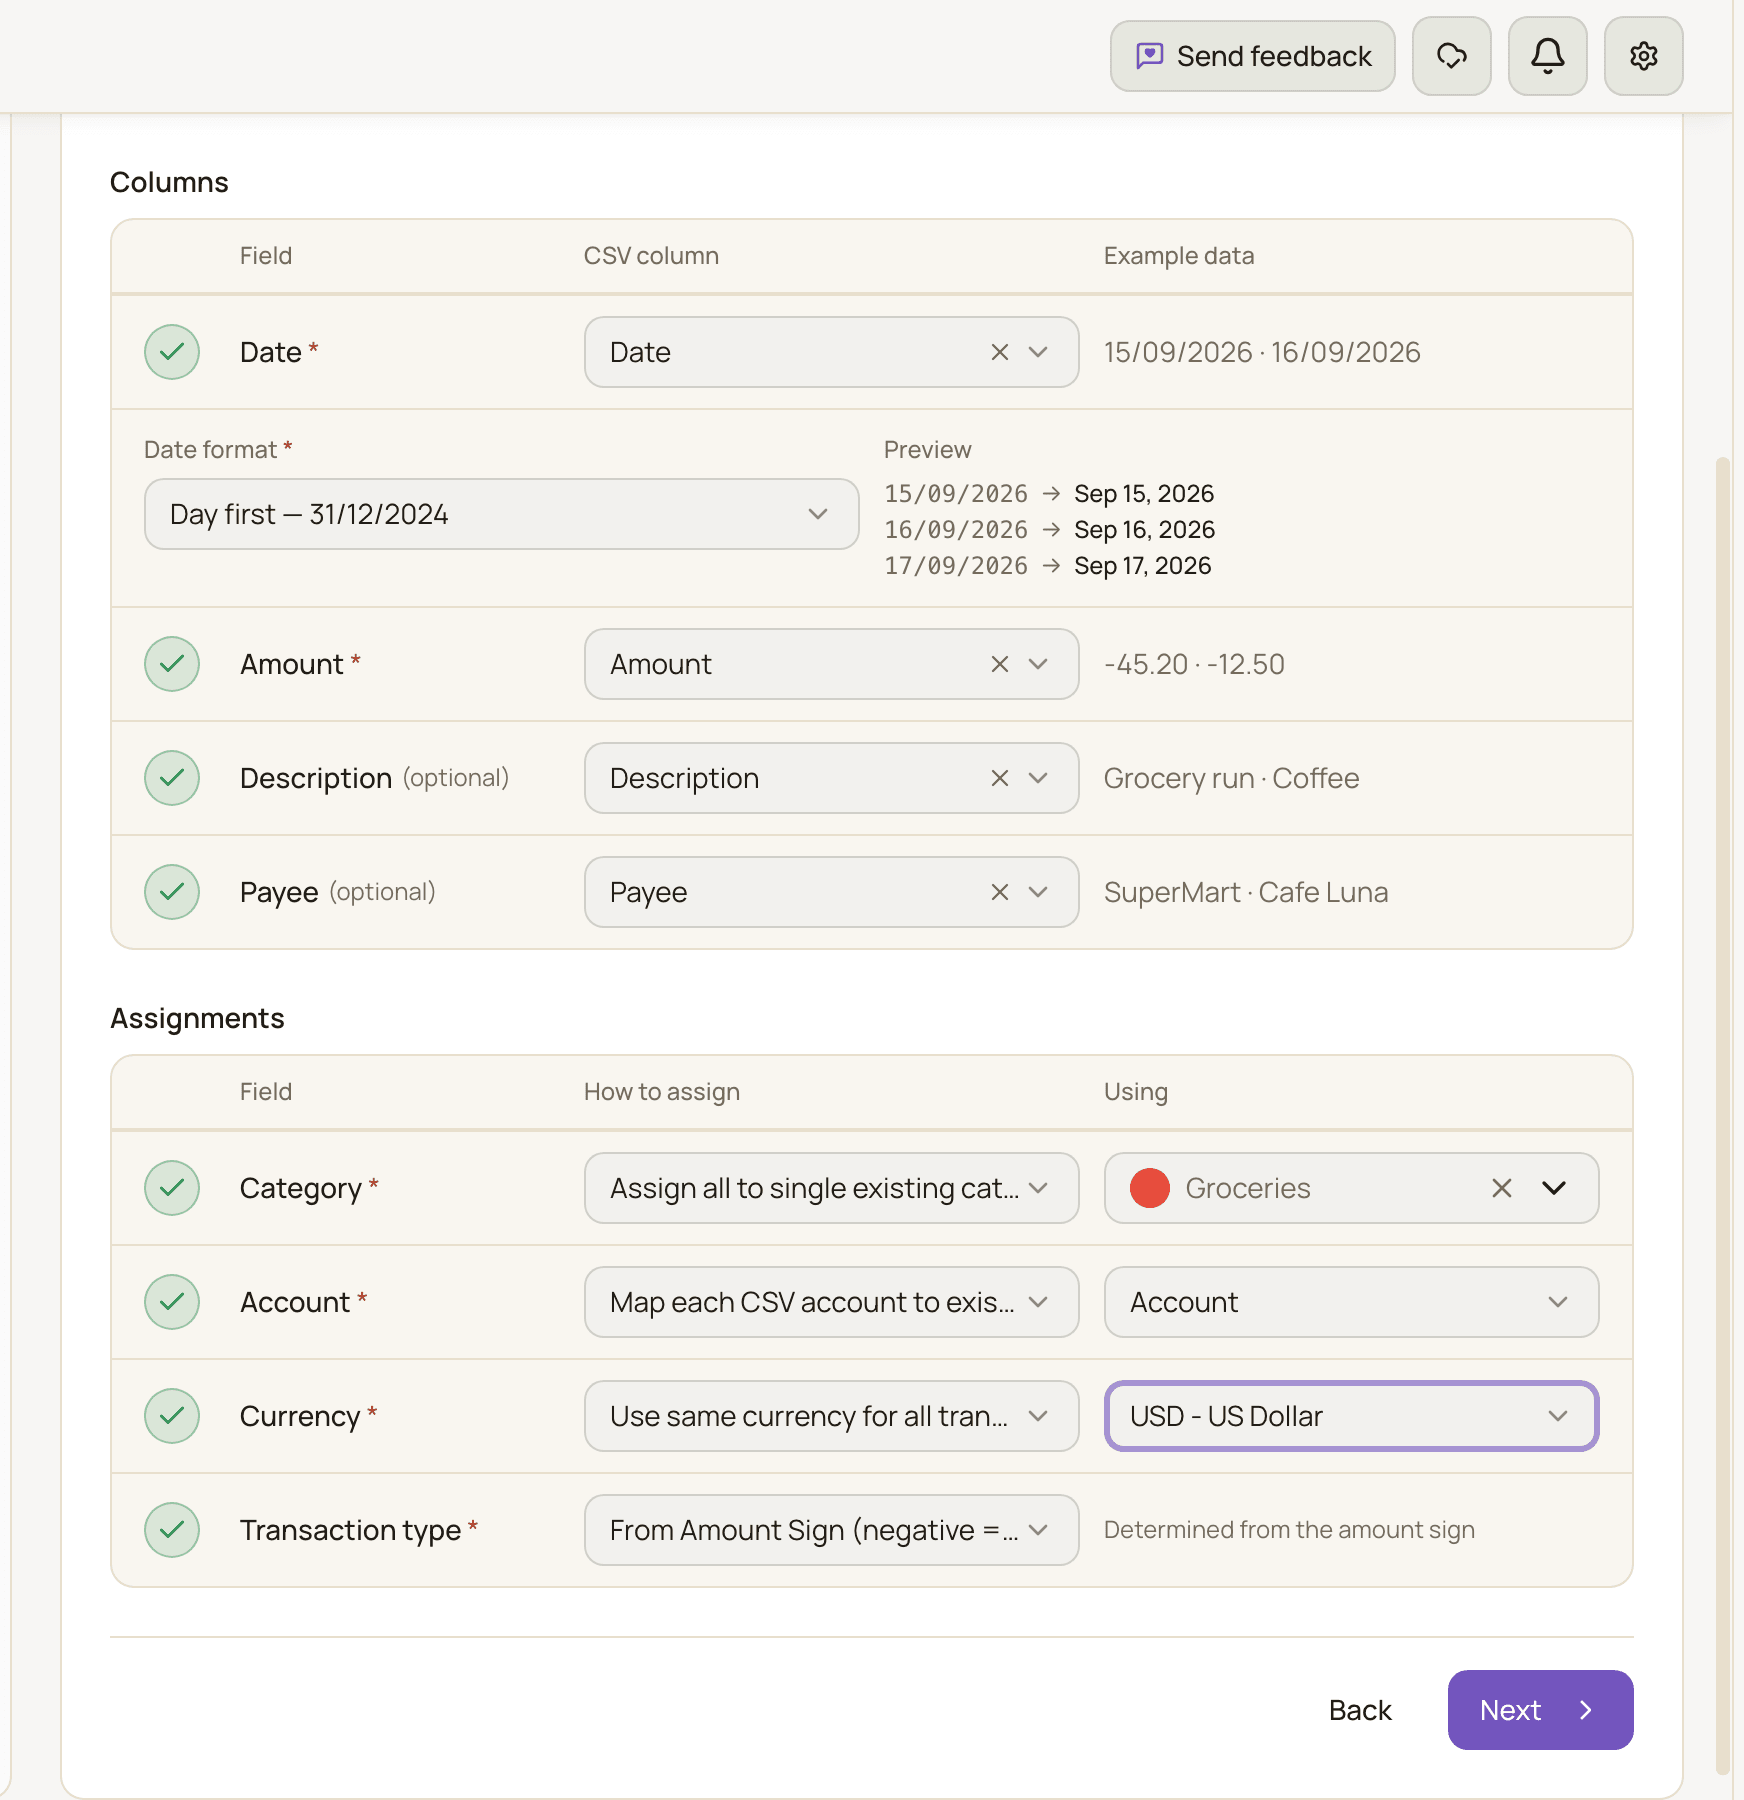
Section titled “Map Columns”This step tells MoneyMatter what’s in each column. The top of the card shows the file name, the Total rows and the separator it detected. Below that are two tables.
Columns
Section titled “Columns”For each field, pick the matching column from your file under CSV column. Example data shows a couple of values from that column so you can check you picked the right one.
| Field | Required? | What it becomes |
|---|---|---|
| Date | Yes | The transaction date. |
| Amount | Yes | The amount, and (by default) whether it’s income or an expense. |
| Description | No | The transaction’s note. |
| Payee | No | The payee. An existing payee with the same name is reused, otherwise a new one is created. |
MoneyMatter pre-fills these by looking at your column headers. For example, a column called “Booking date” or “transaction_date” is matched to Date, and “Merchant” or “Counterparty” to Payee. Always check the choices before you go on.
Date format
Section titled “Date format”Once you pick the Date column, a Date format block opens under it. Choose how your dates are written:
- Day first, for dates like 31/12/2024
- Month first, for dates like 12/31/2024
MoneyMatter marks the option that fits your file with a Suggested badge, but it never picks it for you. A date like 01/02/2024 could be 1 February or 2 January, and only you know which your bank means. Next stays disabled until you choose.
The Preview below shows how the first few dates will be read. If some rows don’t fit the format you picked, a warning tells you how many will be flagged as invalid.
If every date in the column starts with the year (like 2024-12-31), there’s nothing to choose and you’ll see “ISO date format detected”.
These date styles work:
- Year first: 2024-12-31, 2024/12/31, 2024.12.31 or 20241231. A time (like 2024-12-31 14:30) only works with the dash format.
- Day and month: 31/12/2024 or 12/31/2024, with
/,.or-between the parts, a two- or four-digit year, and an optional time such as 14:30. Two-digit years from 70 to 99 mean 1970–1999, and 00 to 69 mean 2000–2069.
Dates with month names, like “Jan 5, 2024”, aren’t recognised, and those rows become invalid. Impossible dates such as 31/02/2024 are rejected too.
Amounts
Section titled “Amounts”Amounts can be written in the usual ways: 1234.56, 1,234.56 or 1.234,56. MoneyMatter also understands:
- A sign in front: −12.00 or +12.
- Brackets for negative amounts: (12.00) is read as −12.00.
- Currency symbols ($, €, £, ¥, ₴, ₽) and spaces, which are ignored.
A sign after the number (12.00-) or a CR/DR marker isn’t understood. The amount is read as positive, so with From Amount Sign those rows become income. Move the minus sign to the front in the file, or use From Column (specify values) if your file has a debit/credit column.
When an amount has both a comma and a dot, the one that comes last is the decimal separator.
Assignments
Section titled “Assignments”The second table decides how each transaction gets its category, account, currency and type. All four rows must be filled in. Pick an option under How to assign, then fill in Using next to it.
| Field | Options |
|---|---|
| Category | Map each CSV category to existing categories (on next step): pick a column, then choose a category for each value on the Categories step. Create new categories from CSV values: pick a column. You can still review each value on the Categories step. Assign all to single existing category: every transaction gets the category you pick. If you also map a Payee column, a payee’s default category can replace it. |
| Account | Map each CSV account to existing accounts (on next step): pick the column that names the account. You decide what happens to each account on the Accounts step. Assign all to single existing account: every transaction goes into the account you pick. |
| Currency | Map from CSV column: pick the column with a three-letter currency code such as EUR. Use same currency for all transactions: pick one currency. |
| Transaction type | From Amount Sign (negative = expense, positive = income): the sign of the amount decides. From Column (specify values): use a column that says whether each row is money in or out. It’s picked for you when MoneyMatter finds a column that looks like one, such as “Type”. |
With From Amount Sign, a negative amount is an expense, and zero or a positive amount is income.
If anything is still missing, the footer says what, for example “Still needed: Date format”. When everything is set, click Next.
Transaction type from a column
Section titled “Transaction type from a column”Some banks don’t use negative amounts. Instead they have a separate column, like “Type” with values “Credit” and “Debit”. For those files, choose From Column (specify values) and fill in:
- Transaction Type Column: the column that holds the type.
- Income Values: the values that mean money came in, separated by commas.
- Expense Values: the values that mean money went out.
When MoneyMatter detects the type column for you, common words such as Credit, Deposit, Debit and Withdrawal are already sorted into the right list. If you pick the column yourself, fill in both lists. Every value that appears in the column must be in one of the two lists, otherwise Next stays blocked and a message lists the values that are left. Values must match exactly, including capital letters: “credit” and “Credit” are different values.
Accounts
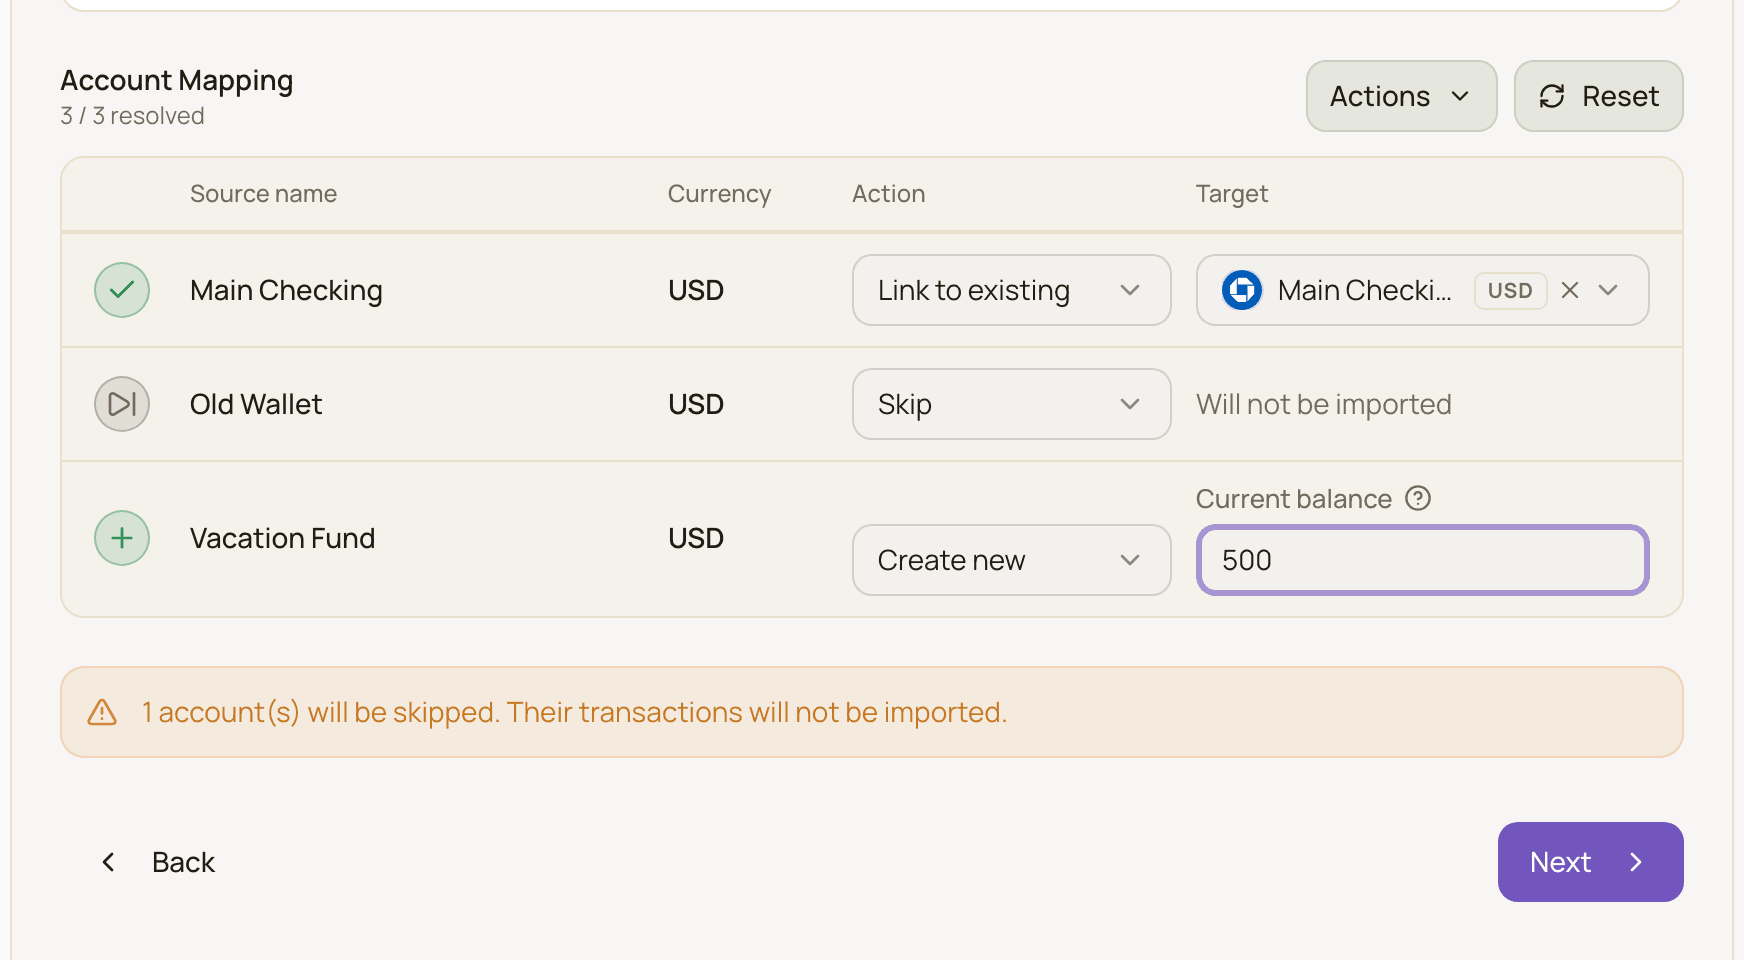
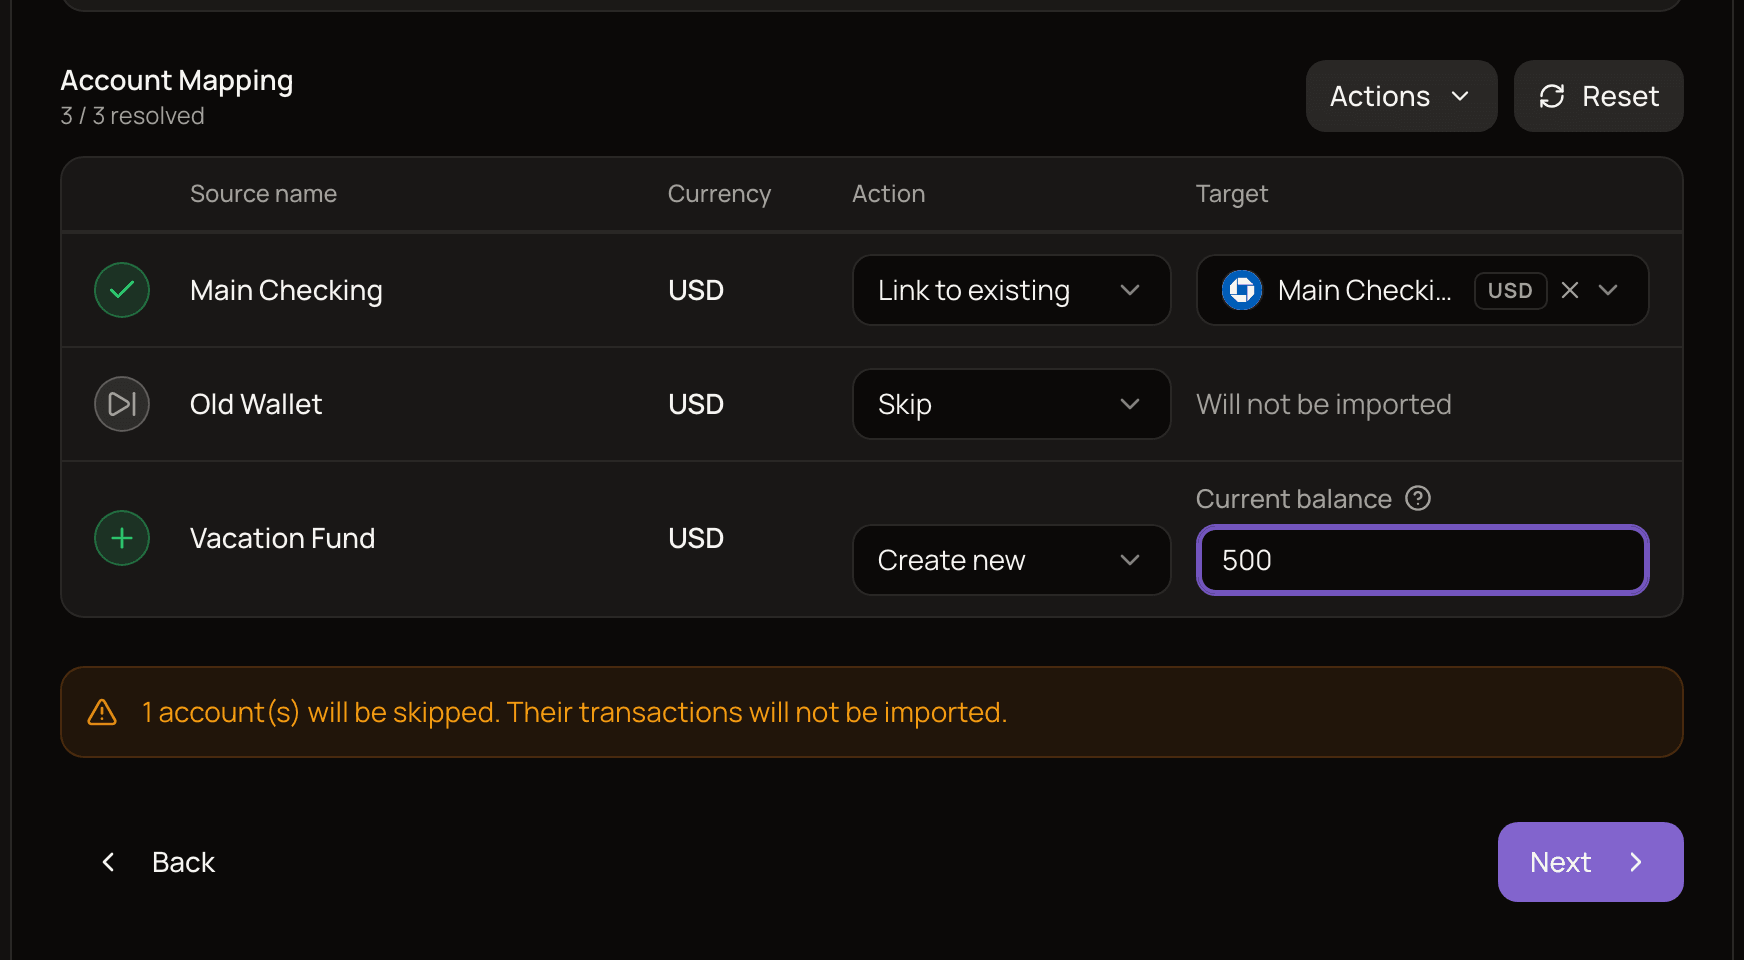
Section titled “Accounts”This step only appears when you chose Map each CSV account to existing accounts (on next step). It lists every account name found in your file, with its currency. For each one, choose an Action:
- Link to existing: the transactions go into one of your accounts. Only accounts in the same currency are listed. If you have none, you’ll see “No account with currency” and the code.
- Create new: MoneyMatter creates an account with that name and currency.
- Skip: that account’s transactions aren’t imported at all.
MoneyMatter fills in a first guess for you. An account name that matches one of yours (ignoring capital letters and punctuation) and has the same currency is linked to it. Everything else is set to Create new.
Set the balance of a new account
Section titled “Set the balance of a new account”When an account will be created, you can fill in Current balance: what the account holds today, according to your bank. The import makes the account end at exactly that amount, and works out the starting balance for you.
For example, you enter 1,200 and the imported transactions add up to −300 (more spent than received). The account is created with an initial balance of 1,500, so after the import it shows 1,200.
Leave Current balance empty to start the account at 0. Its balance will then simply be the total of the imported transactions.
Categories
Section titled “Categories”This step only appears when your categories come from a column. It lists every category name found in the file (leaving out rows of accounts you skipped). For each one, choose:
- Link to existing: use one of your categories.
- Create new: create a category with that name. If you already have a category with the same name, in any capitalisation, that one is used instead of making a copy. New categories are created at the top level, not as subcategories.
There’s no skip here: every row needs a category.
Bulk actions
Section titled “Bulk actions”On both the Accounts and Categories steps, the Actions menu offers:
- Map exact matches: link every row whose name exactly matches something you already have.
- Create new for unmatched: set every row that isn’t linked to Create new.
- For categories, AI match: link each name to the closest existing category. It uses AI: the AI included with Plus (and your trial), or your own AI model from Settings → AI. Without either, you’ll see “No AI model configured”. See plans and billing.
Reset, next to it, clears all choices and runs the automatic matching again. When the importer is narrow, for example on a phone, all of these are in one menu behind the ⋮ button.
Reuse a category mapping
Section titled “Reuse a category mapping”After an import where you mapped categories one by one, MoneyMatter remembers your choices for that file layout. Next time you import a file with the same columns, click Apply mapping. Under This file’s layout, choose Last used mapping to fill in the same choices again.
You can also give a mapping a name. Named mappings appear under Saved templates and work for files with other layouts too. Up to 20 mappings are kept. If you’ve deleted a category since, that part of the mapping is dropped.
Review
Section titled “Review”Before anything is saved, the Review step shows what will happen:
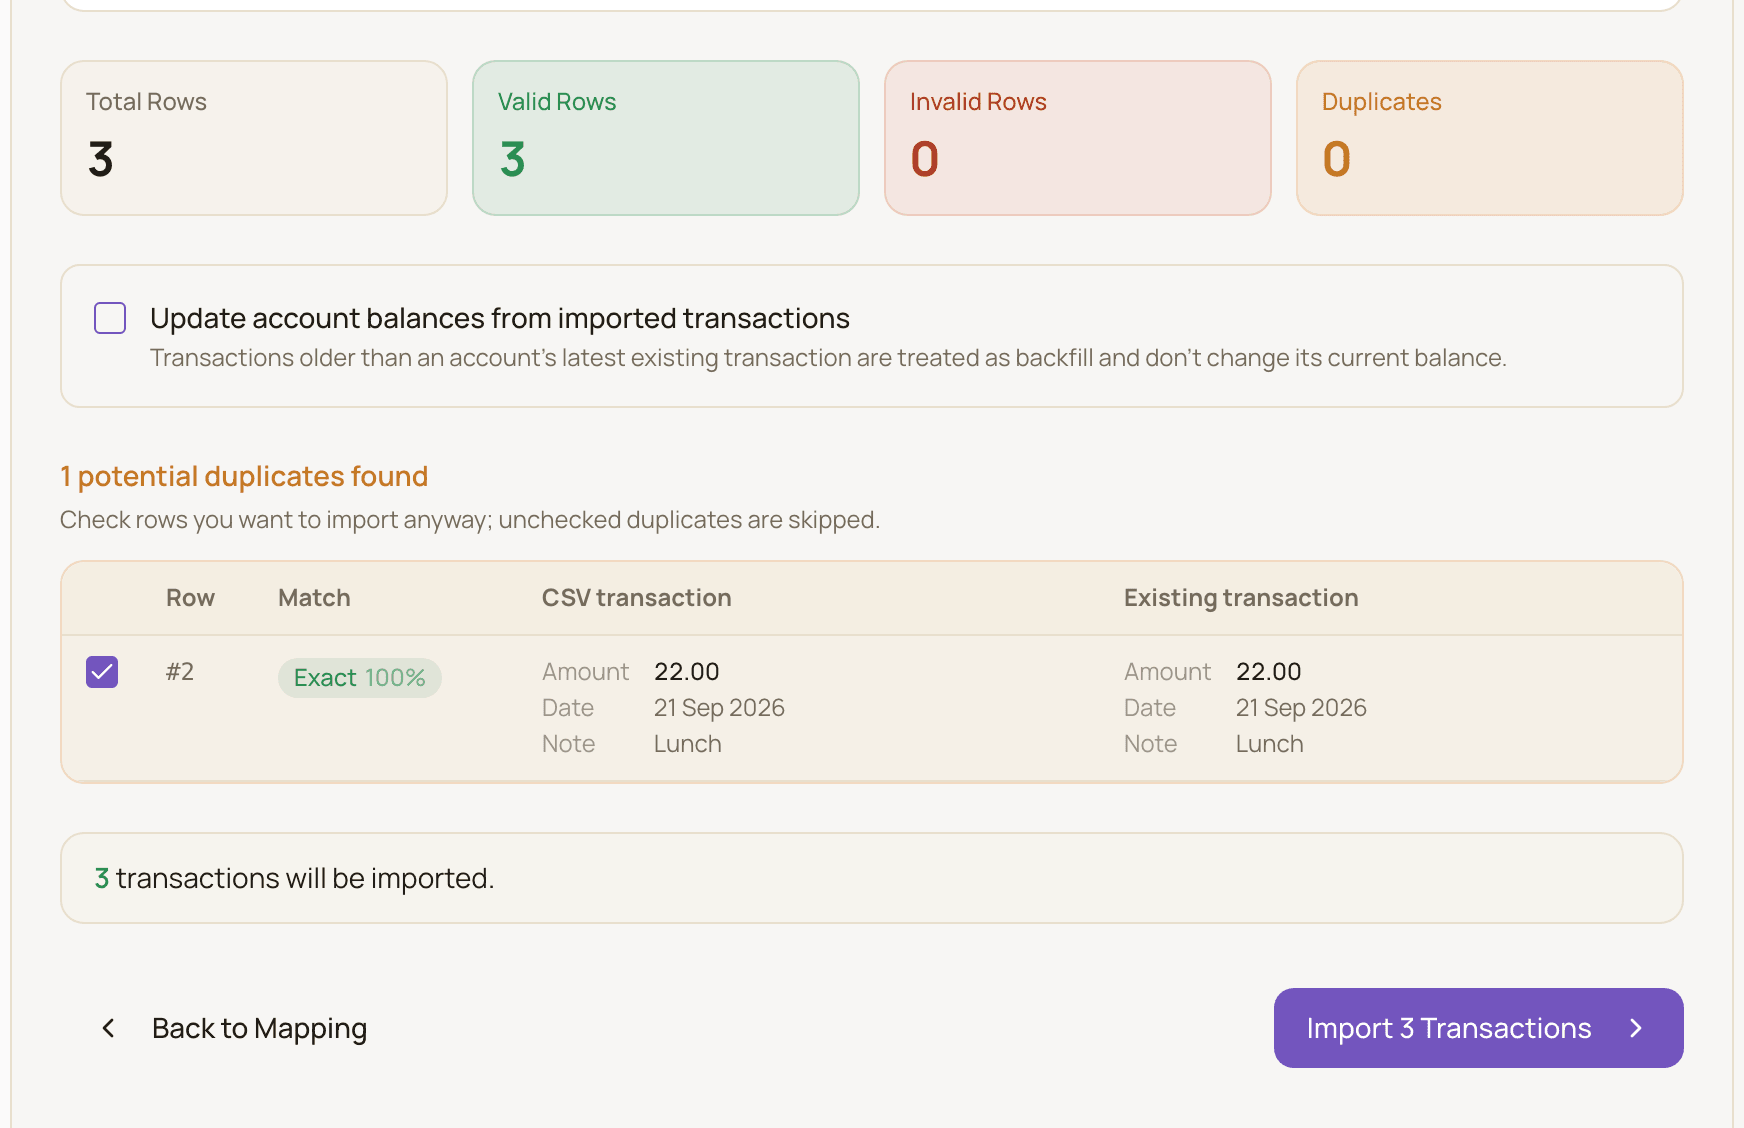
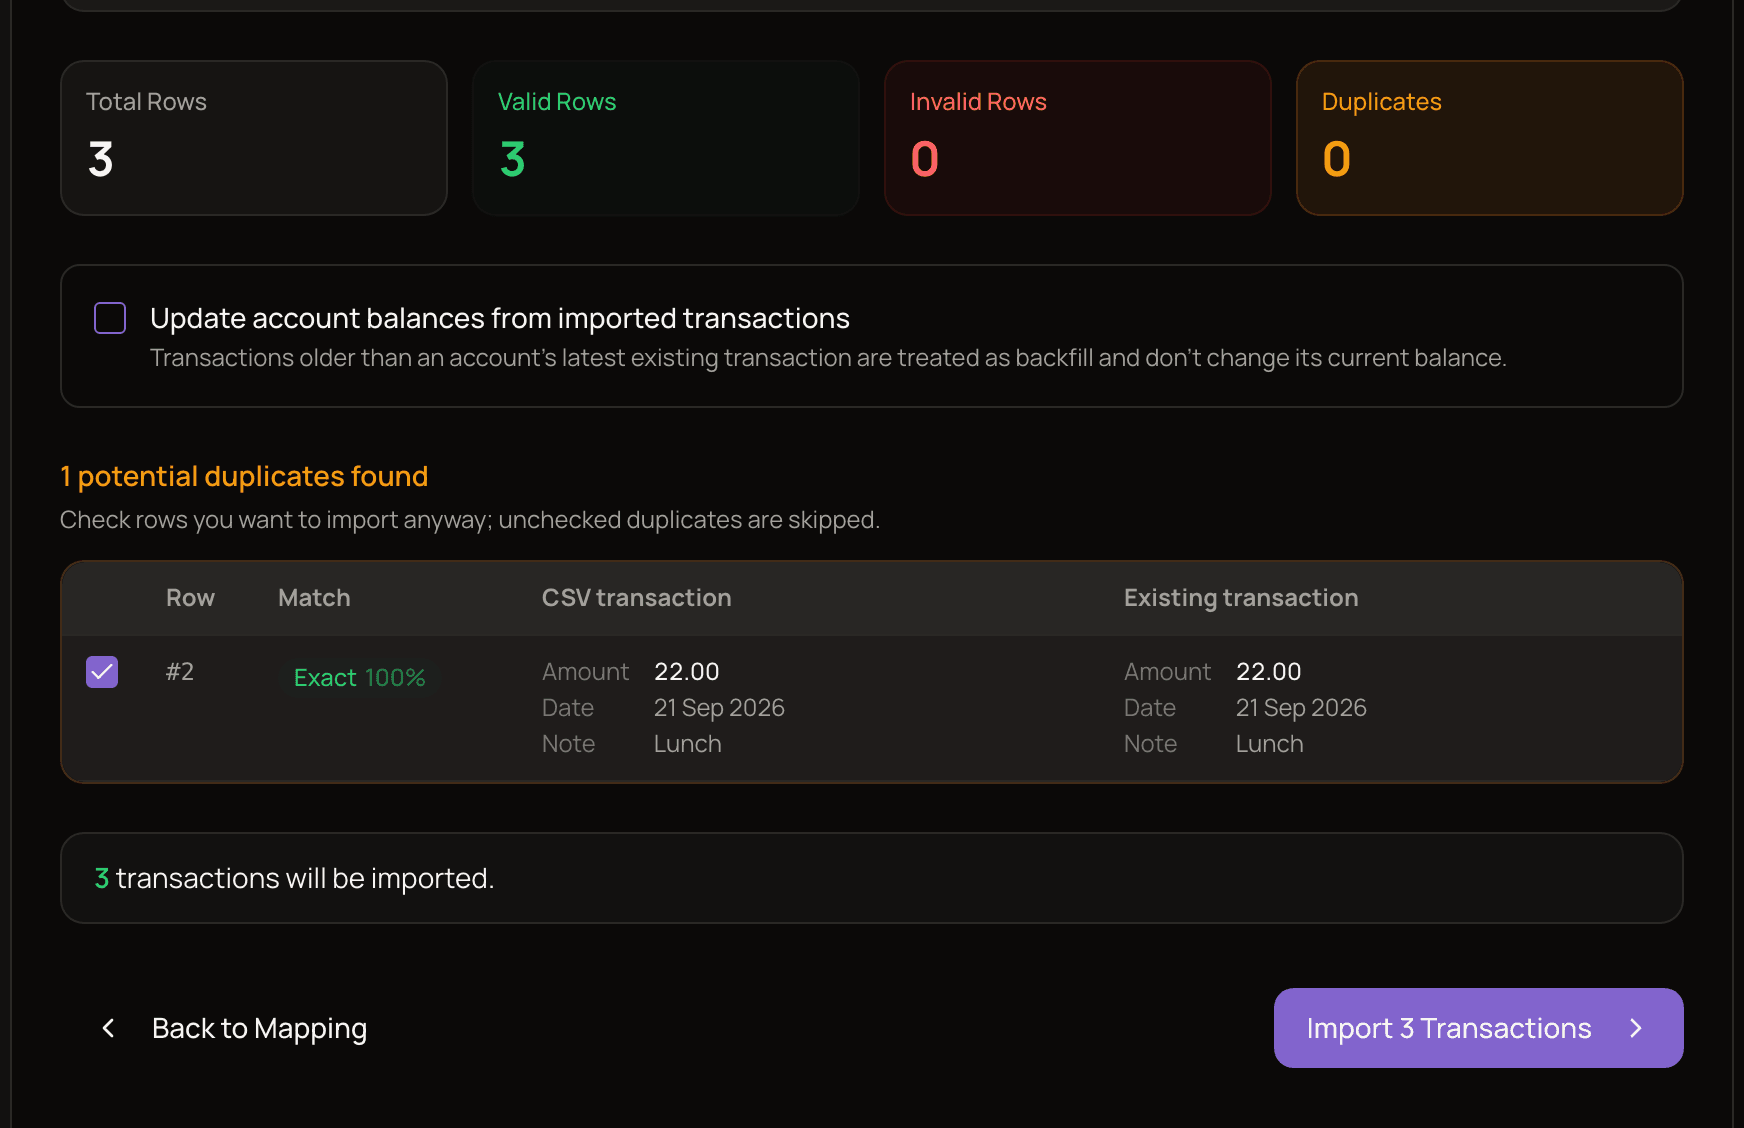
- Total Rows, Valid Rows, Invalid Rows and Duplicates.
- Invalid Rows: each row that can’t be imported and why, such as an unreadable date or amount, an empty account name or currency, or a type value that isn’t in your income or expense list. Click Show full data to see the whole row. Invalid rows are skipped.
- A list of potential duplicates: rows that look like transactions you already have. See how duplicates are detected.
- A summary of how many transactions will be imported and how many will be skipped.
Duplicates start unchecked, which means they’ll be skipped. Tick a row to import it anyway. Each duplicate is shown next to the existing transaction it matched, with an Exact or Fuzzy label.
Here you also decide whether the import may change the current balance of accounts you already have, with Update account balances from imported transactions. See how an import affects balances.
When you’re happy, click the Import button. It shows how many transactions will be imported, for example Import 120 Transactions. To change something first, click Back to Mapping.
Rows without an exchange rate
Section titled “Rows without an exchange rate”MoneyMatter needs an exchange rate to show every transaction in your base currency. If some rows use a currency it has no rate for, you’ll see “row(s) cannot be priced — no exchange rate found”. Choose Skip & import to import everything else, or Cancel import to stop.
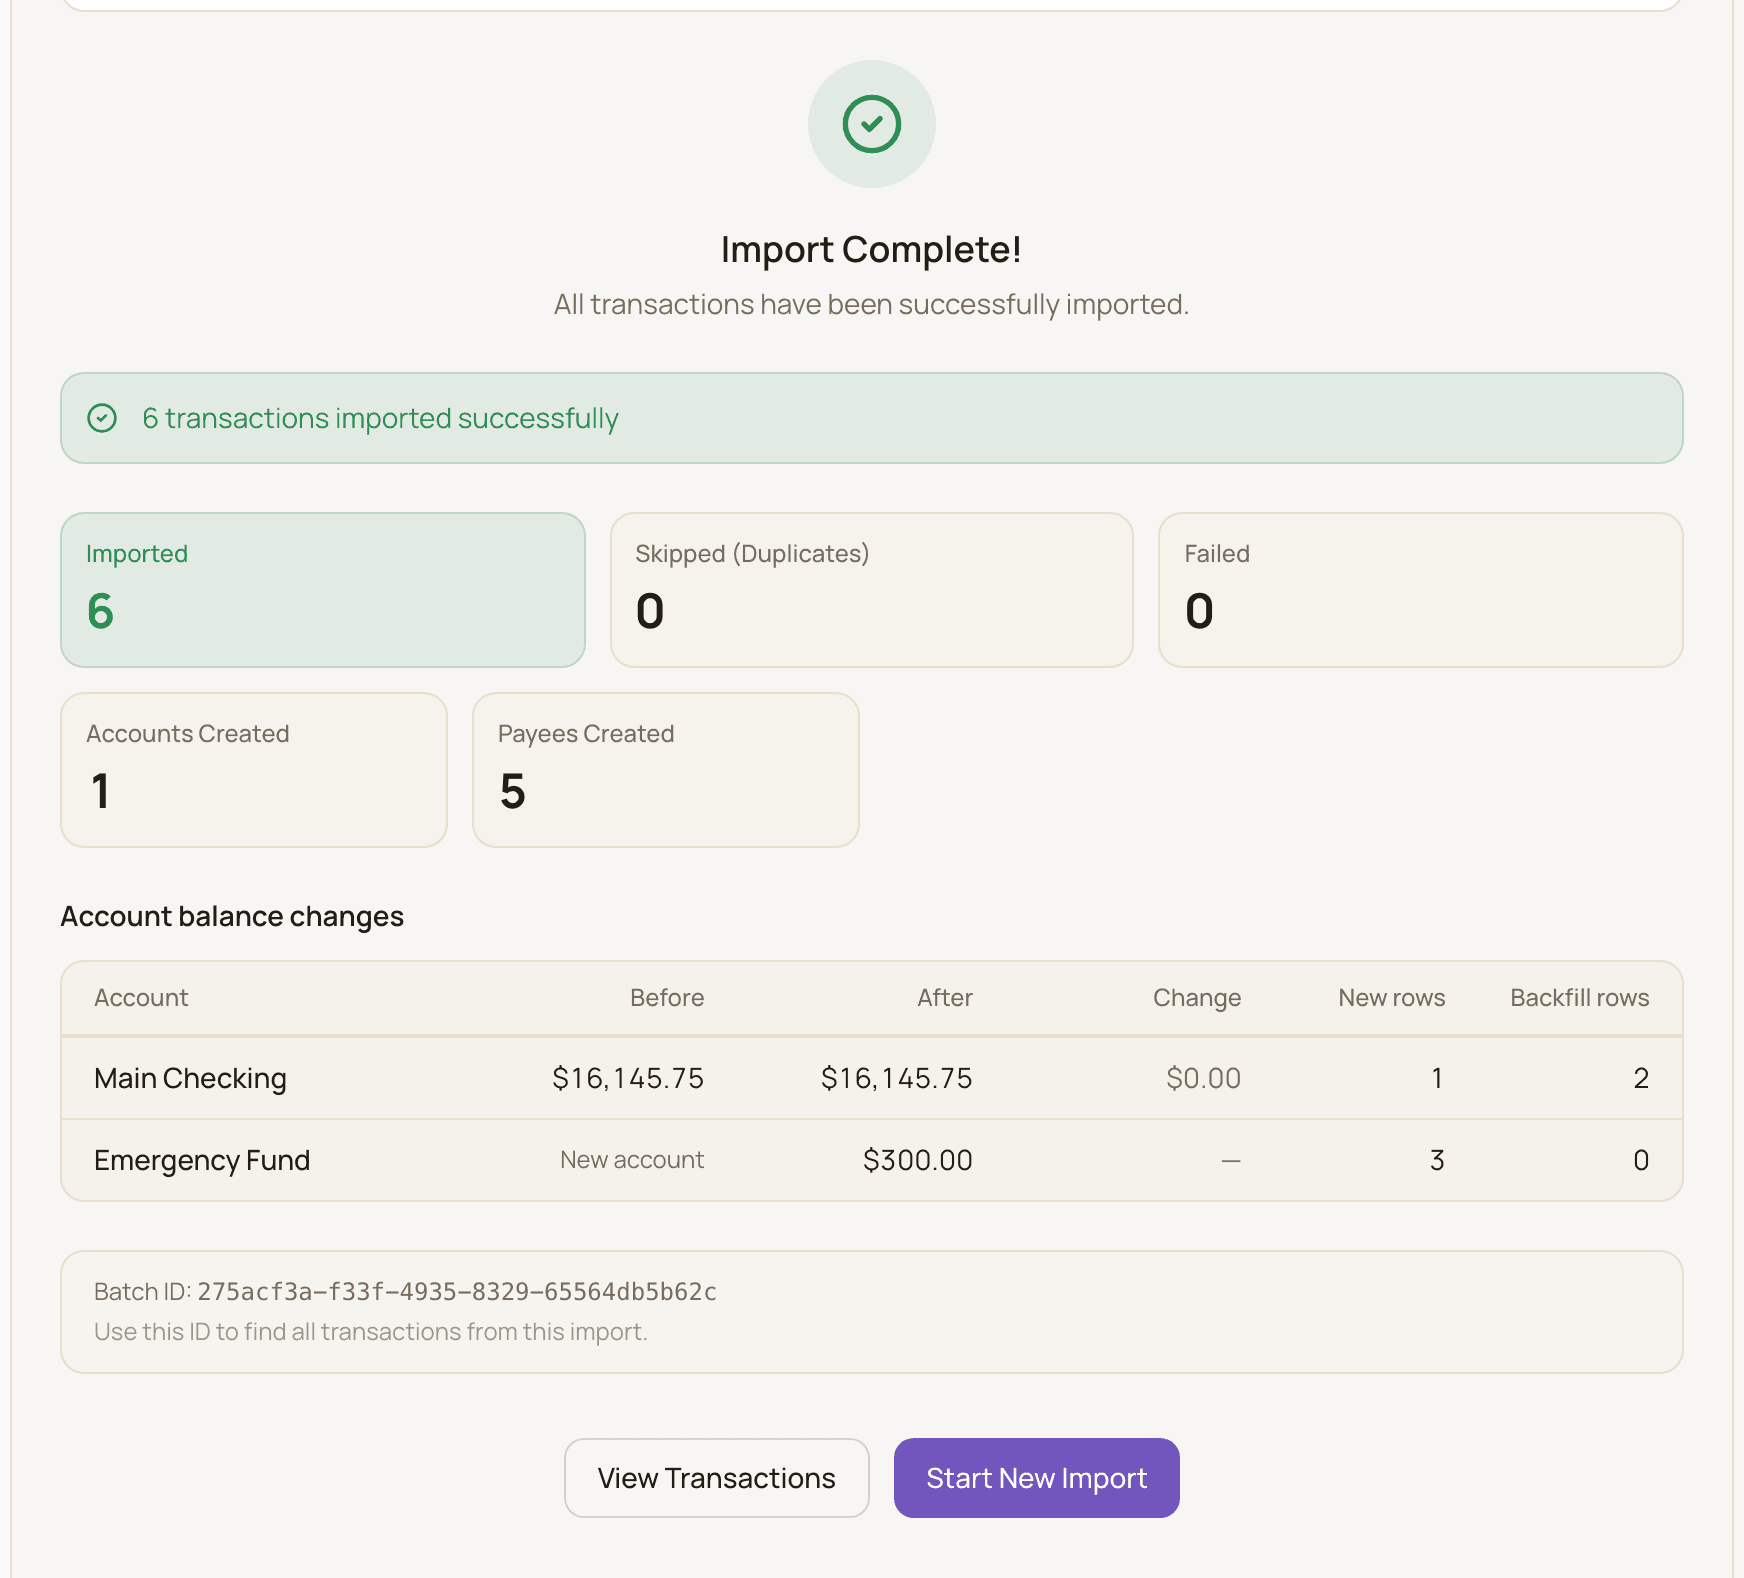
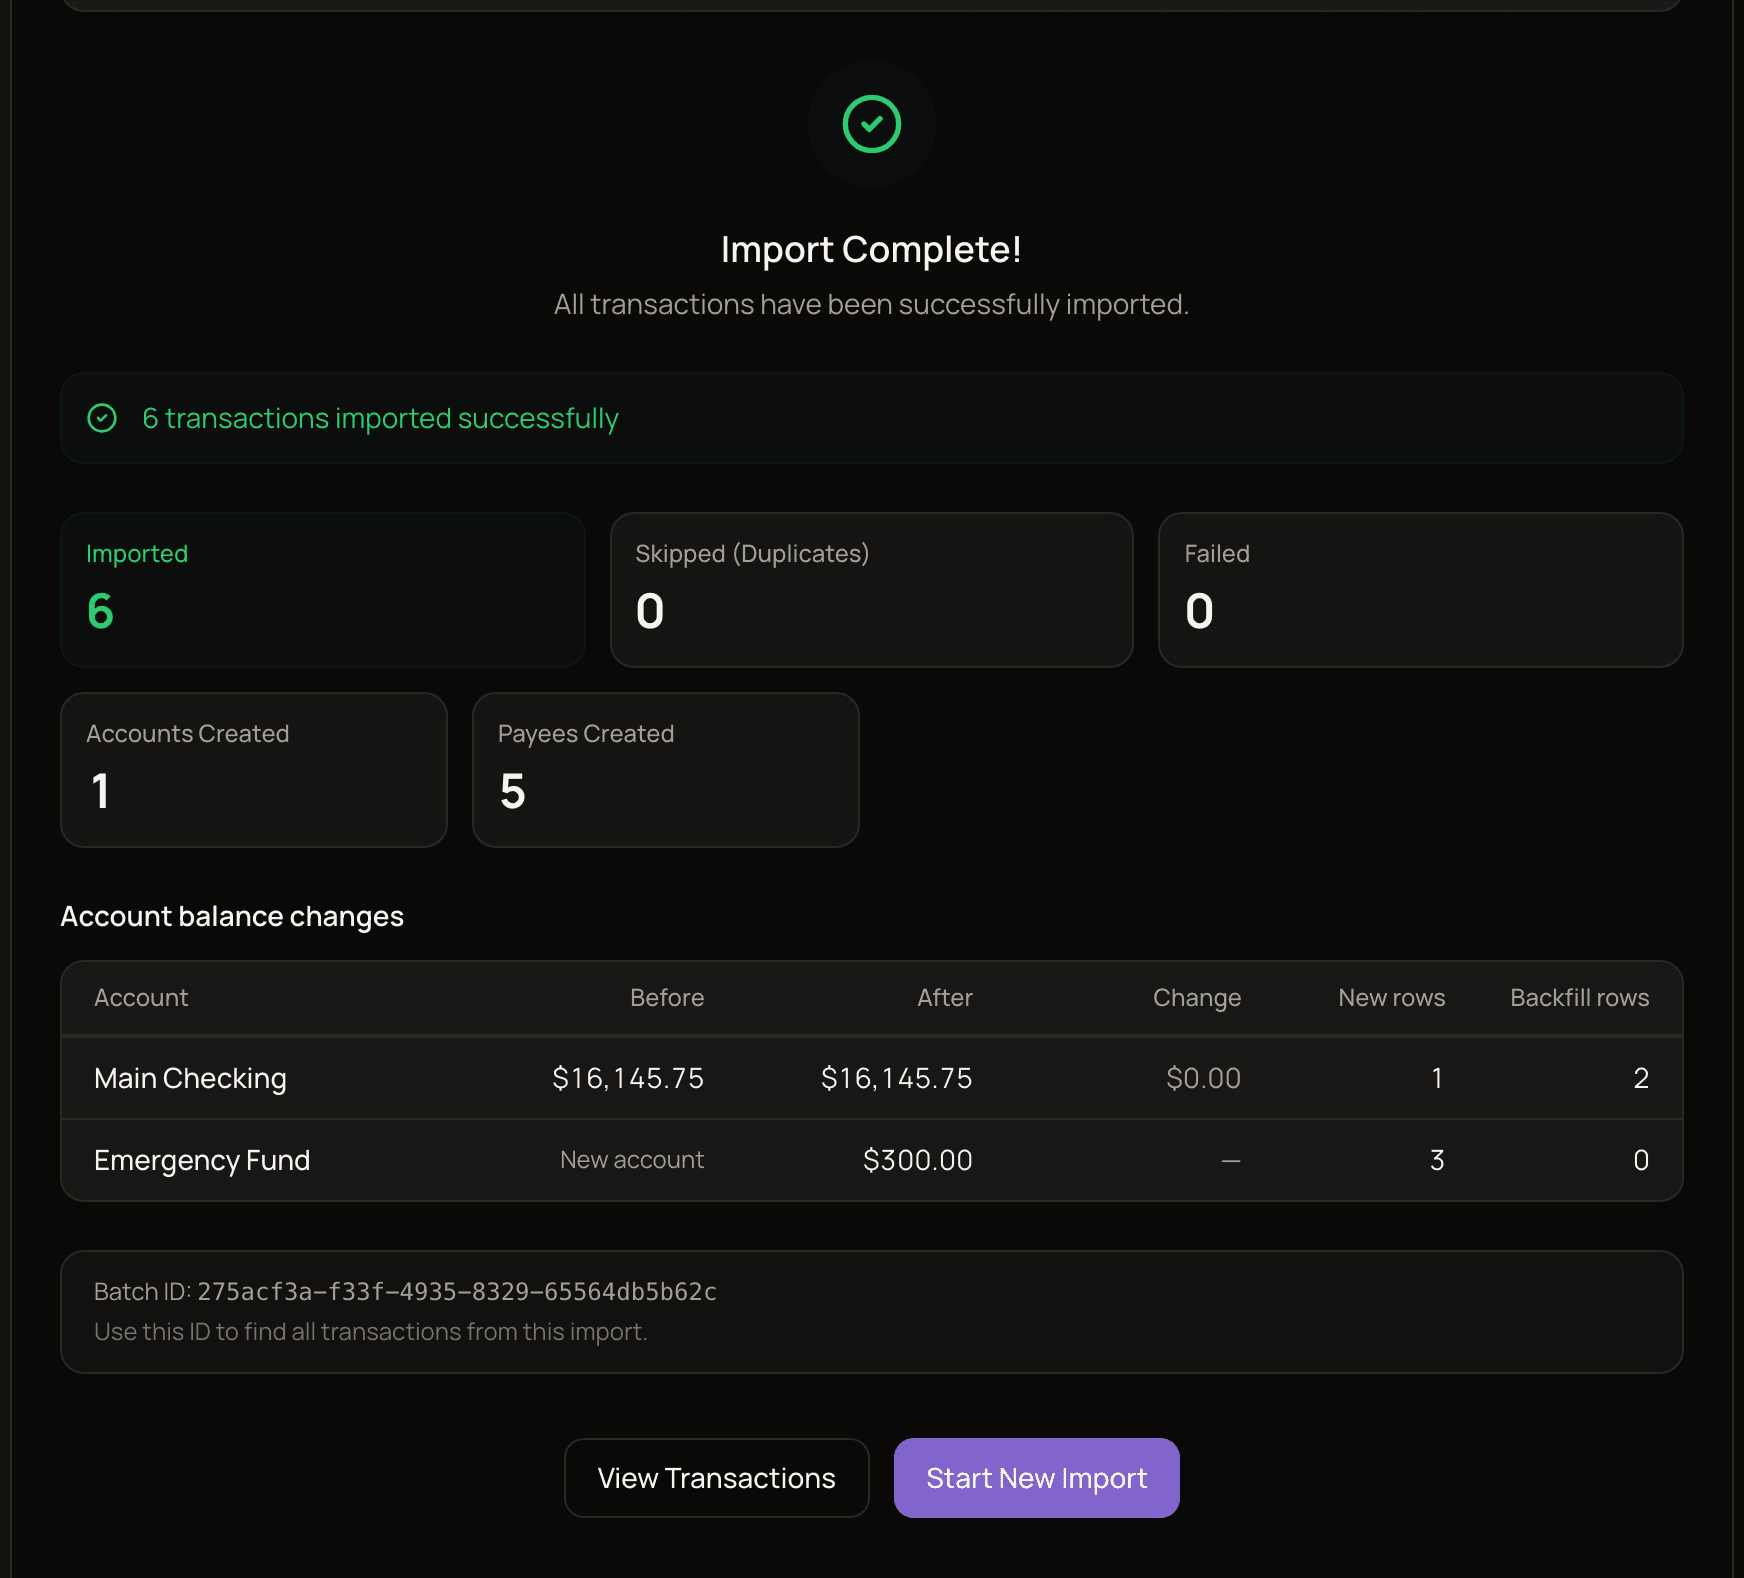
The import runs in the background, and you can watch its progress. When it finishes, you’ll see Import Complete!, or Import Completed with Issues if some rows failed.
The summary shows only the numbers that apply, such as Imported, Skipped (Duplicates), Failed, Accounts Created, Categories Created and Payees Created.
The Account balance changes table shows each account’s balance Before and After the import, the Change, and how many New rows and Backfill rows it got (see how an import affects balances). Accounts made by this import are marked New account.
If any rows couldn’t be saved, they’re listed under Import Errors. One bad row doesn’t stop the others.
Click View Transactions to open your transactions, or Start New Import to import another file. To see only what this import added, open it from Import History.
What each transaction gets
Section titled “What each transaction gets”Every imported transaction gets:
- The date, the amount, and whether it’s income or an expense.
- The Description column as its note.
- The account you chose, and the category from your file or the one you picked. With a single category, a mapped payee’s default category can take its place.
- The payee, if you mapped a Payee column. If that payee has auto-apply tags, they’re added too.
How currencies work
Section titled “How currencies work”In MoneyMatter, a transaction always has the currency of its account. A EUR account only holds EUR transactions. That’s why the currency setting matters most when the importer creates or links accounts:
- New accounts get the currency of their rows.
- Link to existing only offers accounts in the same currency. This stops 100 USD from quietly being recorded as 100 EUR.
- Any currency in the file that you haven’t added yet is added to your currencies automatically.
How an import affects balances
Section titled “How an import affects balances”Importing old transactions into an account you already use raises a question: should they change today’s balance? Usually not. If your account shows 1,200 EUR today and matches your bank, adding last year’s history shouldn’t move it.
The Update account balances from imported transactions checkbox on the Review step decides this for accounts you already have:
- Off (the default): every existing account keeps the balance it had before the import. The imported transactions fill in its history, and the account’s initial balance is adjusted to make the numbers add up.
- On: imported transactions dated on or after the day of the account’s latest existing transaction change its balance, as new activity would. Older ones are treated as history (Backfill rows) and don’t.
For example, your “Everyday card” shows 1,200 EUR and its latest transaction is from 10 March. You import January to mid-March. The rows from 10 to 15 March add up to −80 EUR.
- With the box off, the card still shows 1,200 EUR after the import.
- With the box on, it shows 1,120 EUR. The January and February rows don’t change it.
If the account had no transactions at all, every imported row counts as new when the box is on.
MoneyMatter remembers your choice for next time. The checkbox doesn’t affect accounts the import creates. Those use the Current balance you entered, or start at 0.
How duplicates are detected
Section titled “How duplicates are detected”A row is flagged as a possible duplicate when the account it’s going into already has a transaction on the same day, with the same amount, in the same direction (both expenses or both income).
It’s labelled Exact, or Fuzzy when those match but the descriptions are quite different.
Some things aren’t checked:
- Accounts the import creates. A brand-new account has nothing to compare against, so its rows are never flagged.
- Rows within the same file. If your file lists the same purchase twice, both are imported.
Undo an import
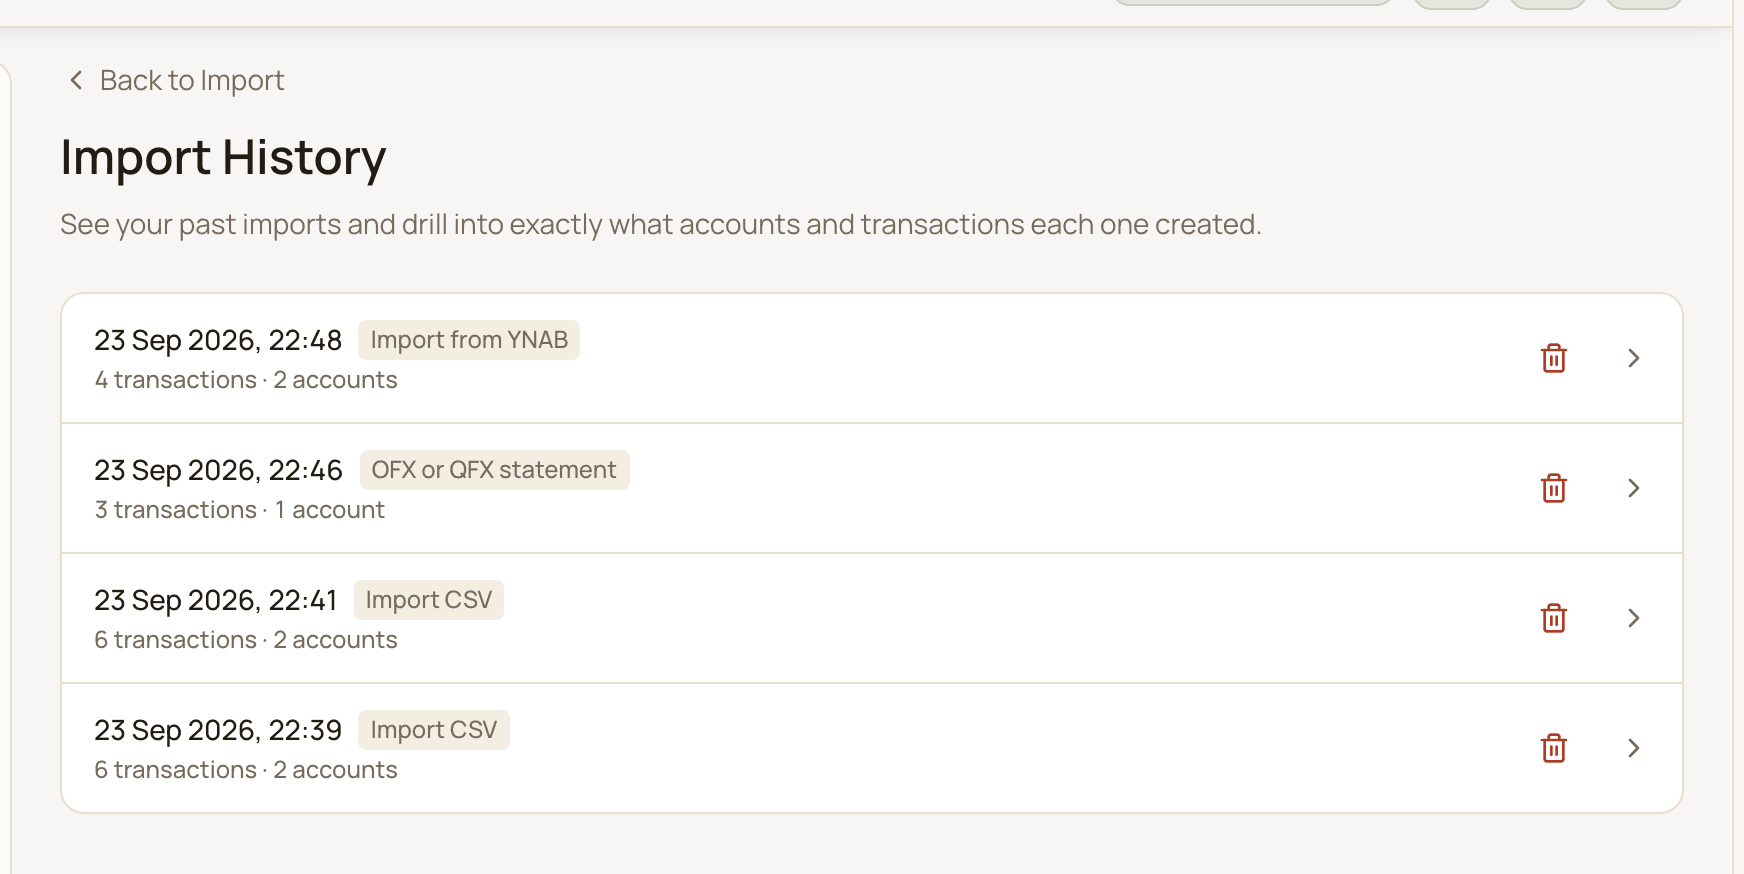
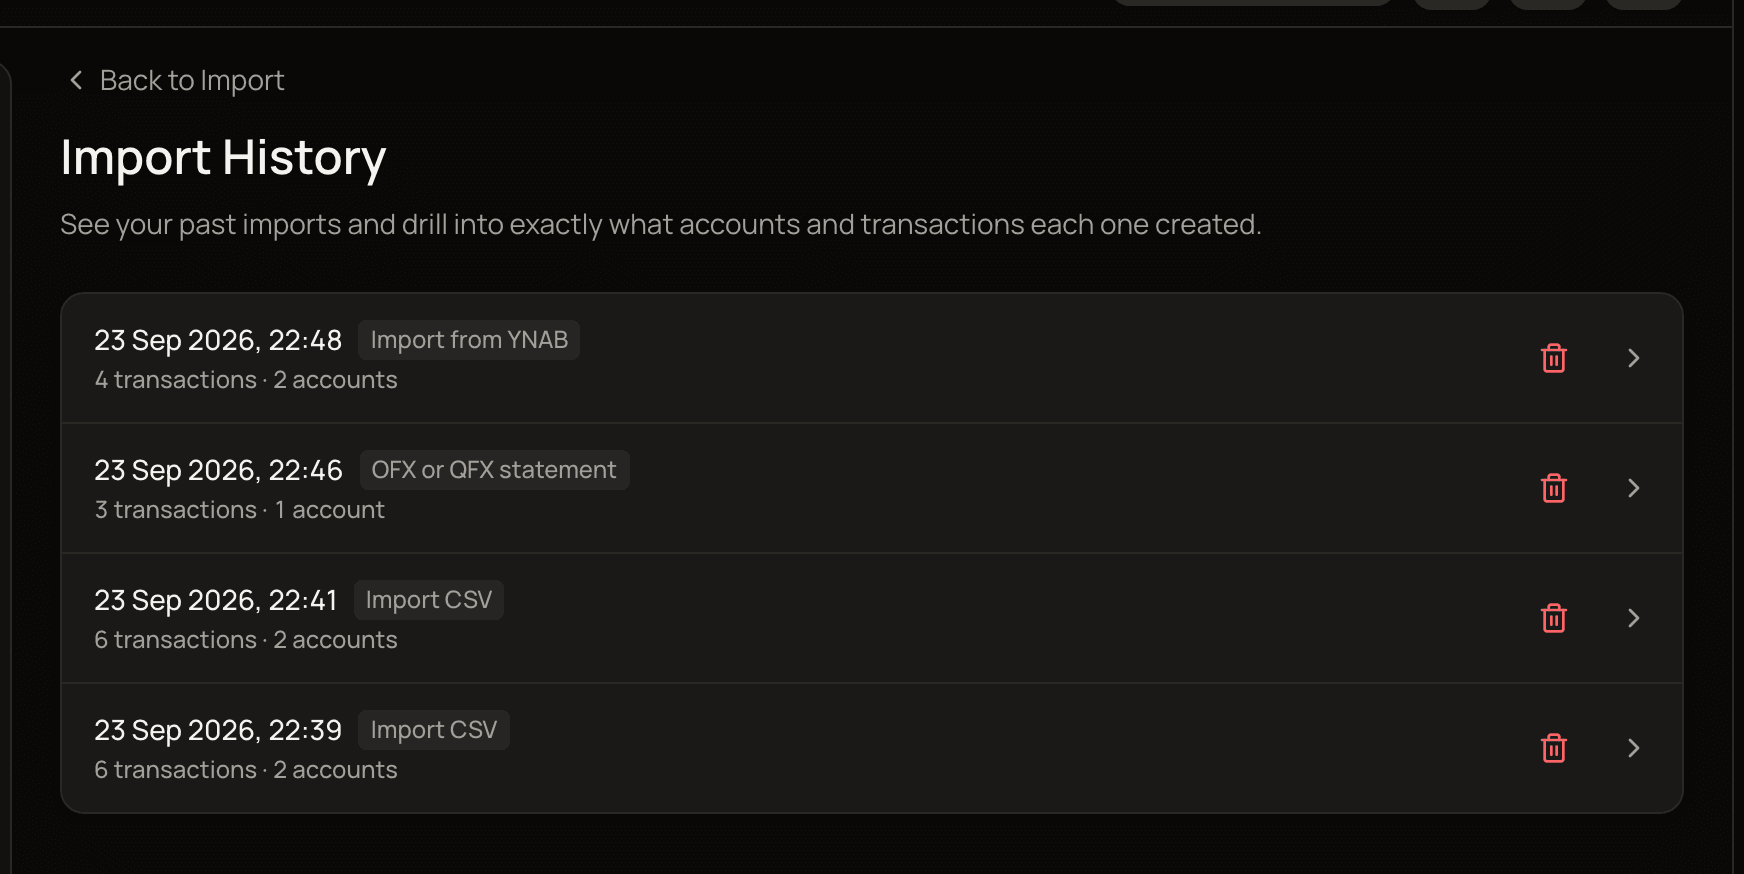
Section titled “Undo an import”Every import is listed in Import History, where you can review it or delete it.
- Open Settings → Import/Export.
- Under History, click Import History.
- Find the import. Each row shows when it ran, which importer it came from, how many transactions it added, and how many accounts they went into.
- Click a row to open your transactions filtered to that import, or click the trash button (Delete import) to undo it.
- In Delete this import batch?, click Delete import to confirm.
What deleting an import does:
- It permanently deletes every transaction from that import. This can’t be undone.
- It keeps everything else the import created: accounts, categories, payees and tags stay. Delete them yourself if you don’t need them.
- Transfers are unlinked, not deleted. If one of your other transactions was linked as a transfer to an imported one, it stays, as an Out of Wallet transaction. Tick Also delete the linked transfer transaction to delete it as well. You’ll be asked to confirm a second time.
- Large imports take a moment. For imports with more than 1,000 transactions, the app shows “Deleting imported transactions” and is locked until it finishes.
After deleting, check the balance of each affected account. If it doesn’t match your bank, adjust the balance.
The list is built from the transactions themselves. If you delete all of an import’s transactions by hand, the import disappears from the list.
Good to know
Section titled “Good to know”- Leaving the page before you click Import loses your choices. The importer resets each time you open it, so finish setting up in one go. Once the import has started, it keeps running even if you leave, and you can find it in Import History.
- You can go back. Click a completed step in the stepper at the top to change your choices.
- If an import fails partway, some rows may already be saved. Importing the same file again into new accounts could create duplicates, so check Import History first. Failed imports aren’t retried automatically.
- Imports are paused while your base currency changes. Wait for the change to finish, then try again. See base currency and currencies.
- Read-only mode blocks imports. If your trial or plan has ended, you can export your data but not import. See plans and billing.